herbed garden pickles
It’s the very last day of August and, if your climate is anything like mine, harvest season isn’t winding down just yet. These weeks are still ripe with possibilities, with full baskets of vegetables, and cicadas and bees keeping constant company during early-morning harvest time.
To honor these weeks of sweet transition into a new season, today I’m sharing a piece I wrote for Taproot Magazine many moons ago with some of my favorite quick pickle recipes. I hope they help you make the most of whichever vegetables your garden (or your friends’, or your local farmers’, or your supermarkets’) is gifting you with.

We are big pickle fans in our home! Our daughter eats them straight from the jar, and we love cracking open a jar whenever we have guests. They make an easy side nibble, sandwich filler, homemade mayonnaise ingredient, or even a crunch factor in veggie burgers and patties. What can I say—pickles really do it for us!
And there is something about making and canning pickles… A little bit like alchemy, maybe. Acidity, saltiness, and sweetness come together over vegetables and spices, to be sealed and tucked away for when the garden is fast asleep under the cold, sweeping winter winds. In the act of making pickles, I like to look farther than just the vegetable patch, into the herb garden and cabinet too. You will feel this herbaceous pull in the following recipes, where herbs come in to celebrate and elevate the garden produce—a winning combo that will tickle your taste buds as the days shorten.
The pickles in these recipes are not fermented. They are what is usually called quick-process or fresh-pack pickles, and as such, you will skip the fermentation step and process your jars in a boiling-water bath after filling them with vegetables and a pickling solution. The boiling water bath is suitable for high-acidity foods like this, destroying the contaminants that would cause natural spoilage while removing air from the jars. When the jars cool, a vacuum seal forms to prevent recontamination. If you are new to canning, I’m including instructions on how to make a boiling water bath at the very end.
Always choose firm, fresh vegetables, and double or triple these recipes as needed, according to what you have harvested on a given day or week. Happy preserving!
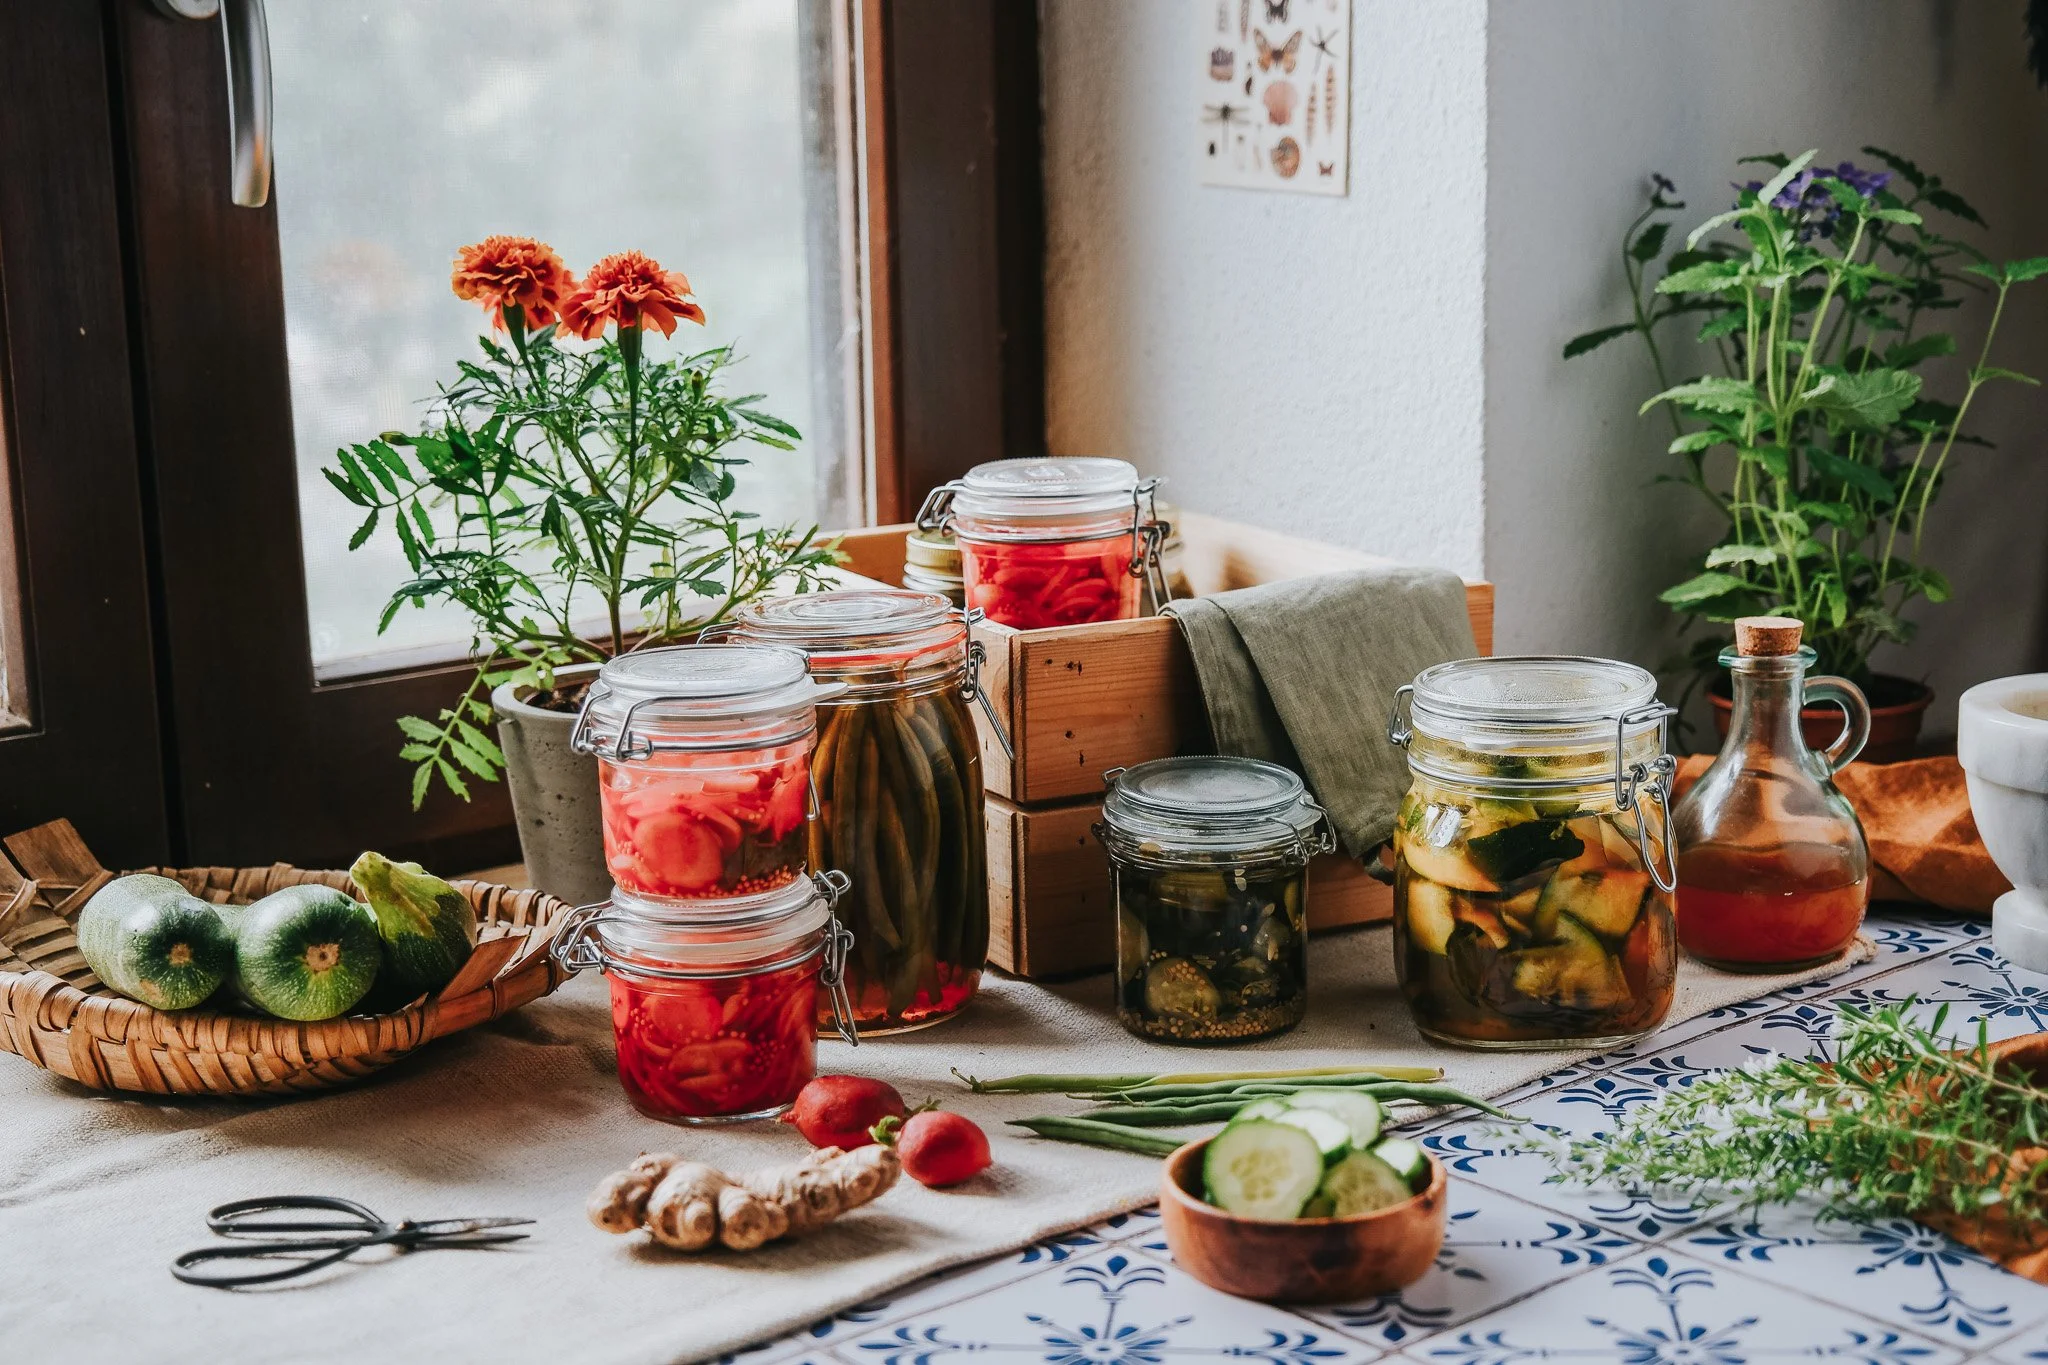

Radish & Lemon Balm Pickles
Radishes paired with lemon balm create a joyful and uplifting combo. You can use any variety of radishes, but look for Cherry Belle or French breakfast varieties for a bright pink result! Makes 3 half-pints.
ingredients1 pound plus 2 ounces radishes
½ onion
2 tablespoons salt
1 cup plus 3 tablespoons water
¾ cup apple cider vinegar or white wine vinegar
1 tablespoon brown sugar
1 tablespoon mustard seeds
6 sprigs of fresh lemon balm (Melissa officinalis), or 3 tablespoons dried
directionsCut the radishes and onion into thin slices and place them in a bowl. Sprinkle with the salt and combine using your hands or a spoon until the salt is well distributed. Cover with a piece of cloth (to prevent any critters from coming in) and leave to cure, undisturbed, in a cool place for 8 hours or overnight.
Once you’re ready to start pickling, begin by sterilizing 3 half-pint mason jars and their lids in a boiling-water bath.
In the meantime, thoroughly rinse the radishes in cool water and drain well.
In a small saucepan, combine the water, vinegar, and sugar and bring to a boil. Stir well, making sure the sugar is dissolved, and reduce the heat to low to keep the pickling solution hot while you fill in your jars.
Distribute the radish and onion mixture among the emptied, sterilized jars. To each jar, add 1 teaspoon of the mustard seeds and 2 sprigs of the fresh lemon balm (or 1 tablespoon of the dried). Cover with the hot picking solution, leaving about ½-inch headspace.
Wipe the rims with a clean, dry cloth, apply the lids and bands (or clips), and tighten the bands until fingertip tight (if using). Process in a boiling water bath for 15 minutes or according to your altitude.
Once cool, label and date your jars. You can allow the flavors to develop for 1 or 2 months before opening, if you can wait that long!
Sealed pickles will keep for at least 1 year at room temperature, away from direct sunlight. Once opened, store in the refrigerator and consume within 2 weeks.
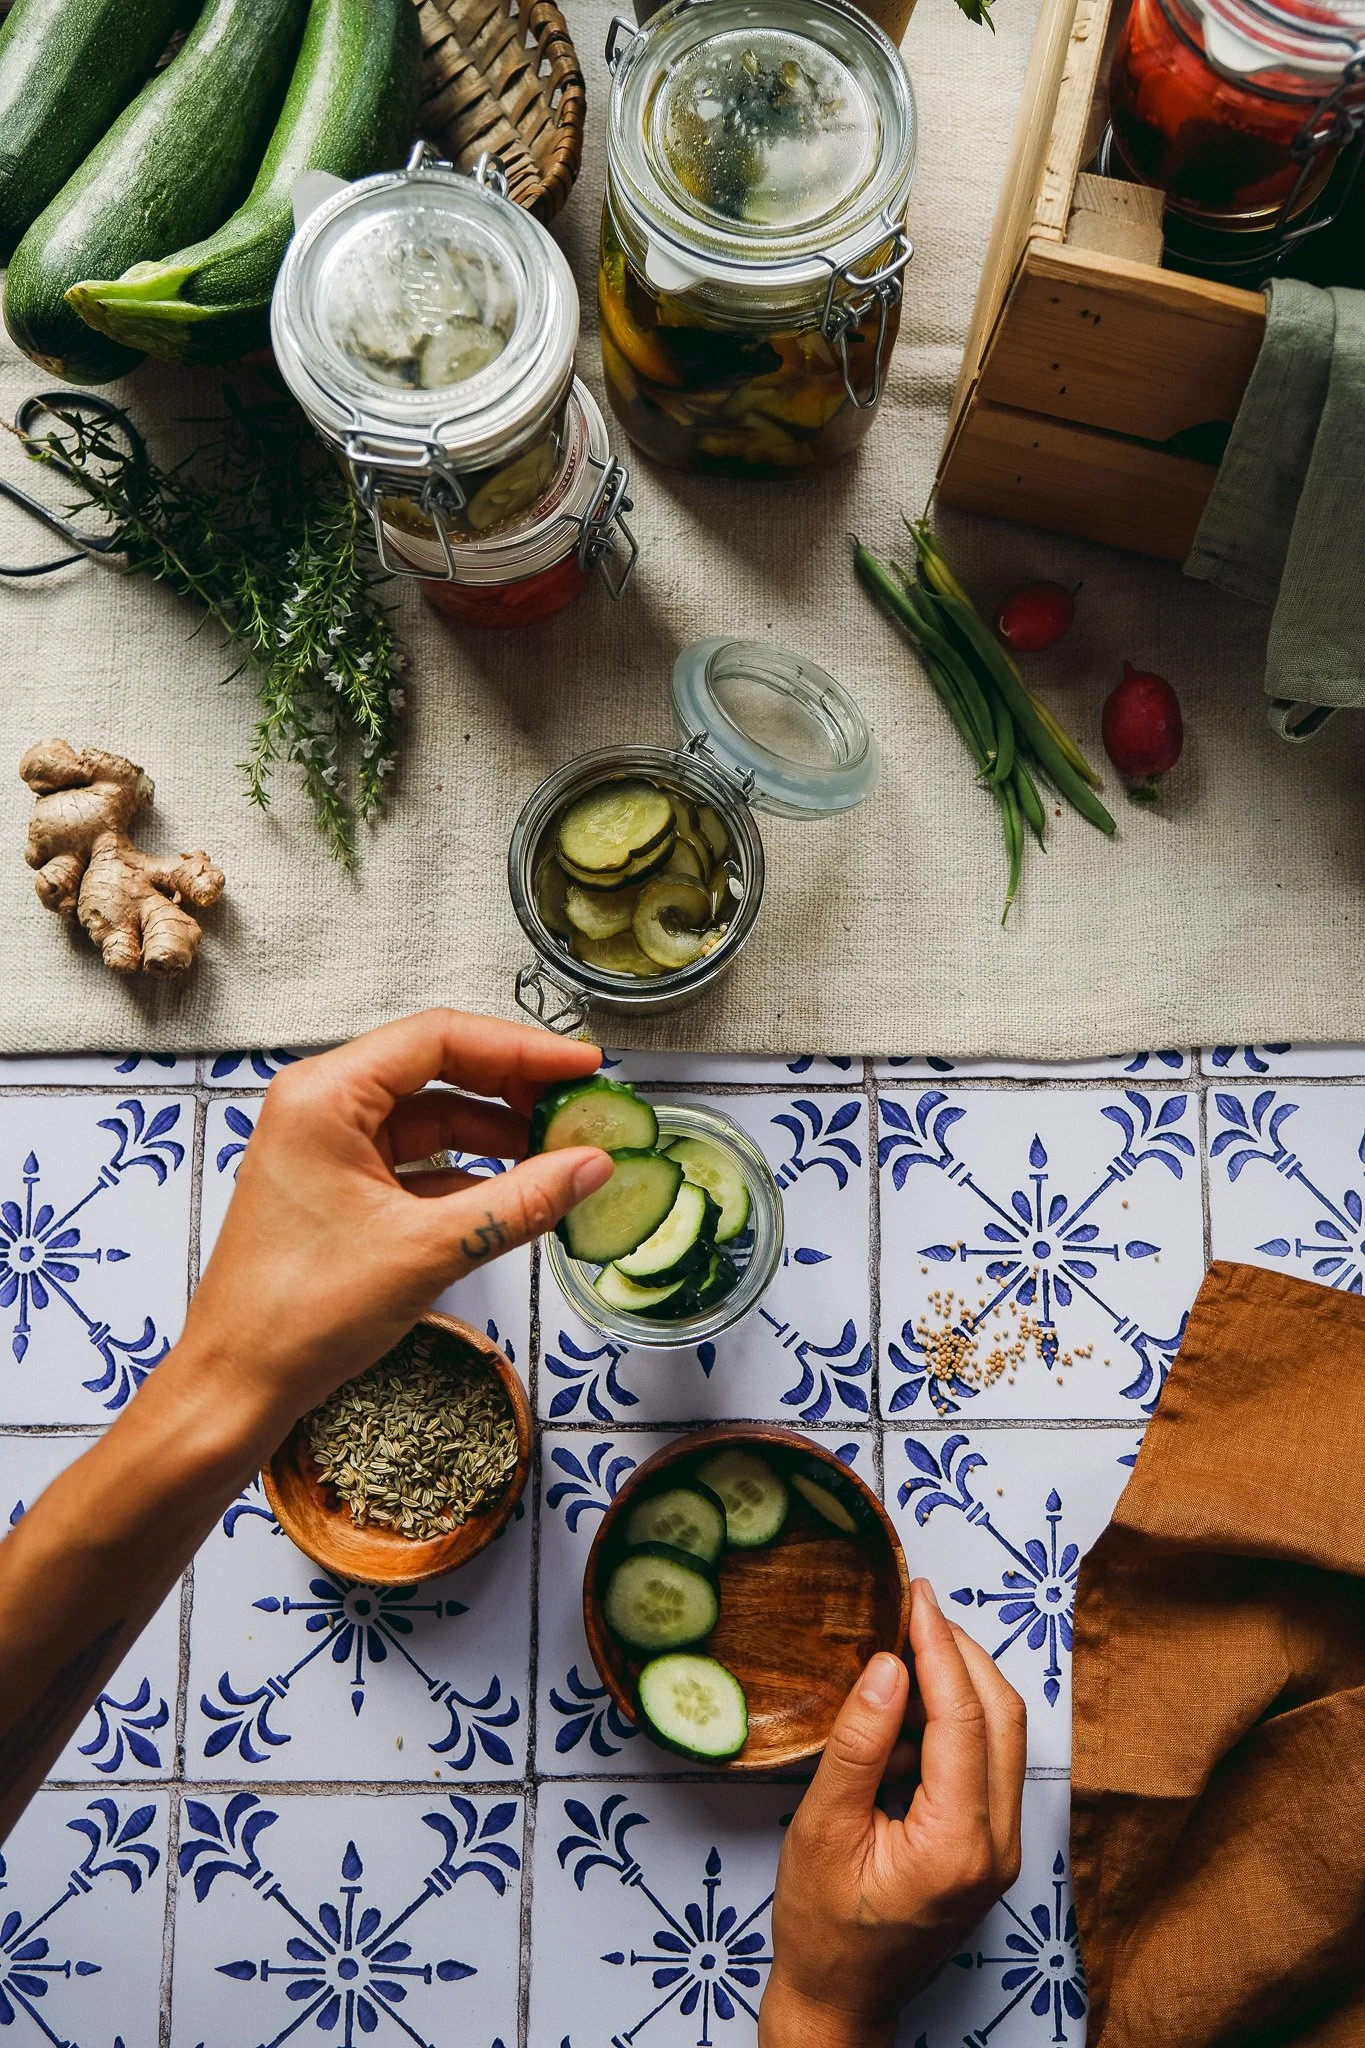
Cucumber & Fennel Pickles
The classic cucumber plays harmoniously with fennel in this fresh side nibble for any earthy meal. Makes 6 half-pints.
ingredients2¼ pounds cucumber
3 tablespoons plus 1 teaspoon salt
1½ cups water
1 cup apple cider vinegar or white wine vinegar
2 tablespoons brown sugar
1 tablespoon fennel seeds (Foeniculum vulgare)
1 tablespoon mustard (Brassica juncea) seeds
directionsCut the cucumbers into thin slices and place them in a bowl. Sprinkle with the salt and combine using your hands or a spoon until the salt is well distributed. Cover with a piece of cloth and leave to cure, undisturbed, in a cool place for 8 hours or overnight.
Once you’re ready to start pickling, begin by sterilizing 6 half-pint mason jars and their lids in a boiling water bath.
In the meantime, thoroughly rinse the cucumbers in cool water and drain well.
In a small saucepan, combine the water, vinegar, and sugar and bring to a boil. Stir well, making sure the sugar is dissolved, and reduce the heat to low to keep the pickling solution hot while you fill in your jars.
Distribute the cucumbers among the emptied, sterilized jars. To each jar, add 1 teaspoon of the fennel seeds and 1 teaspoon of the mustard seeds. Cover with the hot picking solution, leaving about ½-inch headspace.
Wipe the rims with a clean, dry cloth, apply the lids and bands (or clips), and tighten the bands until fingertip tight (if using). Process in a boiling water bath for 15 minutes or according to your altitude.
Once cool, label and date your jars. Allow the flavors to develop for 1 or 2 months before opening, if you like.
Sealed pickles will keep for at least 1 year at room temperature, away from direct sunlight. Once opened, store in the refrigerator (or your equivalent) and consume within 2 weeks.

Green Bean & Chamomile Pickles
Have you ever brought freshly picked green beans to your nose and been enchanted by their slightly floral scent? It comes as no surprise that chamomile shines bright in this flower-infused recipe—these flavors are meant to be together! Makes 1 quart
ingredients1 pound plus 2 ounces green bean pods
¾ cup vinegar
1 cup plus 3 tablespoons water
1 tablespoon brown sugar
1 tablespoon salt
1 tablespoon dried chamomile flowers (Matricaria chamomilla)
2 sprigs of fresh thyme (Thymus vulgaris), or 1 tablespoon dried
directionsStart by sterilizing a quart-size mason jar and its lid in a boiling water bath.
In the meantime, combine the water, vinegar, sugar, and salt in a small saucepan and bring it to a boil. Stir well, making sure the sugar and salt are dissolved, and reduce the heat to low to keep the pickling solution hot while you fill in your jars.
Trim off the ends of the green beans and discard. Place the beans upright in the emptied, sterilized jar. You should have ½-inch headspace; remove pods and trim to fit as needed. Add the chamomile and thyme. Cover with the hot picking solution, leaving about ½-inch headspace.
Wipe the rim with a clean, dry cloth, apply the lid and band (or clips), and tighten the band until fingertip tight (if using). Process in a boiling water bath for 15 minutes or according to your altitude.
Once cool, label and date the jar. Allow the flavors to develop for 1 or 2 months before opening, if you like.
Sealed pickles will keep for at least 1 year at room temperature, away from direct sunlight. Once opened, store in the refrigerator and consume within 2 weeks.
Zucchini, Ginger & Turmeric Sweet Pickles
Sweet, tender, zingy, and slightly spicy, these brightly colored pickles are a classic in our kitchen. You will find yourself reaching for the jar over and over! Makes one 1½ pint.

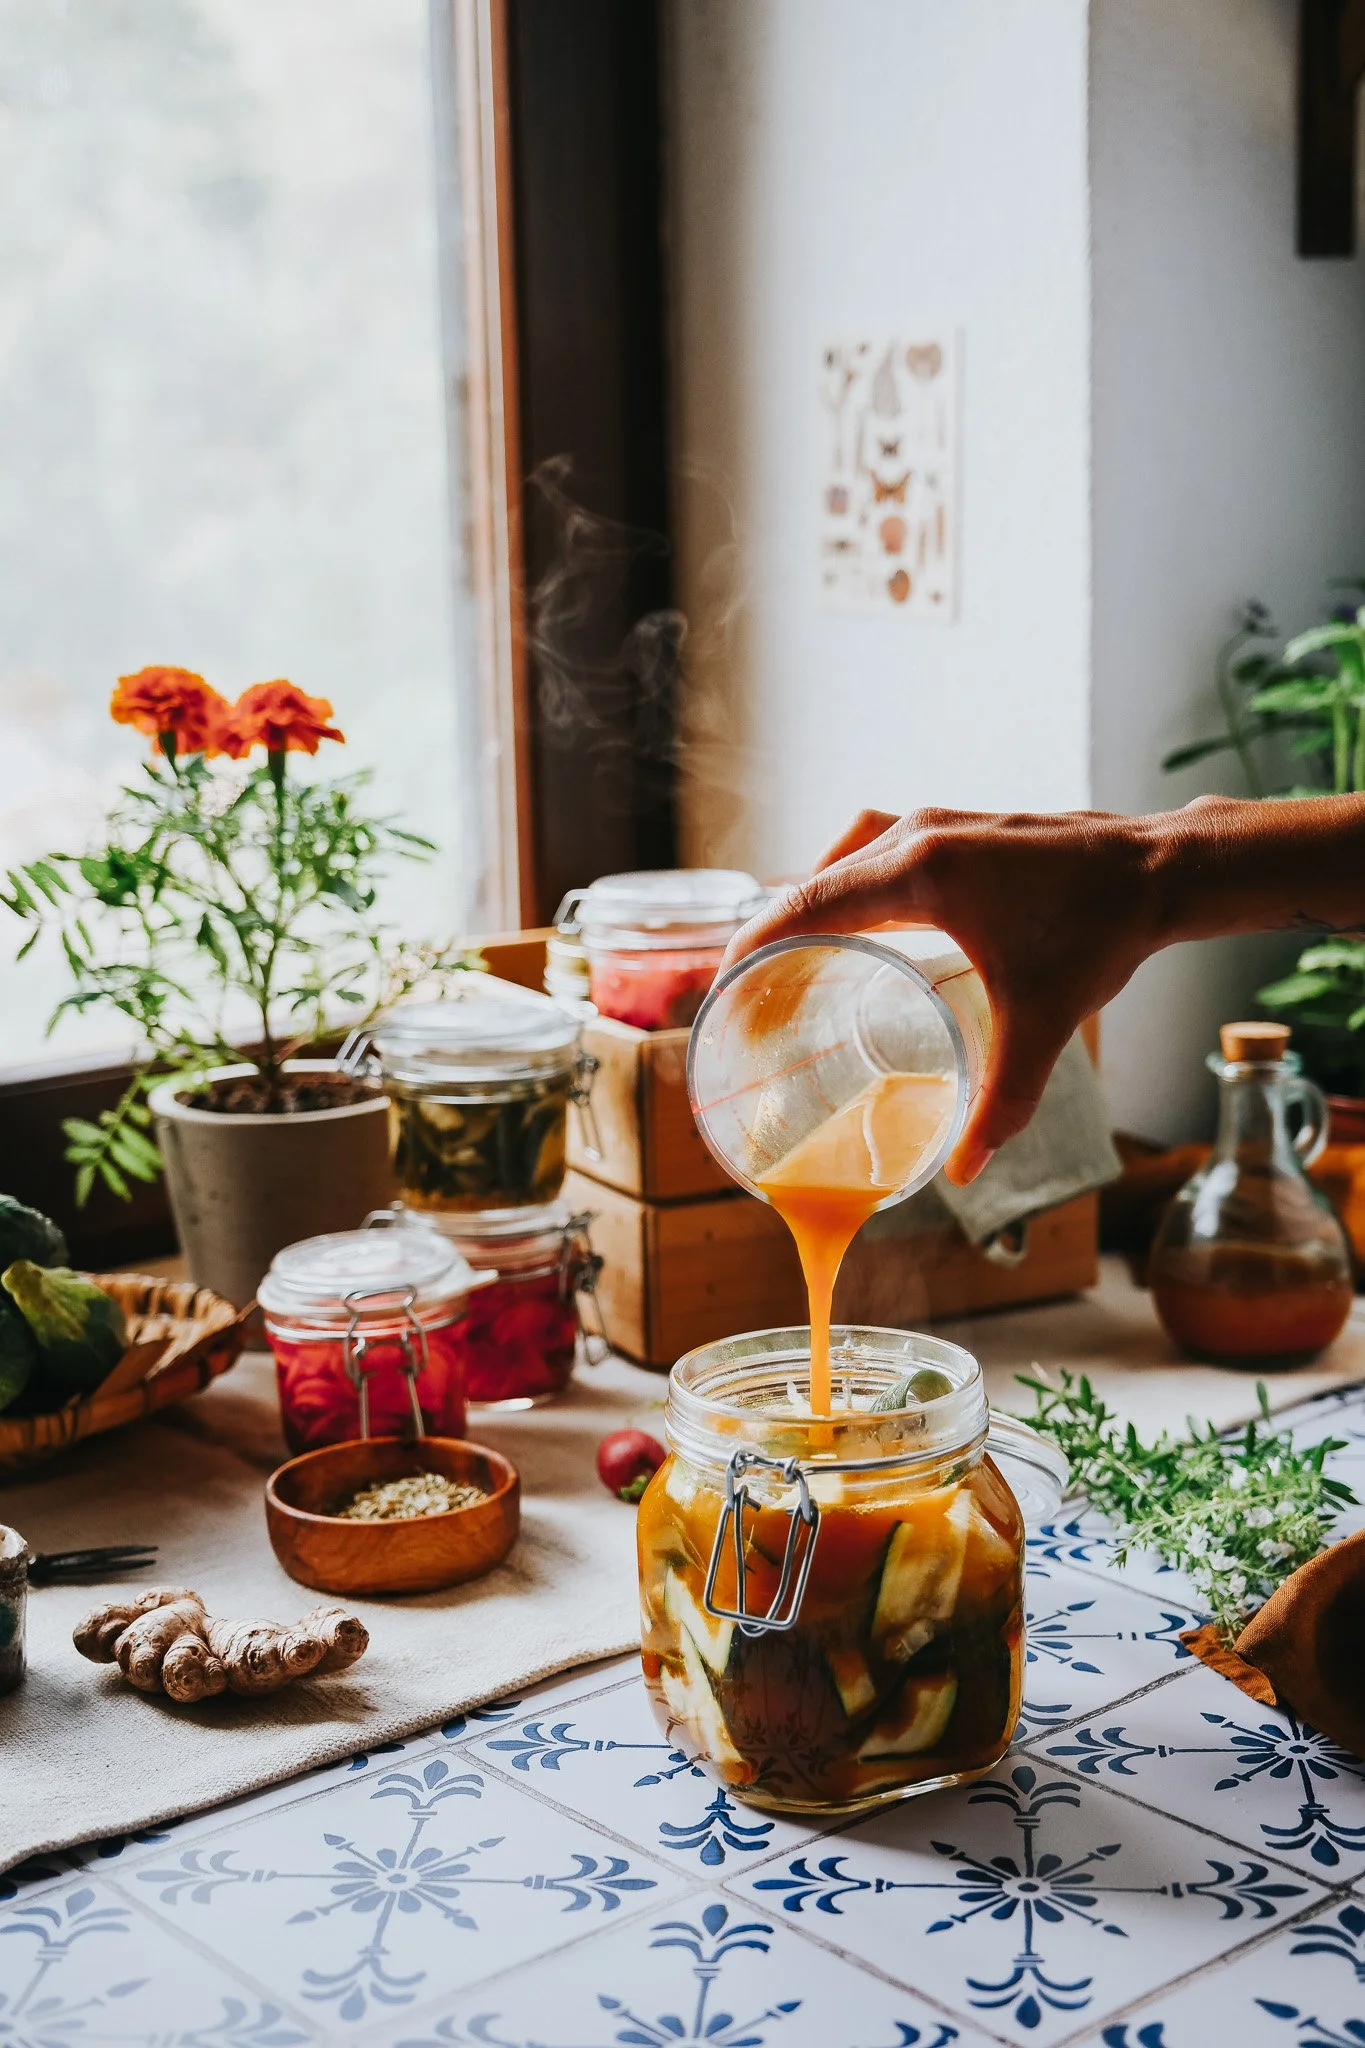
ingredients2¼ pounds zucchini
3 tablespoons plus 1 teaspoon salt
1 cup plus 3 tablespoons vinegar
1 cup sugar
1 teaspoon ground turmeric (Curcuma longa) rhizome
½ teaspoon ground ginger (Zingiber officinale) rhizome
directionsSlice the zucchini into thin ribbons using a mandoline or knife and place in a bowl. Sprinkle with the salt and combine using your hands or a spoon until the salt is well distributed. Cover with a piece of cloth and leave to cure, undisturbed, in a cool place for 8 hours or overnight.
Once you’re ready to start pickling, begin by sterilizing a 1½-pint mason jar and its lid in a boiling water bath.
In the meantime, thoroughly rinse the zucchini in cool water and drain well.
In a saucepan, combine the vinegar, sugar, turmeric, and ginger and bring to a boil. Stir well, making sure the sugar is dissolved, and reduce the heat to low to keep the pickling solution hot while you fill in your jars.
Pack the zucchini ribbons into the emptied, sterilized jar and cover with the hot pickling solution, leaving about ½-inch headspace.
Wipe the rim with a clean, dry cloth, apply the lid and band (or clips), and tighten the band until fingertip tight (if using). Process in a boiling water bath for 15 minutes or according to your altitude.
Once cool, label and date the jar. Allow the flavors to develop for 1 or 2 months before opening, if you like.
Sealed pickles will keep for at least 1 year at room temperature, away from direct sunlight. Once opened, store in the refrigerator and consume within 2 weeks.
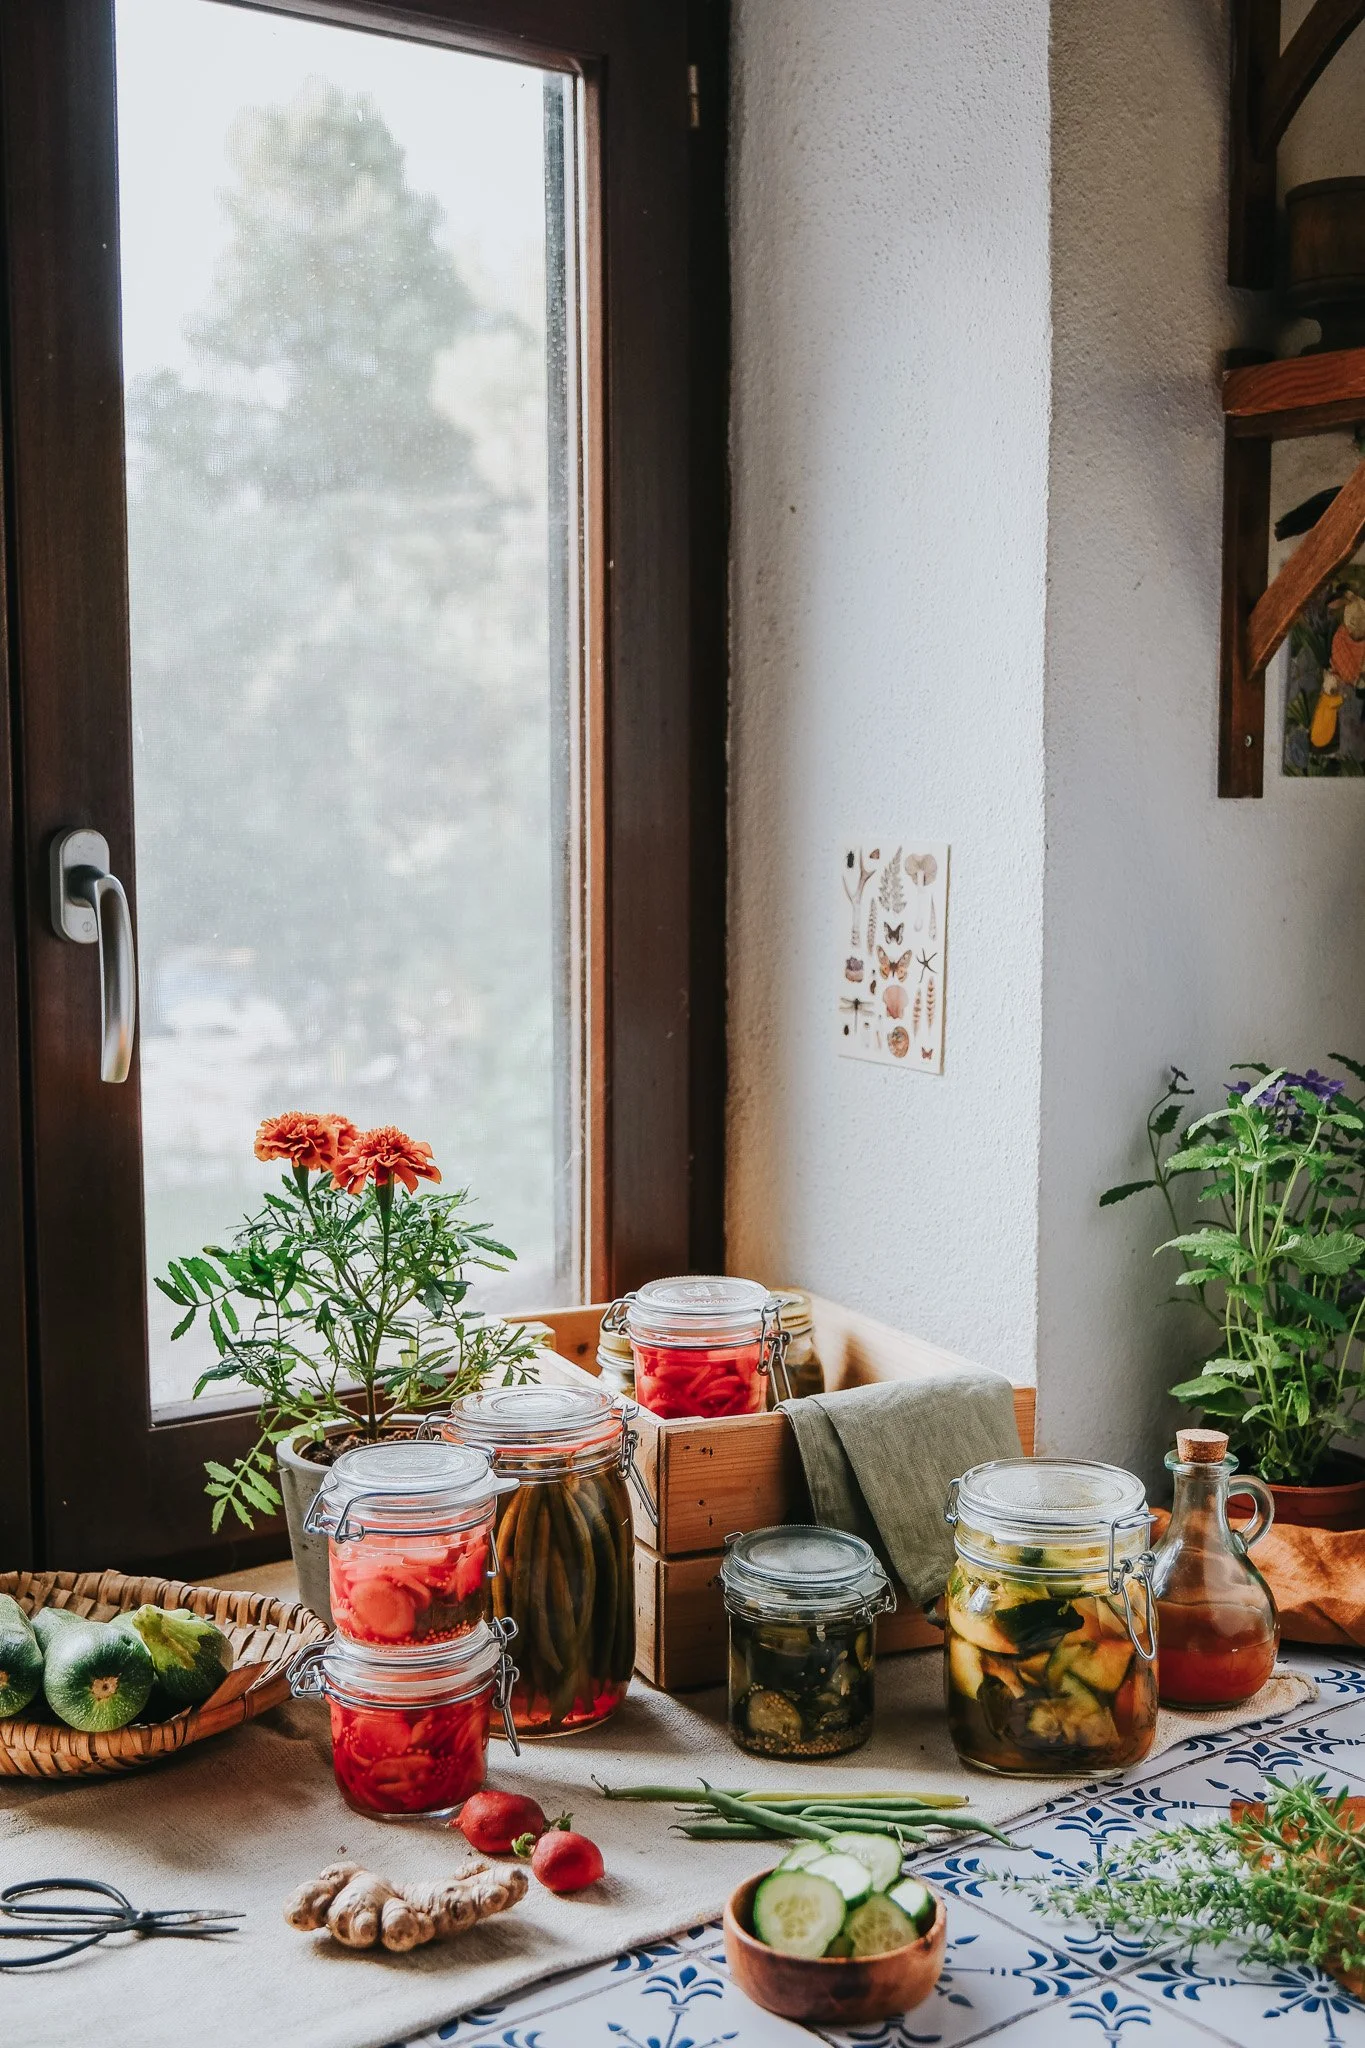
BOILING WATER BATH
Place a canning rack or round wire rack in the bottom of a large, deep saucepot, fill halfway with water, and bring to a boil. To save on resources, you can process your pickles in the same pot and water you sterilized your jars in. Have a kettle of boiling water handy in case you need to top off the pot.
Carefully lower the filled and lidded jars into the pot and place on the rack, upright. If you are doubling or tripling the recipe, add as many jars as will fit in a single layer. Add more boiling water as needed so the tops of the jars are covered by 1½ to 2 inches (3 to 5 cm) of water.
Cover the pot with a lid and process the jars in the boiling water for 15 minutes. Adjust this time for your altitude if needed: if you live above 1,000 feet, add 5 extra minutes; for every additional 6,000 feet beyond that, add 5 more minutes. Make sure to maintain a rolling boil throughout the processing time.
Using a jar lifter, remove the jars from the pot and set on a rack or towel on the countertop to cool.
Once the jars are cool enough to handle, test the seals. For jars with metal lids, press on the top and listen for a click, which would indicate a bad seal. For clip-top jars, undo the clip and lift the jar by the lid, which should not move. If a jar didn’t seal, you can either refrigerate it and use immediately or repeat the boiling water bath within 24 hours (check the metal lid or rubber bands for tiny nicks, replacing the damaged piece if necessary).

Happy harvesting, happy pickling, happy winding down of summer, y’all! 💛