Felted lavender sachets
Summer gifts us with a colorful abundance of fragrant blooms, accompanied by the dance and buzz of insects among these botanical colors.
Many of the flowers in our garden are left exactly where they are for pollinators and self-seeding (I like following a simple rule - pick one, leave nine behind). What is harvested, though, gives rise to a creative rush. What can I create with these flowers? Most of my edible flowers are usually dried for infusions and incorporation in foods for months to come, and some make their way into my apothecary for salves and oils. Colorful bouquets are scattered around the house these months, too.
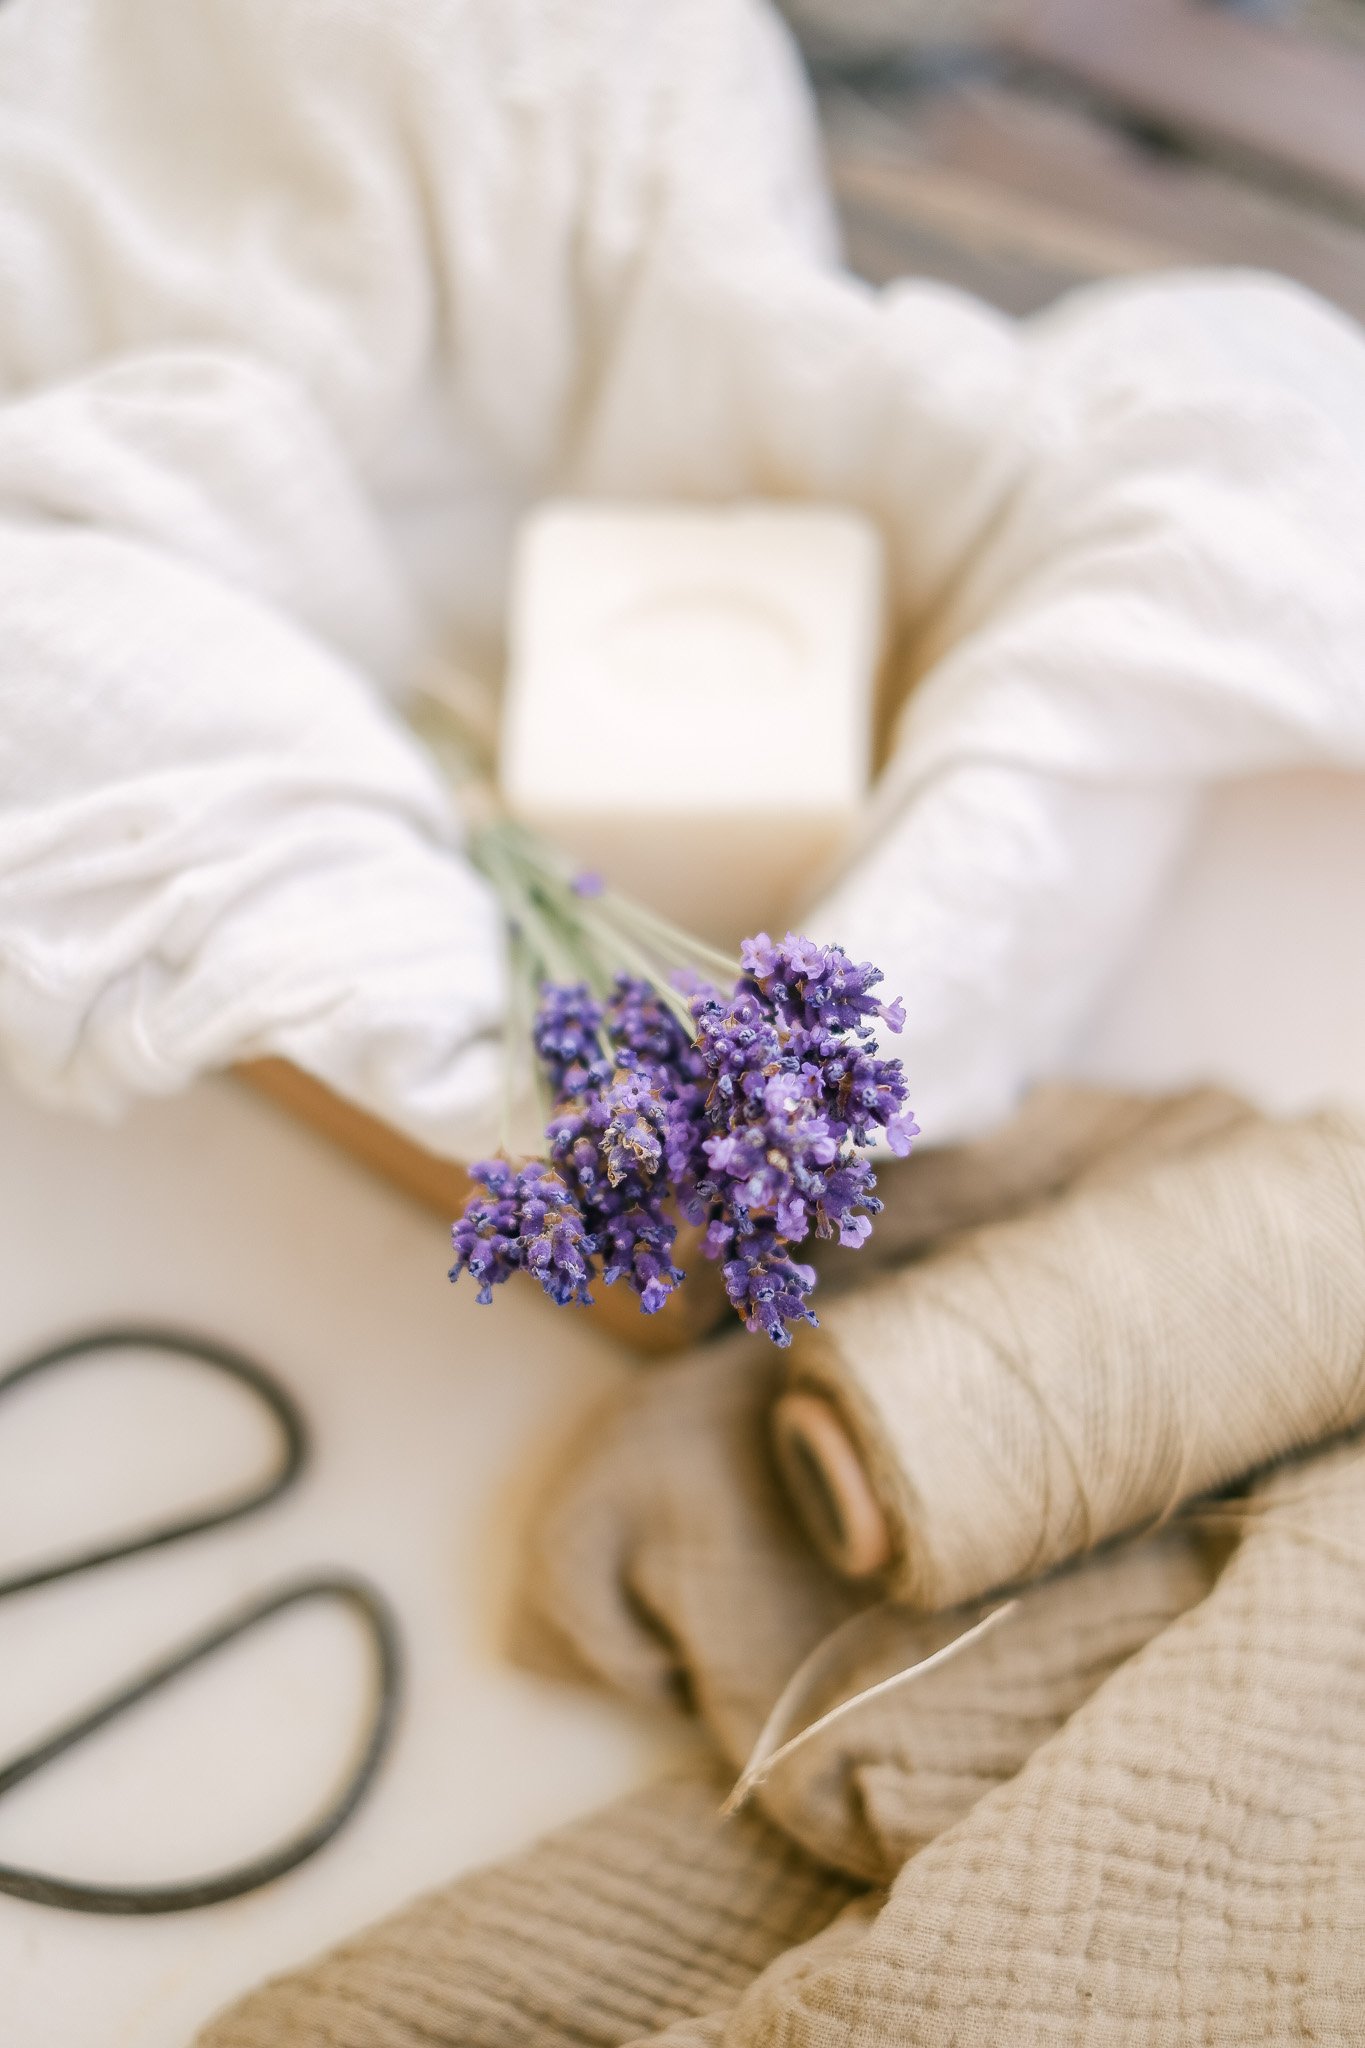
One of my favorite flowers to work with from spring through summer is lavender (Lavandula spp.). Fragrant, relaxing, and evocative of a restful night on freshly washed linen, there are so many reasons to love lavender. This gentle nervine is often found in my apothecary, pantry cabinets, and clothes drawers too. The latter might be one of the easiest ways to bring this aromatic herb into your day-to-day life, allowing it to lend its scent to your clothes… And there are so many ways to craft with lavender with this goal! Making lavender wands is one of my favourites (and my signature workshop!), but it doesn’t have to end there.
Lavender has been traditionally used here in the Mediterranean to perfume clothes’ drawers, where it also acts as a moth repellent. Opening a drawer and being greeted by this summer-like scent is a small moment of joy in itself. For the most fragrant flowers, it’s best to harvest lavender just before the flowers open and allow it to dry in the shade.
Here is a simple tutorial to make your own lavender sachets from felted wool. This project is great for beginners, as the felt is itself an extremely forgiving material to work with. Besides, we will be stitching them by hand, so you can enjoy this tutorial even if you don’t have a sewing machine.
Because I make my own felted wool from my sheep or the neighborhood’s, I am including a tutorial for making your own felt, too. However, this project works just as well with purchased felt. Use what you have at hand!

FELTING
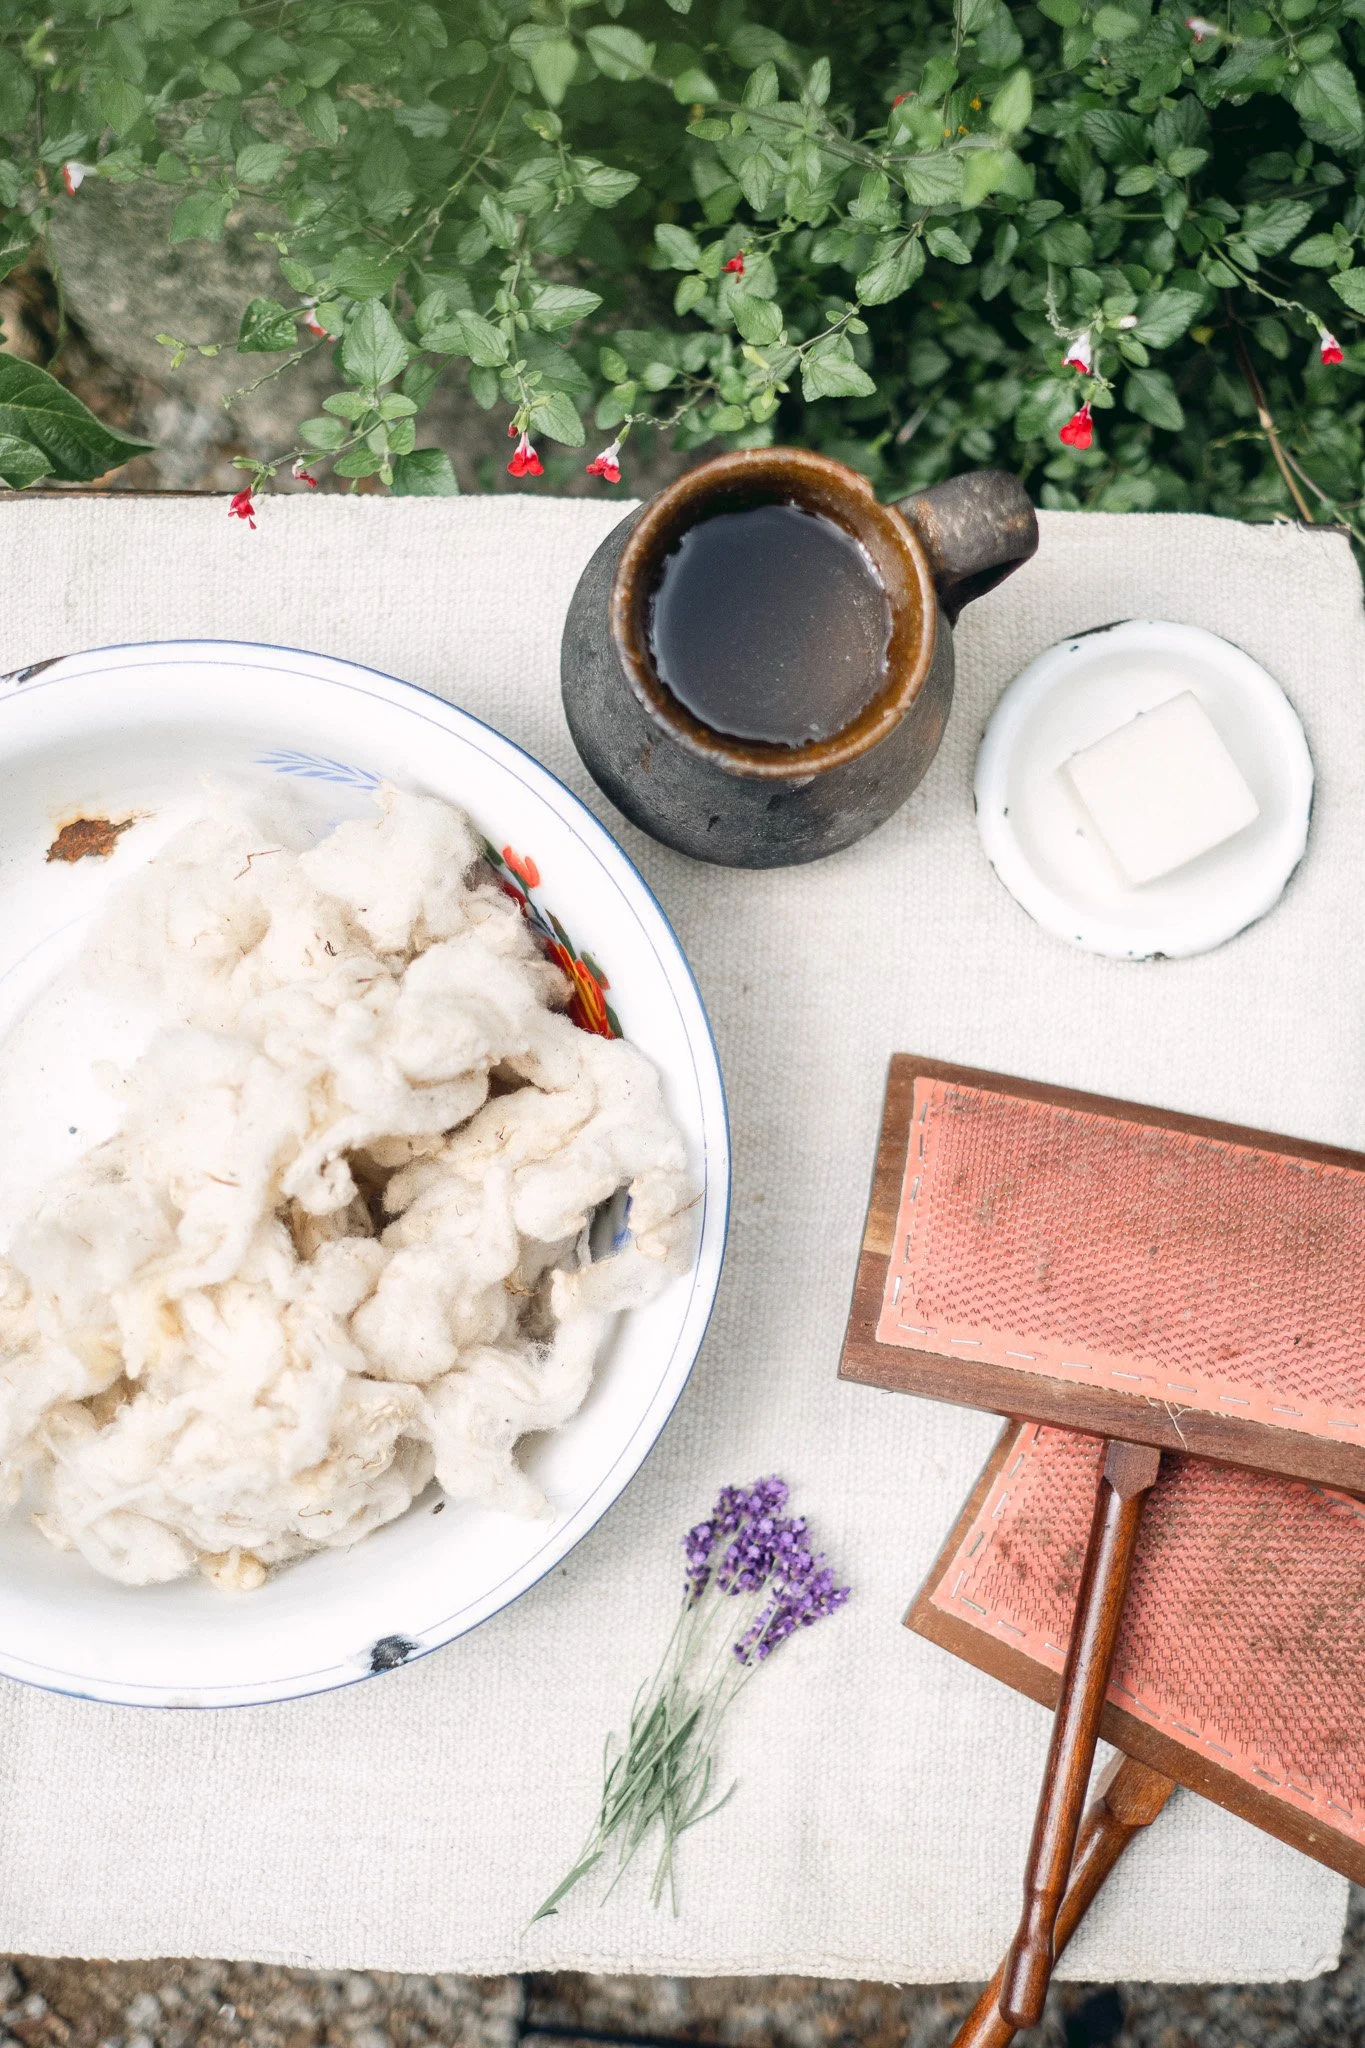
you’ll needwashed fleece
carders
a shallow basin (alternatively, simply work on top of a large, flat surface such as a table covered with tarp or a plastic bag)
hot water
liquid soap
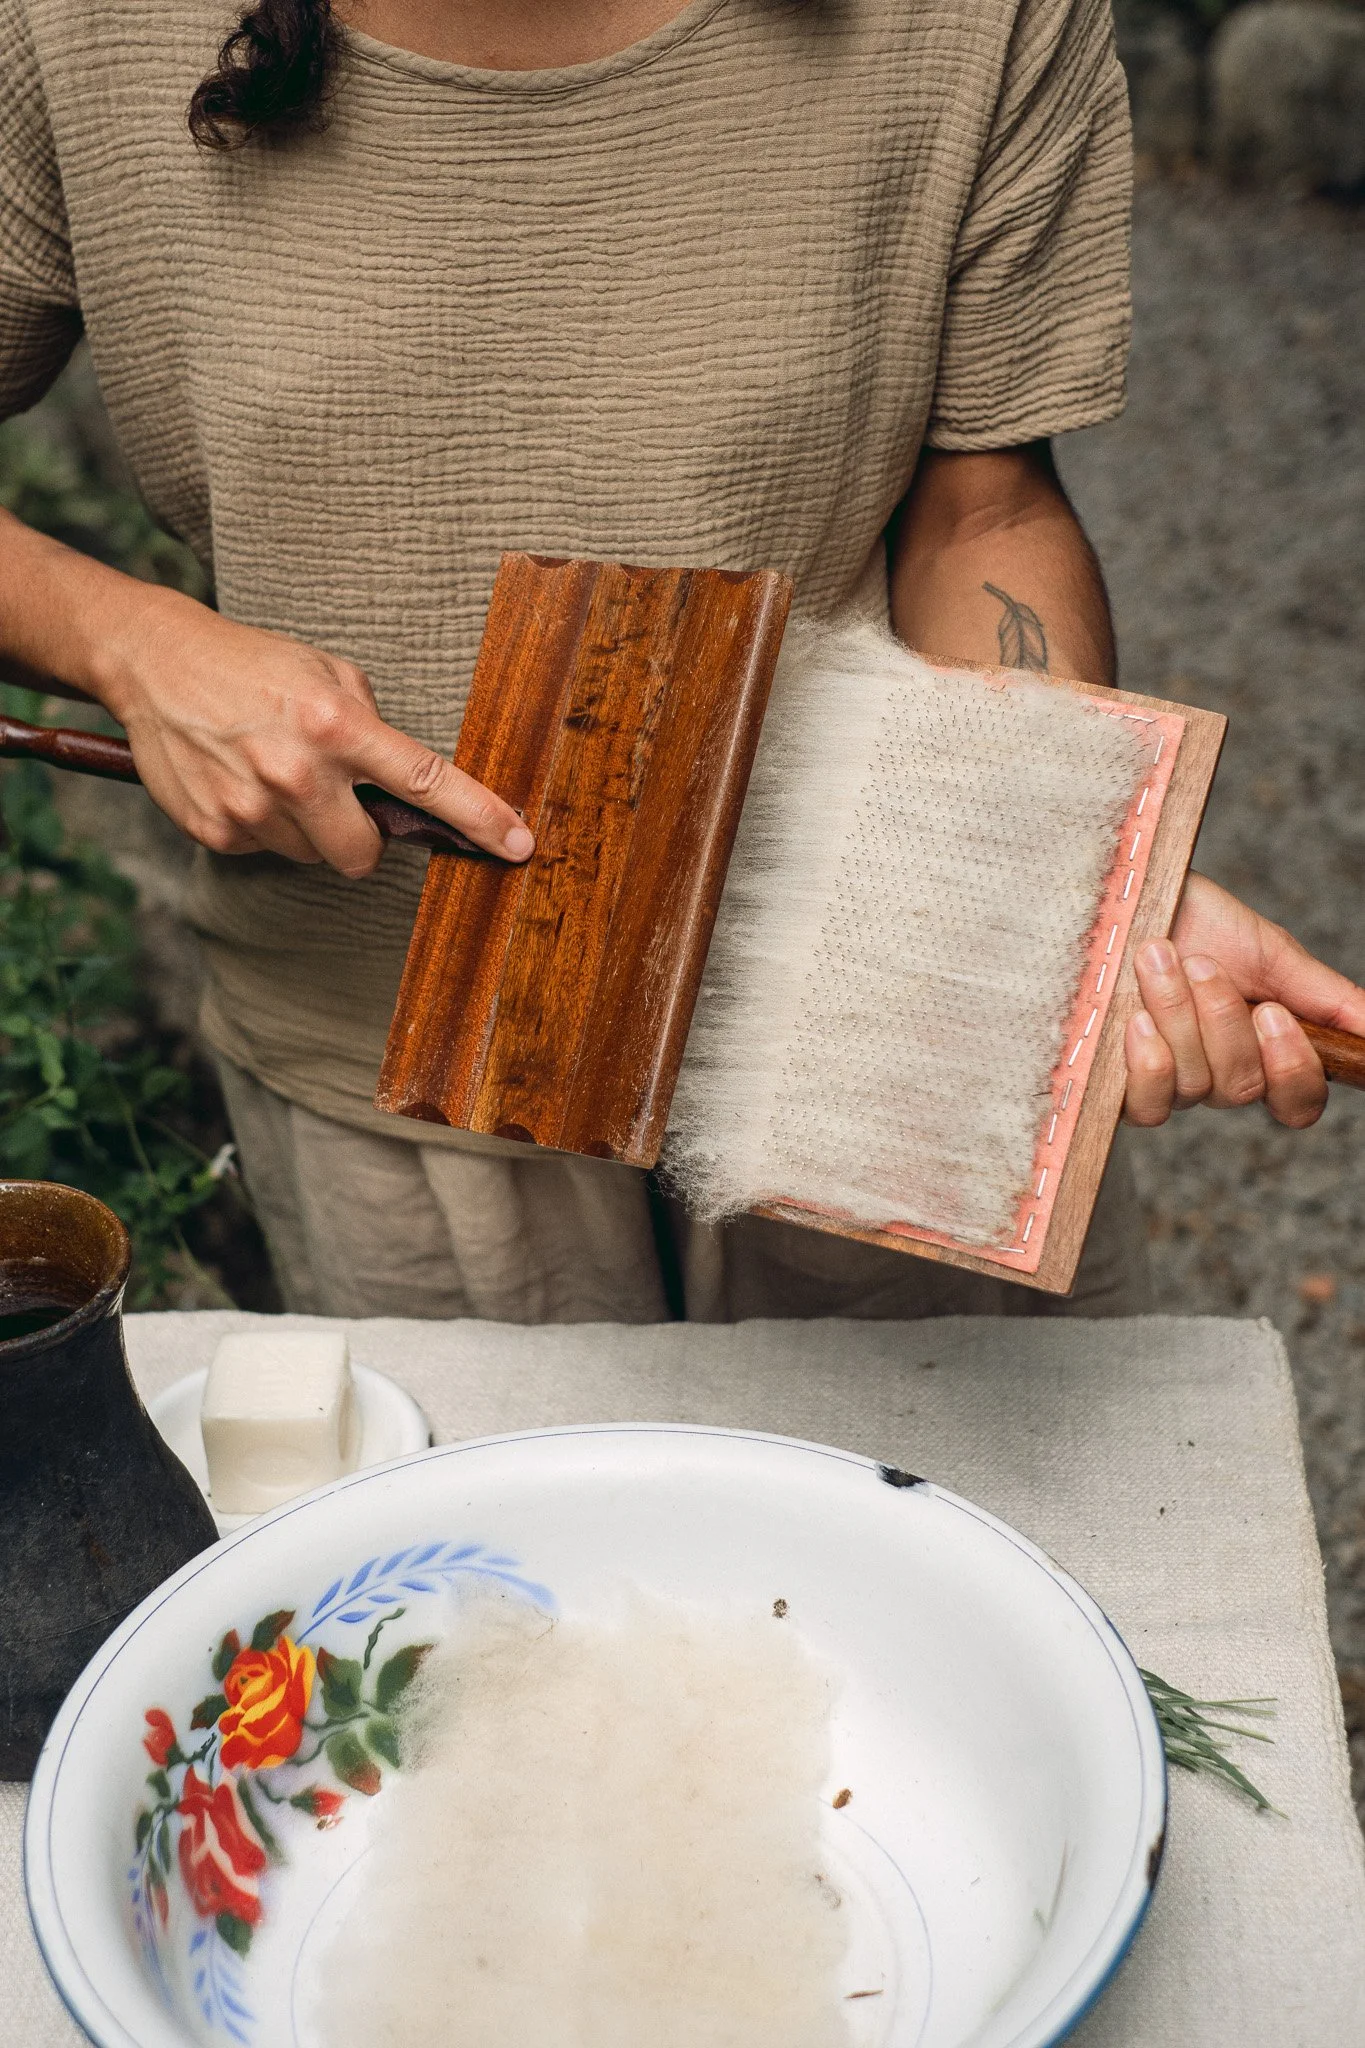
directionsBegin by carding your fleece and removing any remaining vegetable matter.
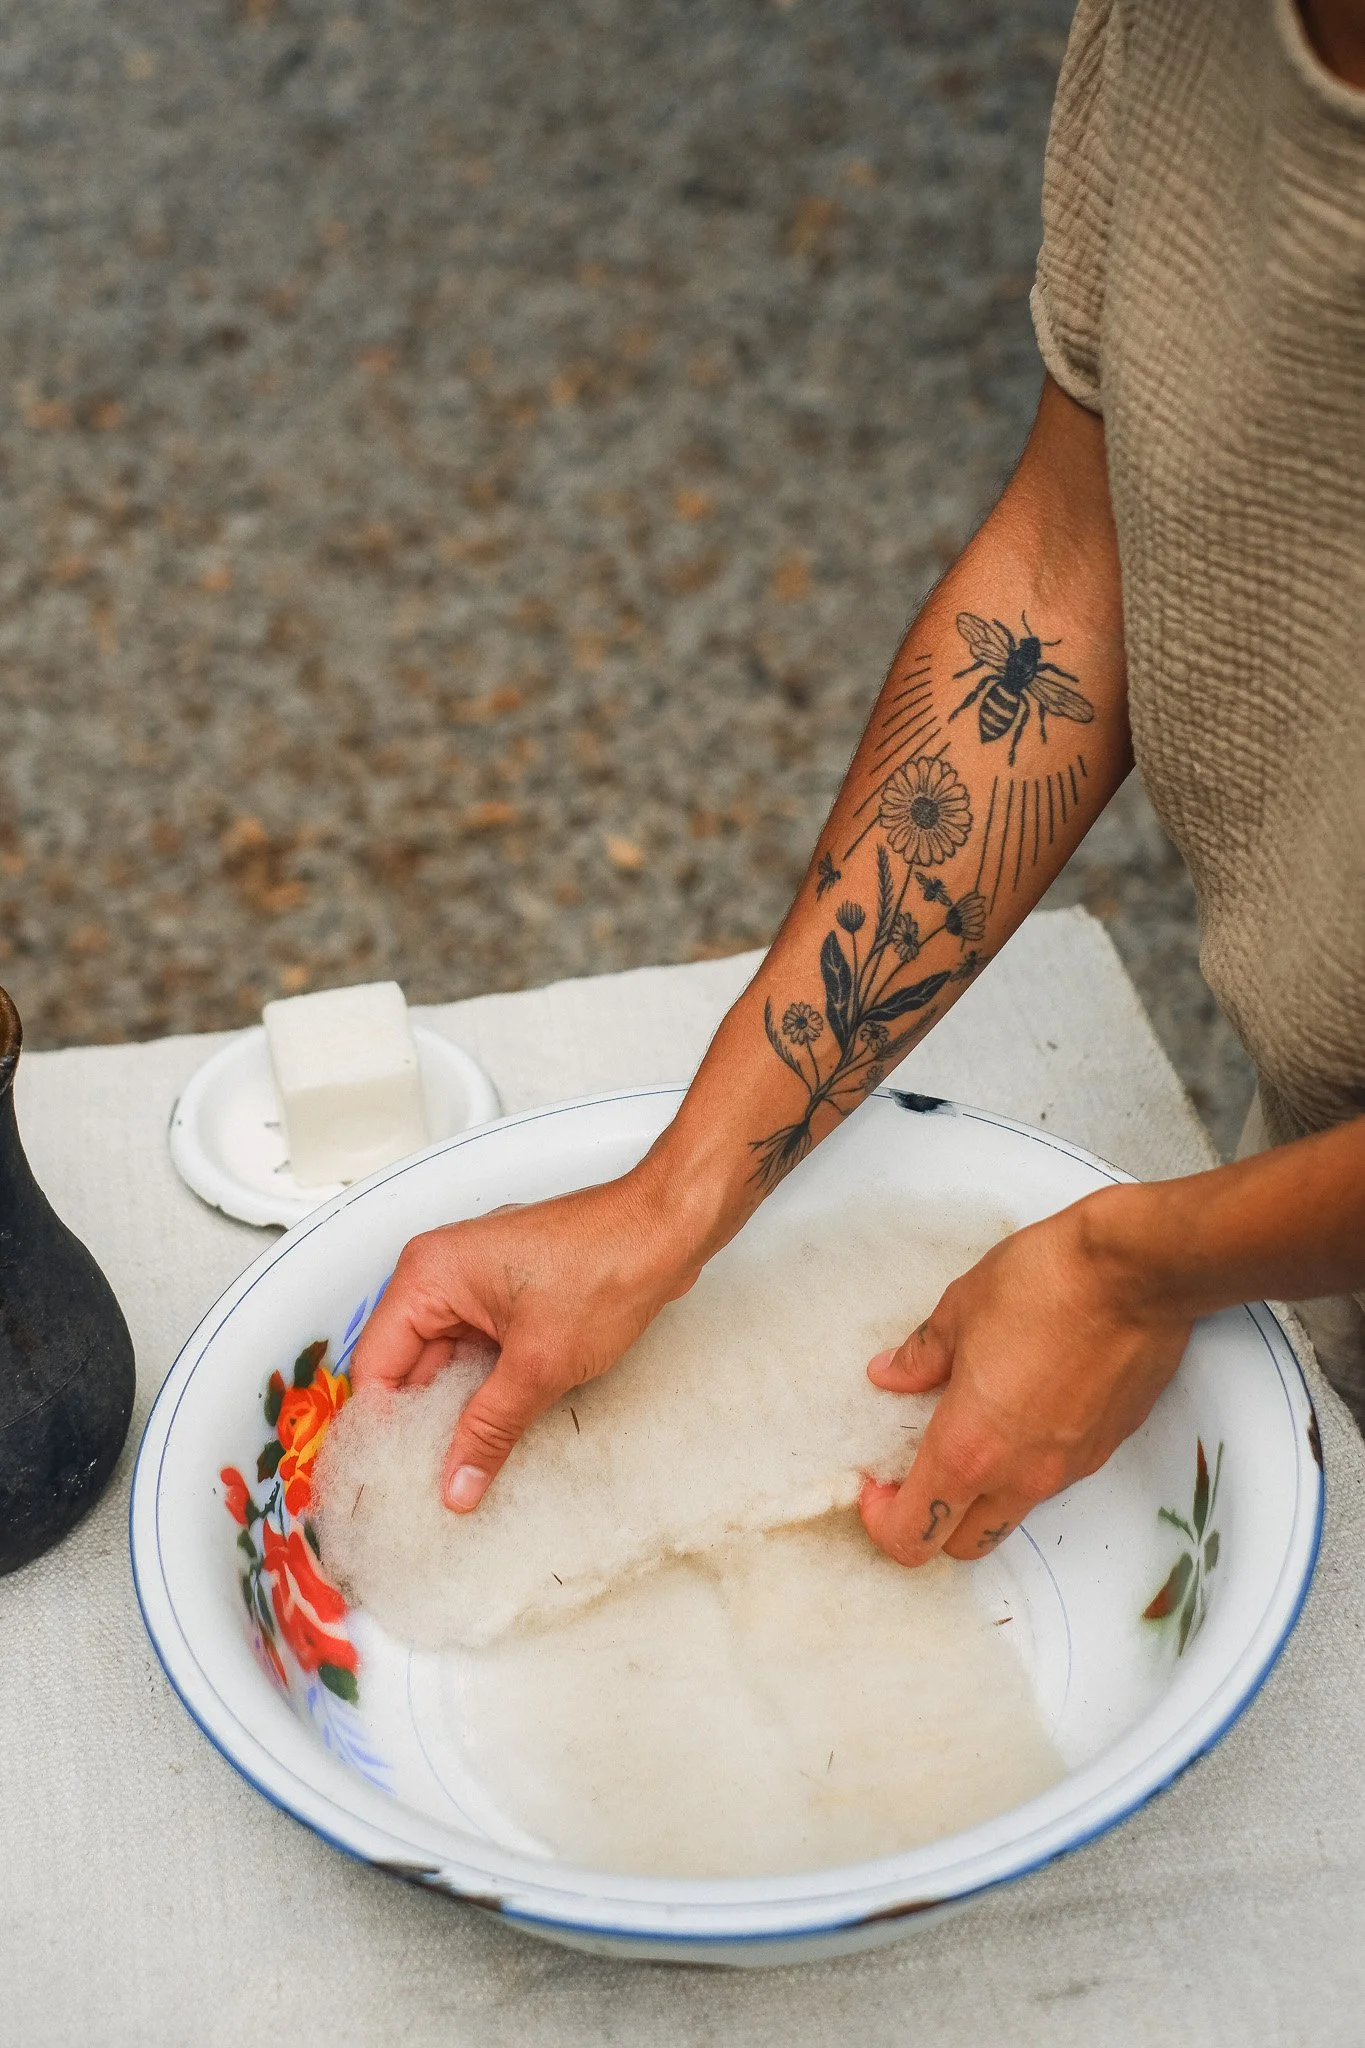
Then, start layering your rectangles of carded fleece. I use 2-3 rectangles next to each other, with fibers running in parallel, to create a layer. When placing the next layer of fleece on top of this one, make sure its fibers are perpendicular to the ones below. Keep repeating this process until you have worked about 6 layers of fleece (see image).
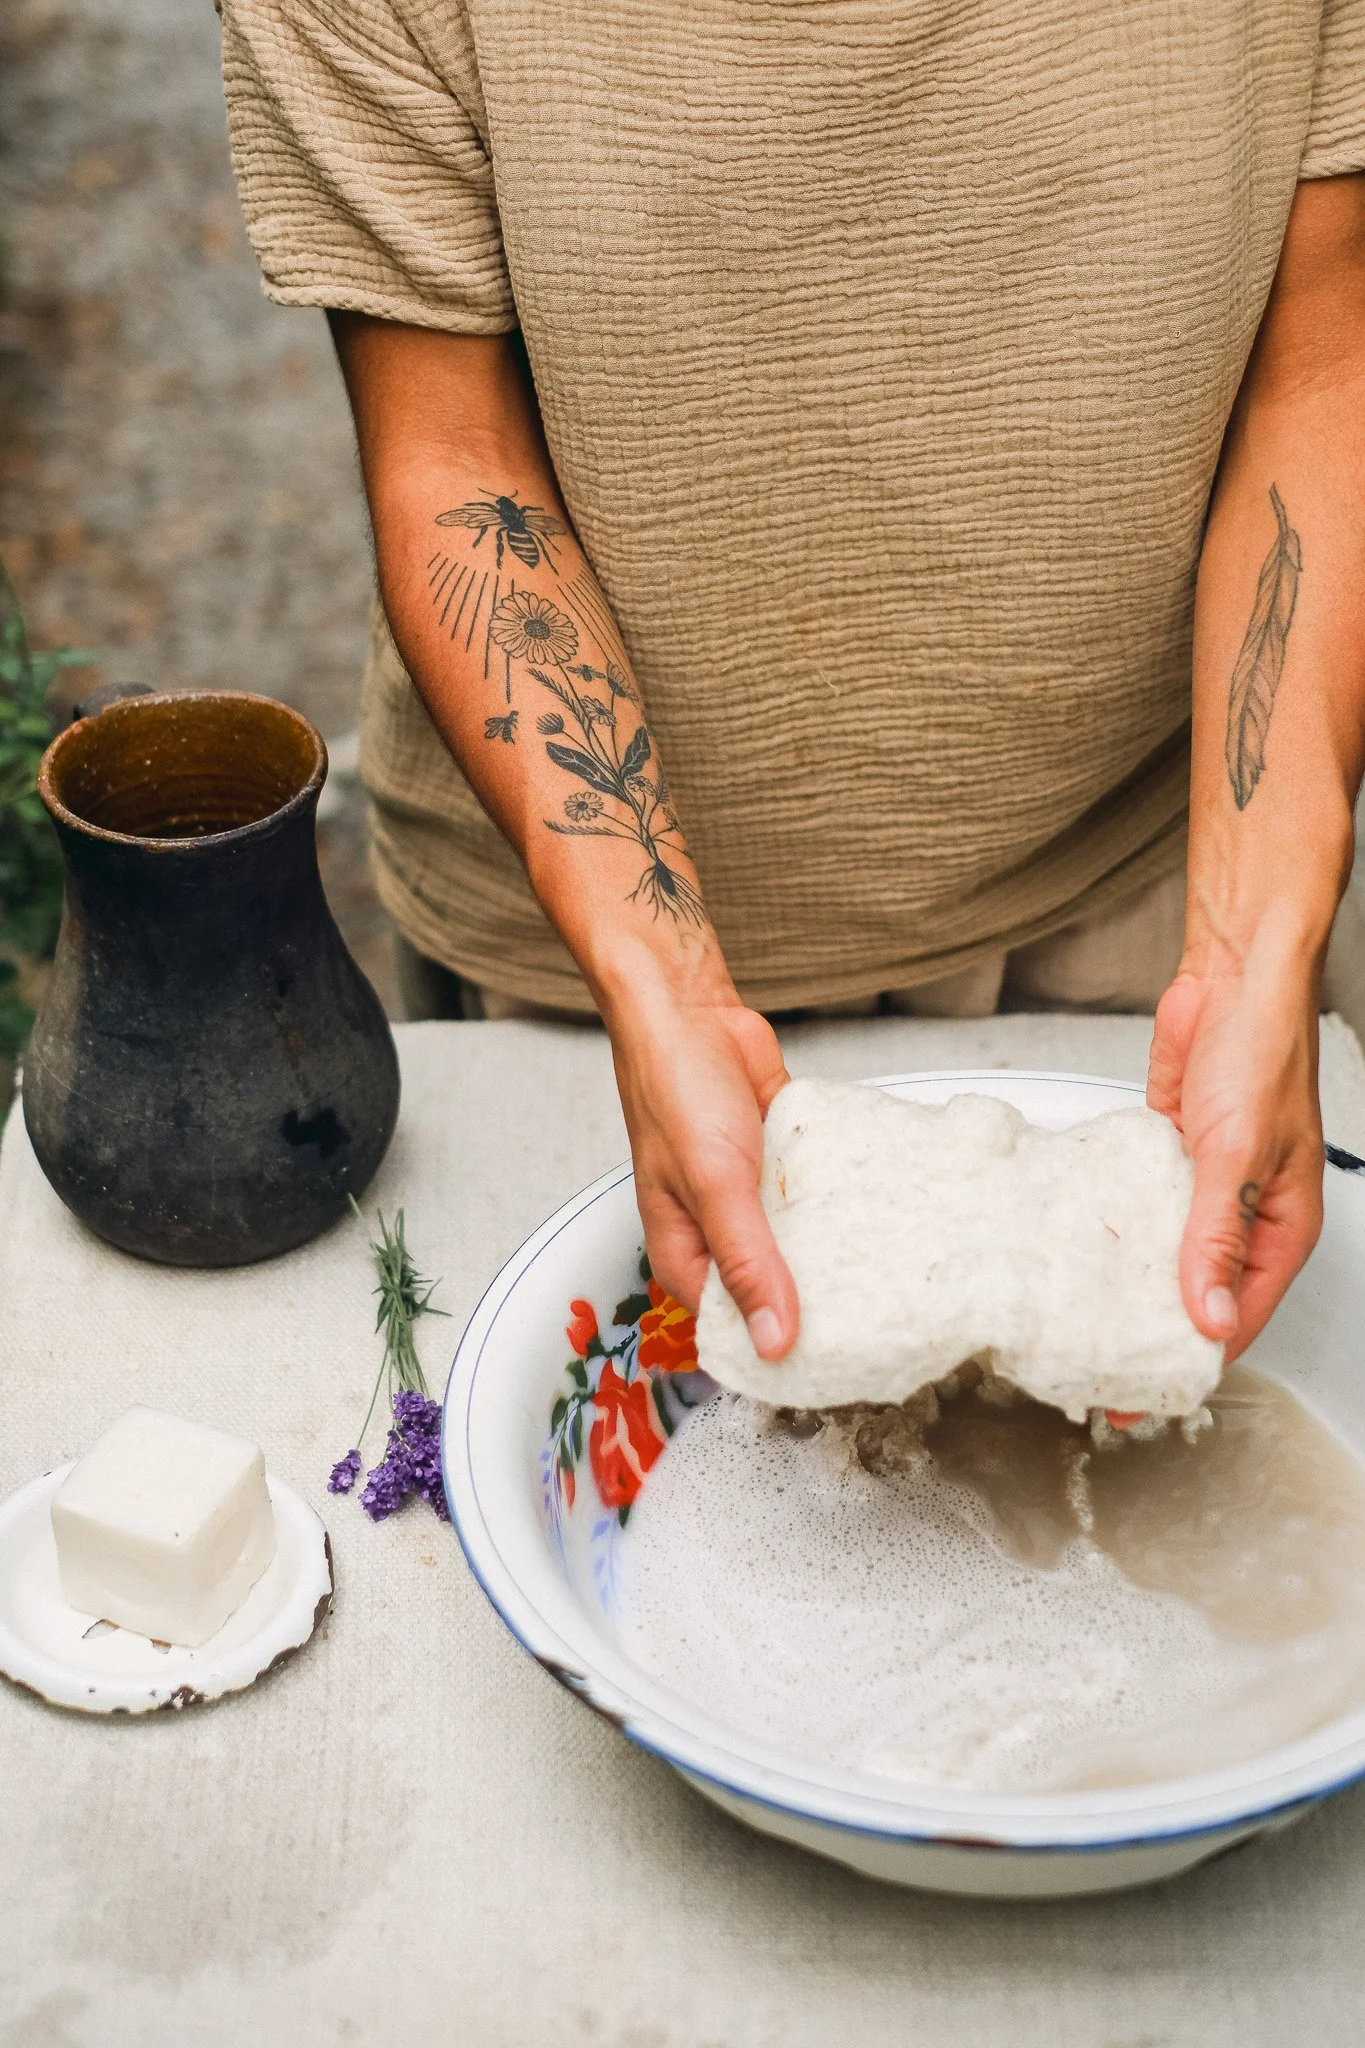
Generously distribute liquid soap on top of the fleece, followed by a small amount of hot water, enough to soak all the fiber.
Now starts the felting process. Use your hands to press and pat the wool, adding motion to the work (think of what happens inside of a washing machine! Just don’t turn your wool too much in the beginning, as it doesn’t have enough structure to hold together). Once your wool starts felting, which should happen after a few minutes, you can use your knuckles to rub the wool further. Add more soap and hot water as needed.
Turn your wool around and work the other side as well!
Once both sides have been thoroughly worked and the piece feels well felted, with fibers joined together, you can roll up your felted rectangle and squeeze it tightly, massaging and repeating on the other side.
Squeeze your piece and allow it to dry completely before using. You’ve made felted wool!
If after drying you notice that some patches are not strong or thick enough, you can use a felting needle and some extra yarn to patch felt until the piece feels just right.

MAKING THE SACHET
you’ll needA piece of felted wool large enough to cut out two circles of the size you desire
A round object, such as a large glass or bowl, in the size you desire your sachet to be
A marker
Scissors
Embroidery materials (optional)
Lightweight yarn and needle, for sewing
Dried lavender, enough to fill your sachet
directionsUse your round object to trace two circles on the felt with a marker. Cut them out.
If you wish to embellish your sachet with embroidery, now is the time to add any decorative details to your felted circles! Remember that the side where the marker is visible will be the inside of the sachet.
Sew together both felted circles along the edges. I use a simple blanket stitch for this. Before you reach the starting point, leave an opening and put the needle aside - don’t cut the thread.
Using your hands or a teaspoon, scoop the dried lavender inside the sachet. Don’t overfill it, as too much pressure might damage the felt.
Pick up your needle and sew along the opening to close it. Tie a knot at the end and hide the thread by sliding it inside the sachet.
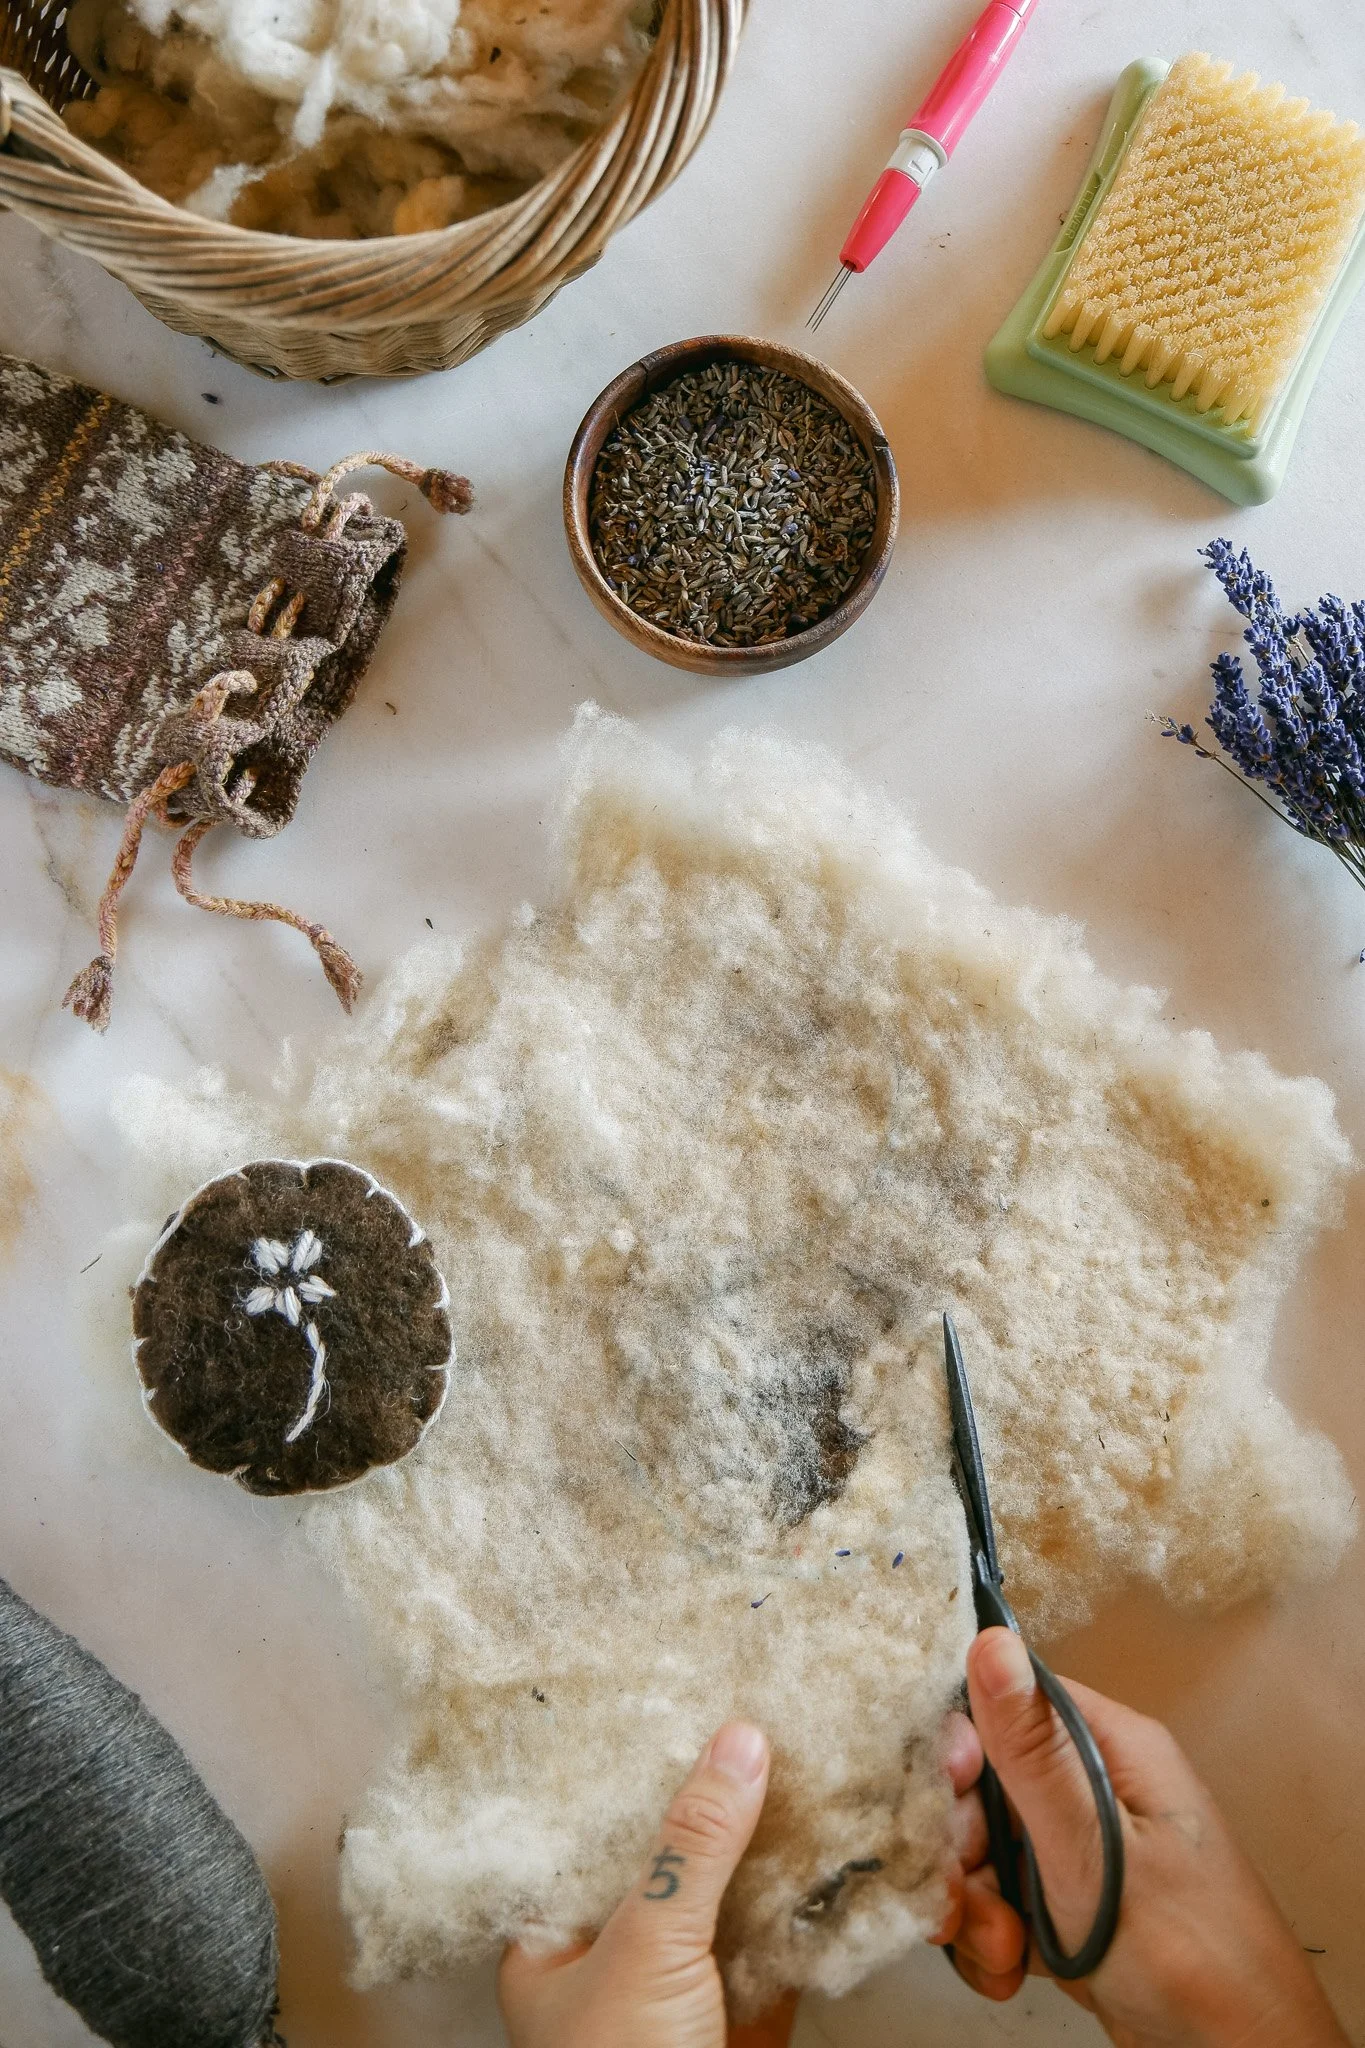


To use your new lavender sachet, simply place it inside your drawers. It also makes a lovely companion next to your pillow on those nights you or anyone in your family is having trouble falling asleep.
Your sachet will remain fragrant for a couple of years and, to refresh the scent if it starts fading, simply press it gently between your palms to release the natural oils.


And speaking of wool crafts, here are only a few of the little things I’ve cast off lately. I’ve found the act of hopeful knitting for a baby an unexpected source of joy, comfort, and healing. And so this small collection grows…
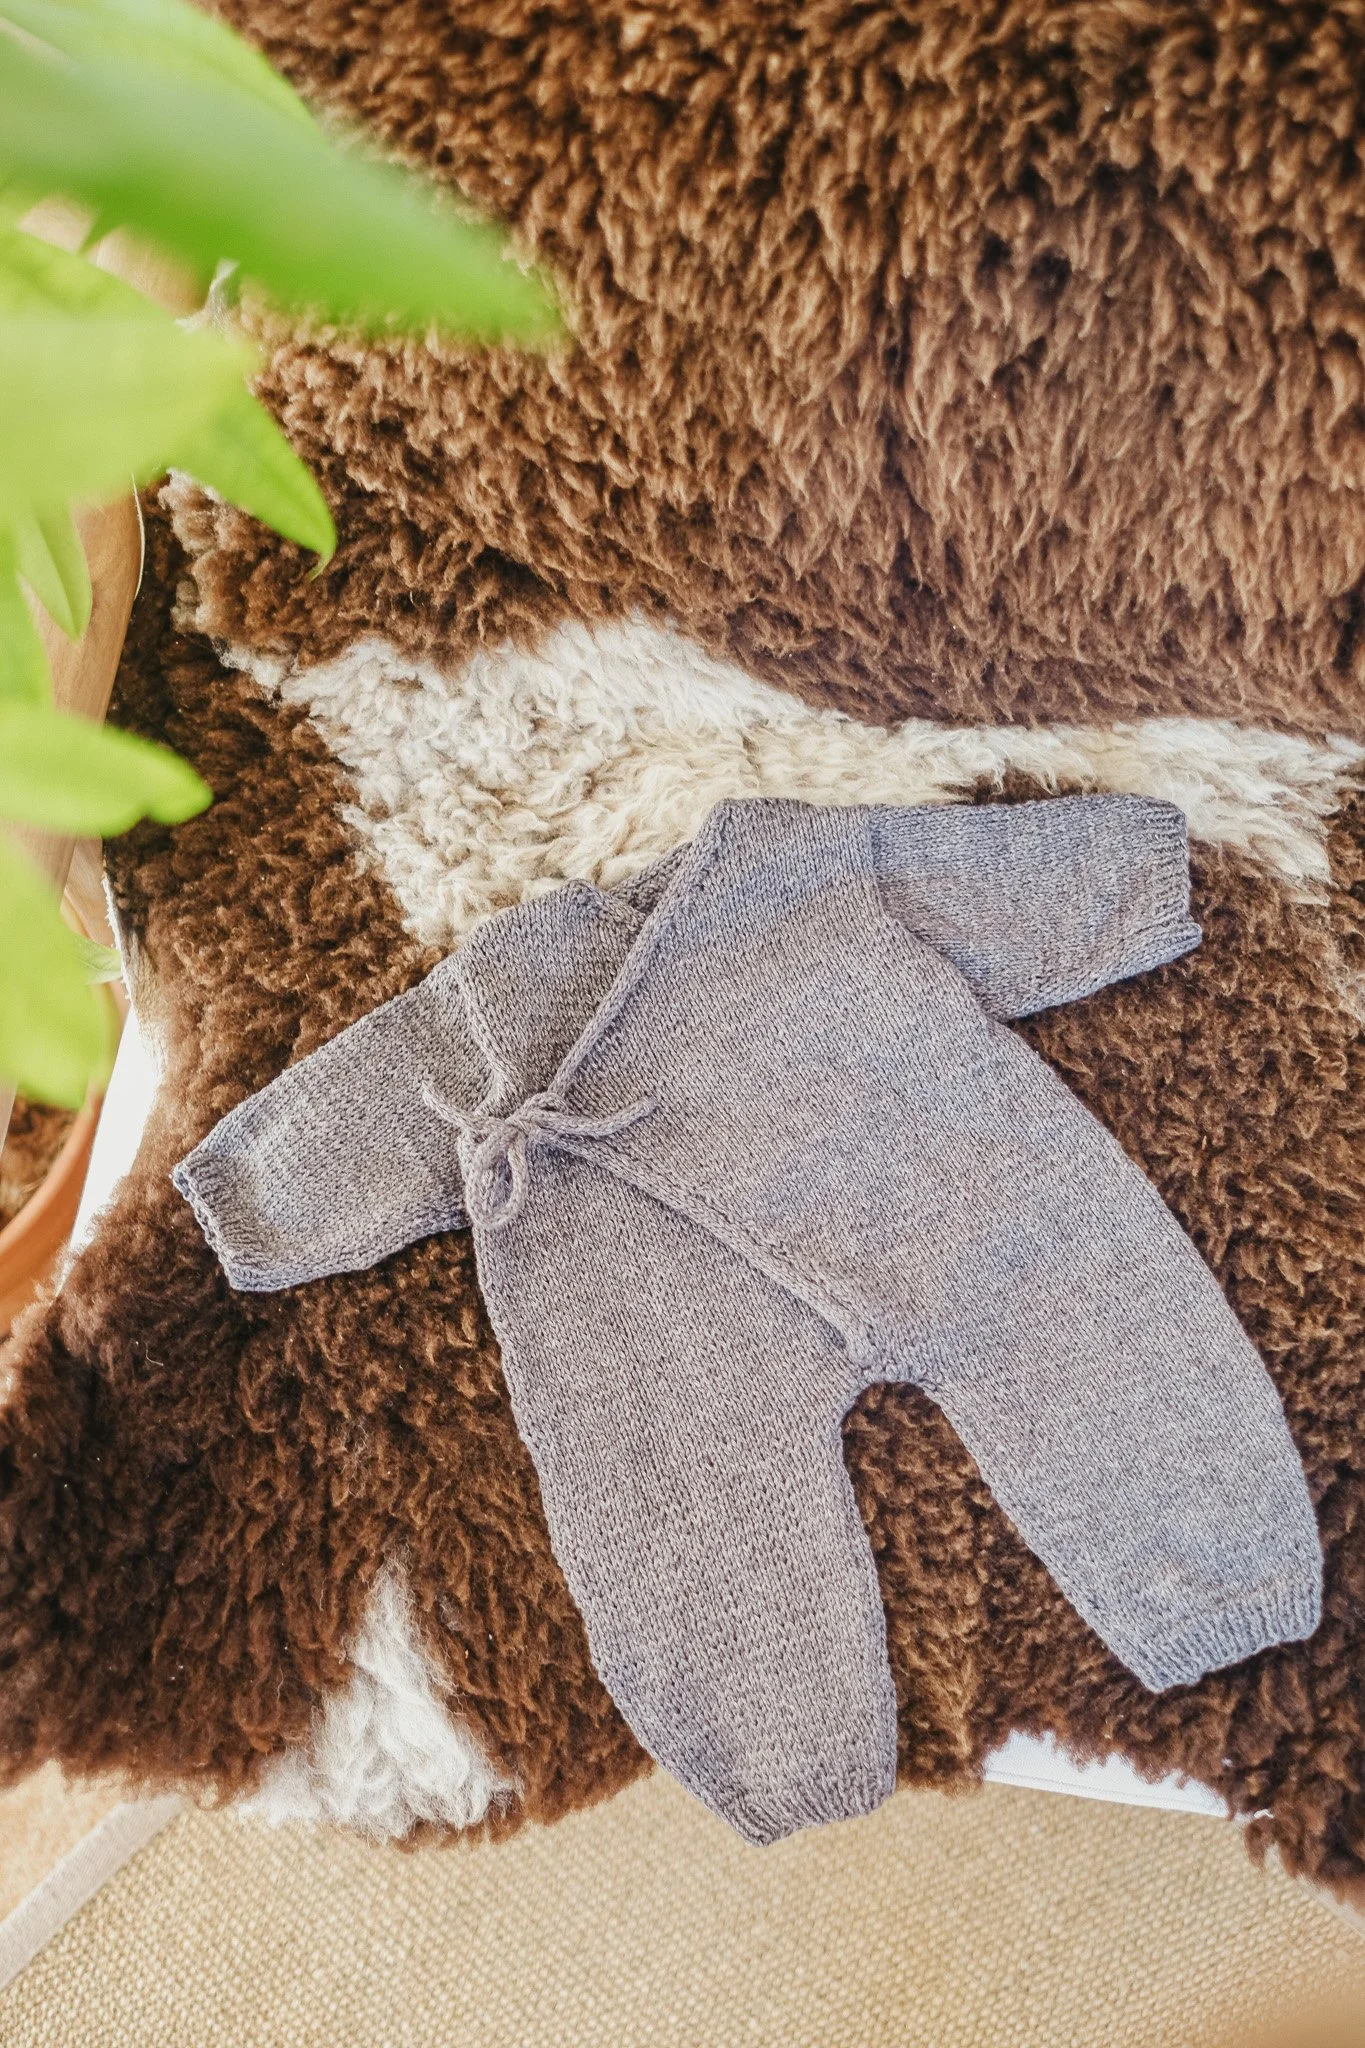
Pattern: Kimono Jumpsuit, knitted in a cotton and wool blend.

Pattern: Pearls-on-a-String Sweater, knitted in fluffy unspun Manchelopis yarn

Pattern: Anker’s Jacket, again in soft Manchelopis ☁️

And that’s it for today, friends. I hope you’re all having a good summer, and keeping cool! Care to share some of the things you’ve been making lately?