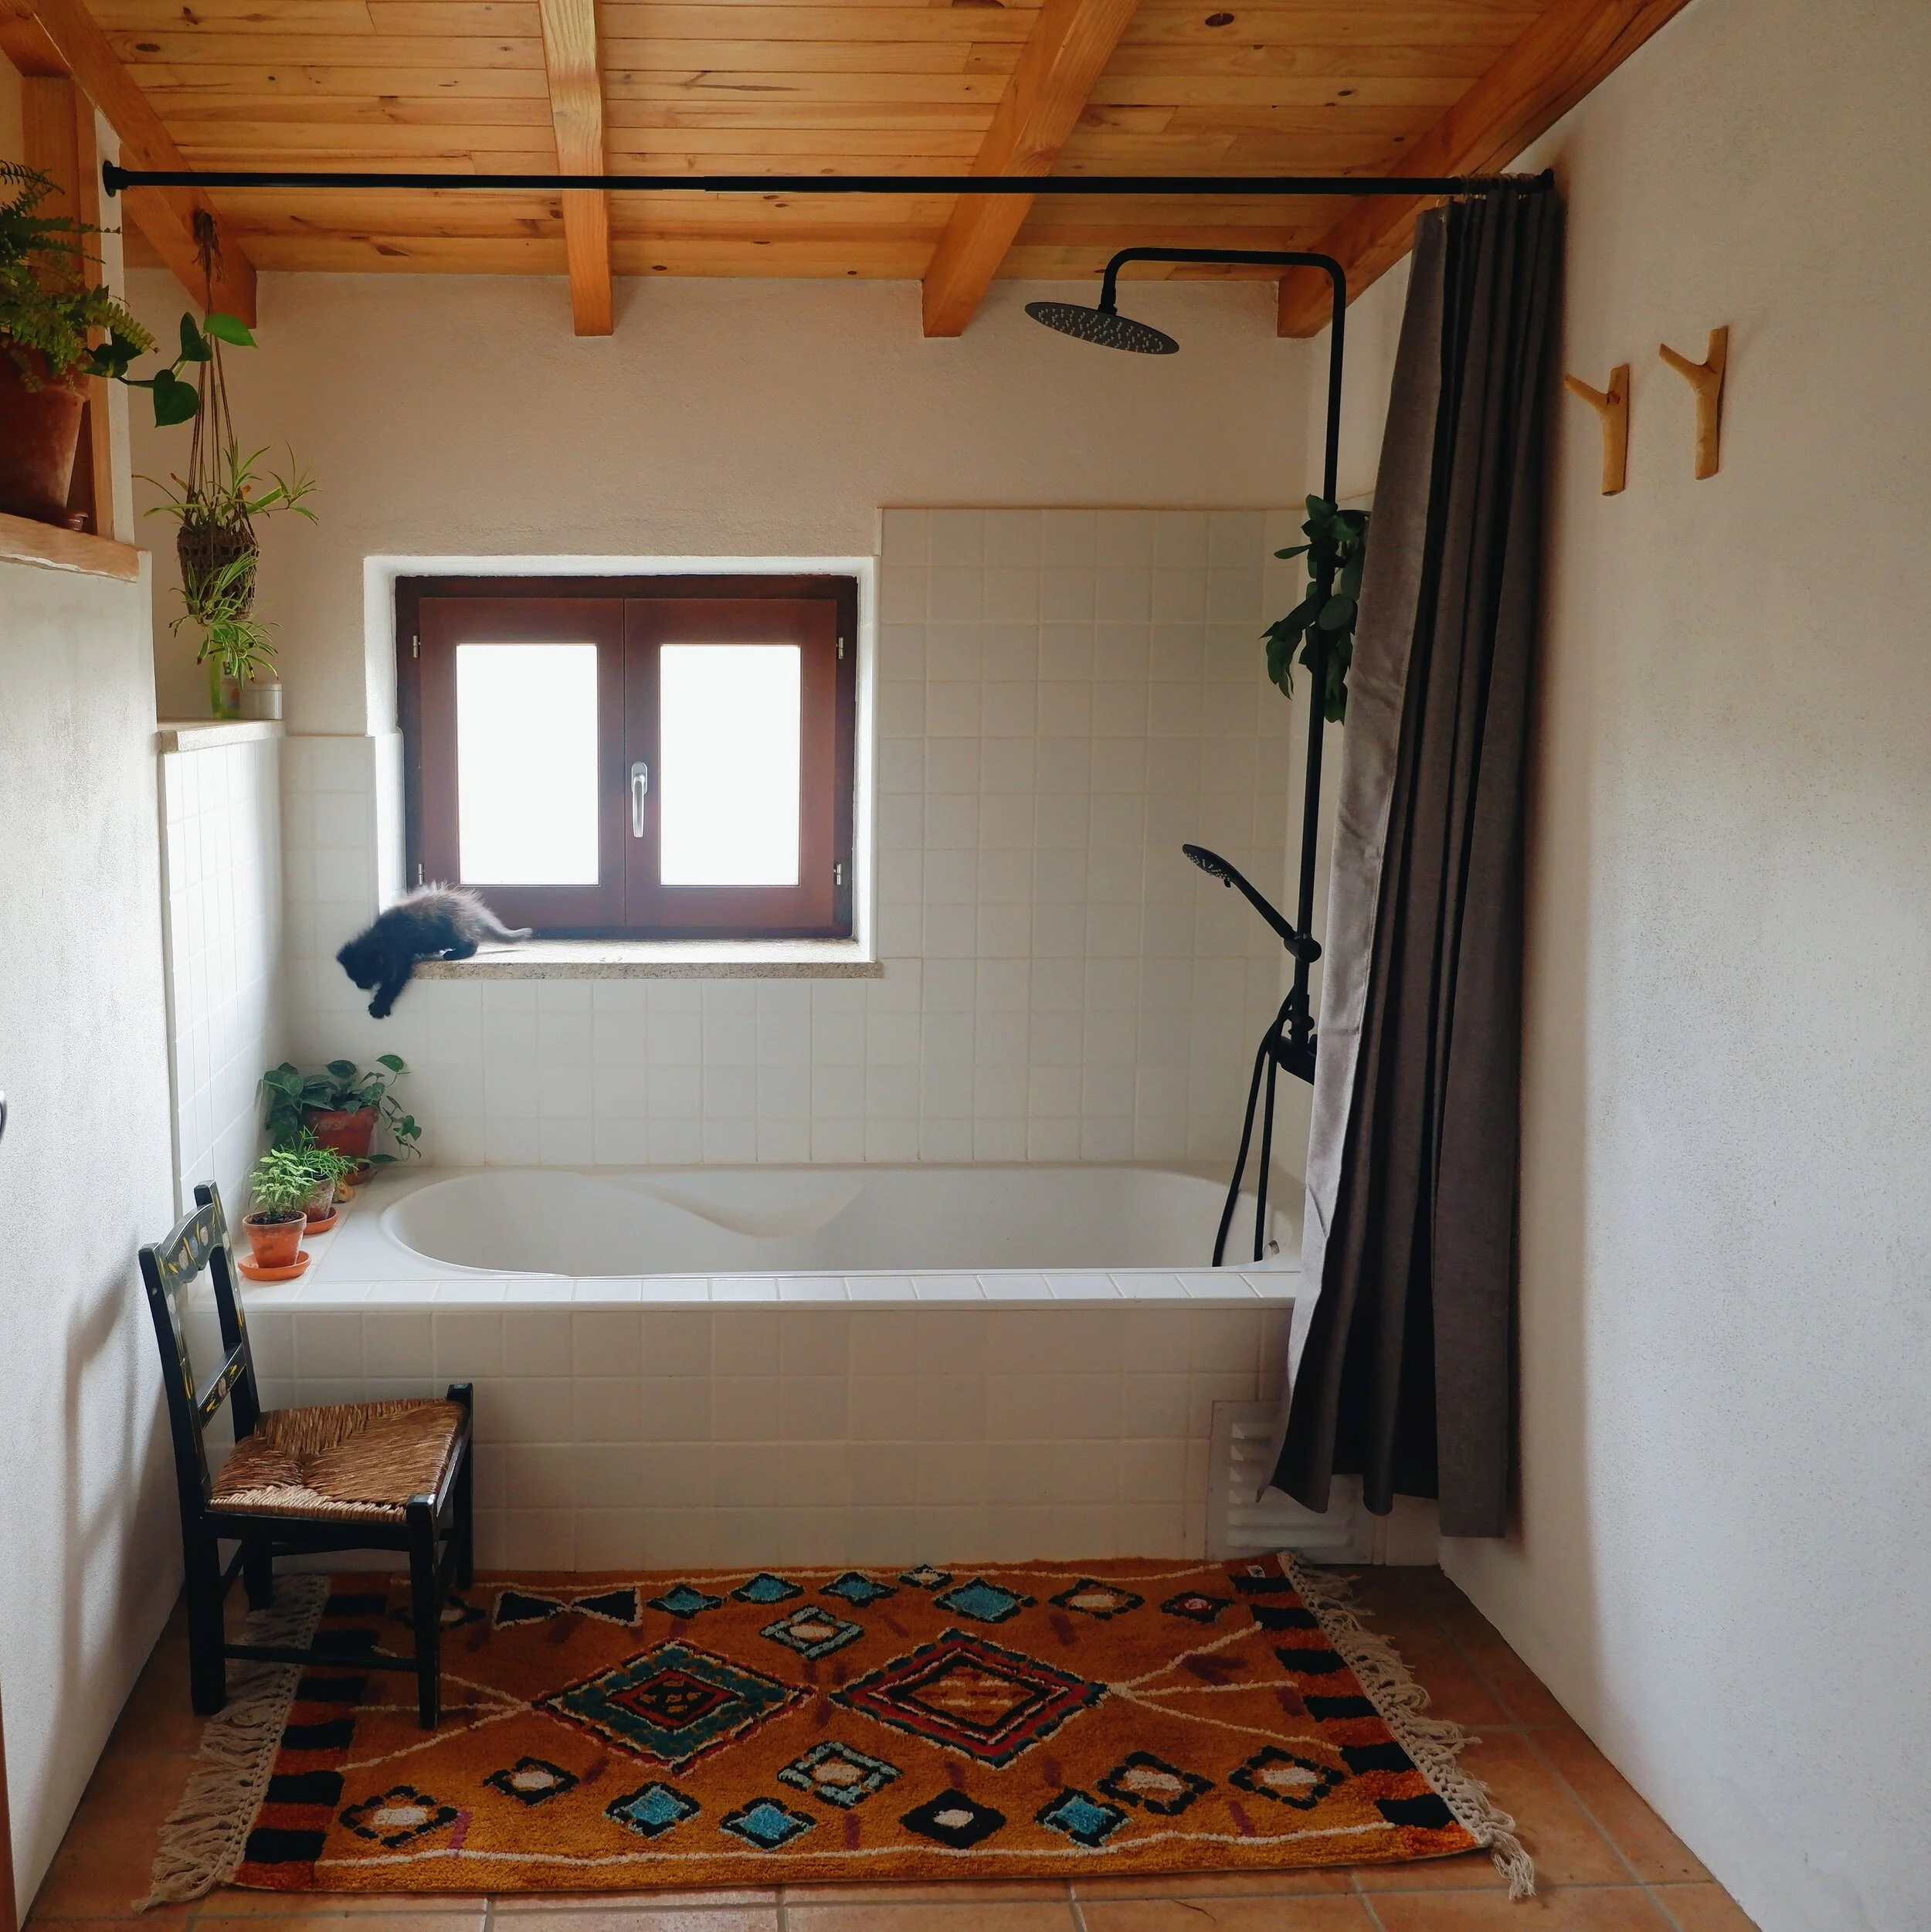
Woodland hangers
Living in our practically-almost-finished handmade house has been lovely and magical for the most part. (It’s also been moldy in some hidden corners, but um, I guess that’s not for today!)
With time, we’ve been finding needs and ways to meet them. One of these recently discovered needs (and a very basic one!) is… Hangers. We’ve been piling clothes on chairs for the last year or more, and now that all walls are done, plastered and painted, we thought we could indulge in some hangers. You know me/us, so the first thought was “can we make them ourselves"?
Of course we can. And so can you.

Sam will be guiding you through these, since he’s approximately 15603 times better than me in these things - as for me, I’m happy behind a camera, thanks for asking, although I enjoy having a go at the carving knife sometimes, too.
Step 1, grab your wood. We cut a few fork-looking branches from our forest. You can use dry wood for this, but green (fresh) wood will make it easier to split and “peel”.

Step 2, split your little logs lengthwise. The flat part is what you will be attaching to the wall, so you want to make a clean cut there (the ax is perfect for this). Then get a good carving knife and debark your wee log. Go slowly, and pay extra attention to that Y fold. Take as much bark as you can.


Step 3 is patience. Because you should leave your wood to dry now. You can make this process faster by boiling your piece of wood for half an hour and then letting it evaporate, but even then you will need to leave your piece in a warm and dry place for about a week.
You know, all good things take time. Hang tight, you will have a beautiful hanger soon.
Step 4! Once dry, you can proceed to sanding. Or not! This is totally optional. You may like the rough aspect of wood, with the marks of the knife, or may want to even them out. You may even be a perfectionist like Sam and have a machine just for this (an angle grinder). Like I said, totally optional.

Woohoo, step 5! Off to attaching with screws! Find your perfect wall spot and prepare your hangers. Again, if you’re a little bit of a perfectionist, you may want to “hide” your screws. Now, I wish I knew the right terms for this. Basically, what Sam did here was a regular thin drill, all the way through the hanger, followed by a larger one, the width of the screw, just a few millimetres in. This allows for the screw to sit nicely inside the wood. This way, you can apply a thin layer of wood filler over it and ta-daaa, magic, the screw head is nowhere to be seen.
Screw through the top and the bottom of your hanger.
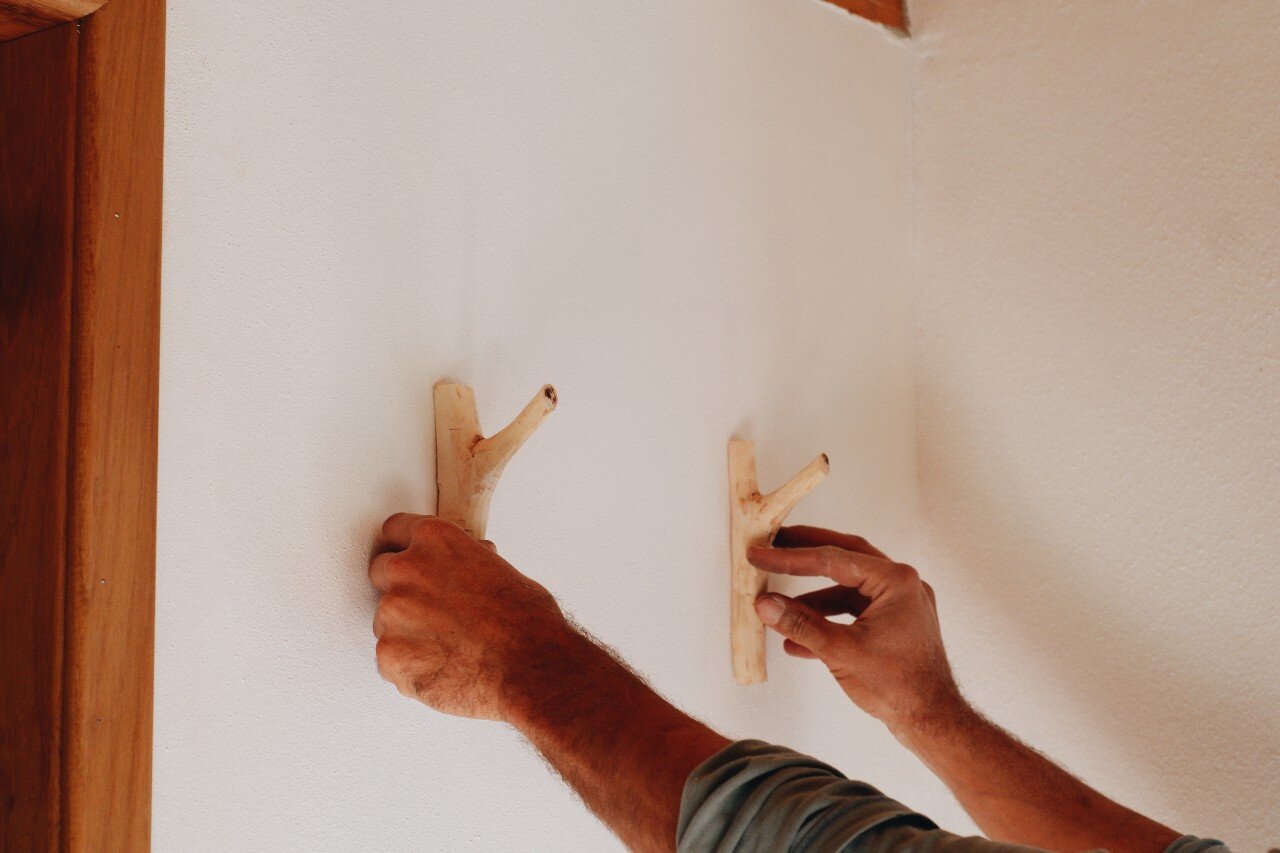


Step 6, the finishing. Apply a coat of oil, oil+beeswax or wood varnish, whatever you prefer! Spread it over the wood filler as well, if you used it! You may want to gently sand that little circle of wood filler to make it all even and and smooth before passing the finishing coat over.
There you go! That’s our hanger recipe. If this was one of my usual recipe posts, I’d say bon apétit, but instead I’ll say bon travail! Or something like that. Anyway, enjoy! I hope you do. It’s always lovely to invite the outer world inside our homes through little and meaningful projects.
See you when I see you! x