my postpartum toolkit
One would have thought that preparing for this transformative experience for the second time would make things easier, but with two weeks to go before my estimated due date, I’m realising two things:
One, 10 years in-between pregnancies really did something to my memory, because I don’t remember much about what my first postpartum was like.
Second, despite that, I think we did pretty well while living in a goat shed in the mountains with no running water when J was born, without having prepared much or even purchased anything. So I might try and follow the same simplicity approach this time around?
Of course, things will be very different this time.
J was born at home with the support of an incredible midwife (midhusband, to be exact, if that’s even a term) who drove through winding mountain roads at night to get to my grandparents’ village, where we lived at the time. It was the most magical moment of my entire life.
A decade later, finding a midwife with hospital practice willing to drive far was very hard, and the current costs are quite prohibitive (oh, I won’t go into the legalities of home births here. It’s never a public, nor officially-supported, service). But after my hospital experience last spring to manage my ectopic pregnancy and getting to know most of the obstetrics team there, I realized how comfortable and supported I felt in there! So I am looking forward to this new experience and am approaching it with curiosity and ease, and above all, feeling very confident about this decision.
At the same time, our living conditions were very different back then. This time around, we have a more spacious home, divisions (!), running water, a solar system that provides us with the electricity we need, and overall, just so much more comfort and peace.
So even though I don’t remember that much of what postpartum feels like anymore, I am very much looking forward to this precious time of cocooning, recovery, and newborn snuggles.
Well, look what I just dug up… A decade-old photo of newborn J in the aforementioned goat shed!
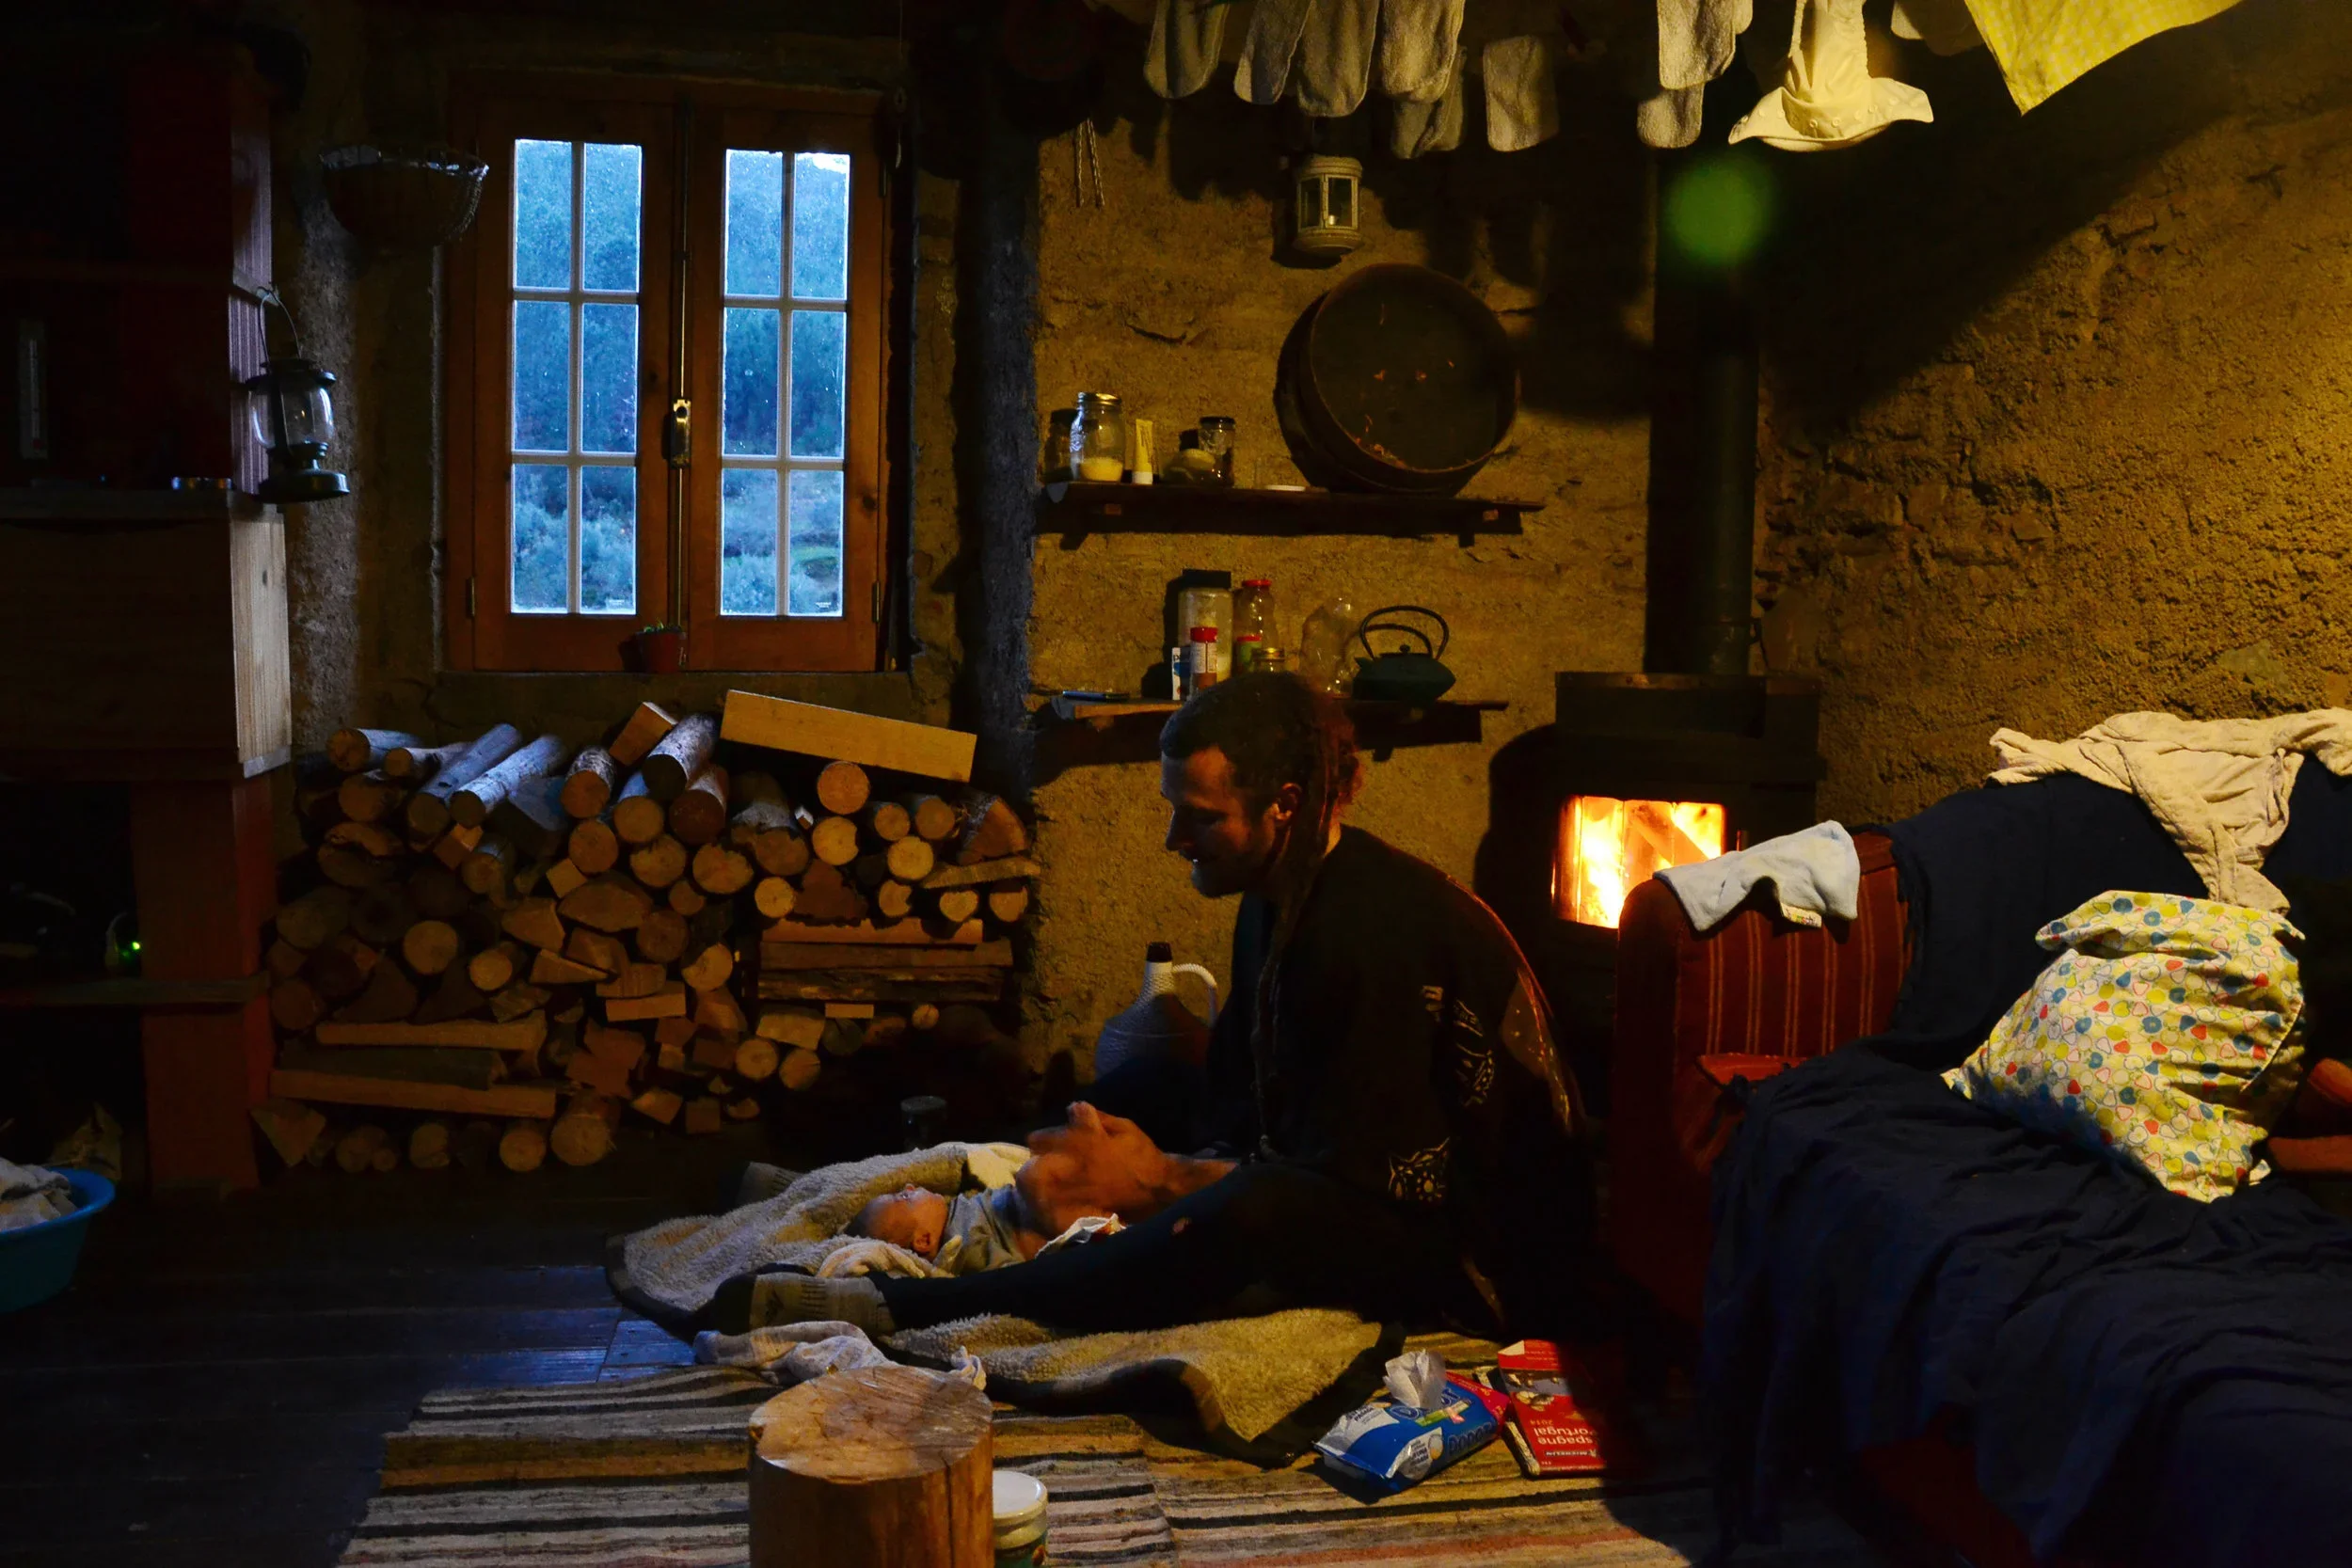
Yes, things will feel very different this time around.

Even though I don’t remember much, there are some things that have stuck. How sore things can feel down there after a vaginal birth. The comfort warmth brought — and cold, too. The soreness after those first nursing sessions. The foggy mental feel.
So I’ve held on to those experiences to put together what I’m calling my postpartum toolkit. It’s simple and very minimal, just like our life back in those mountains was, but I am hoping it will support all the areas it needs to. And I might add to it over time, but I’m sharing here with you where it stands right now.
Also, let’s take a moment to appreciate this baby basket (which I’ll show you more of at another time), commissioned by my basketmaker friend to the master Elder basketmaker in her village! I’m making it nice and cozy with a firm mattress and sheepskin for baby F.
Alright, let’s get to it.
Nursing salve
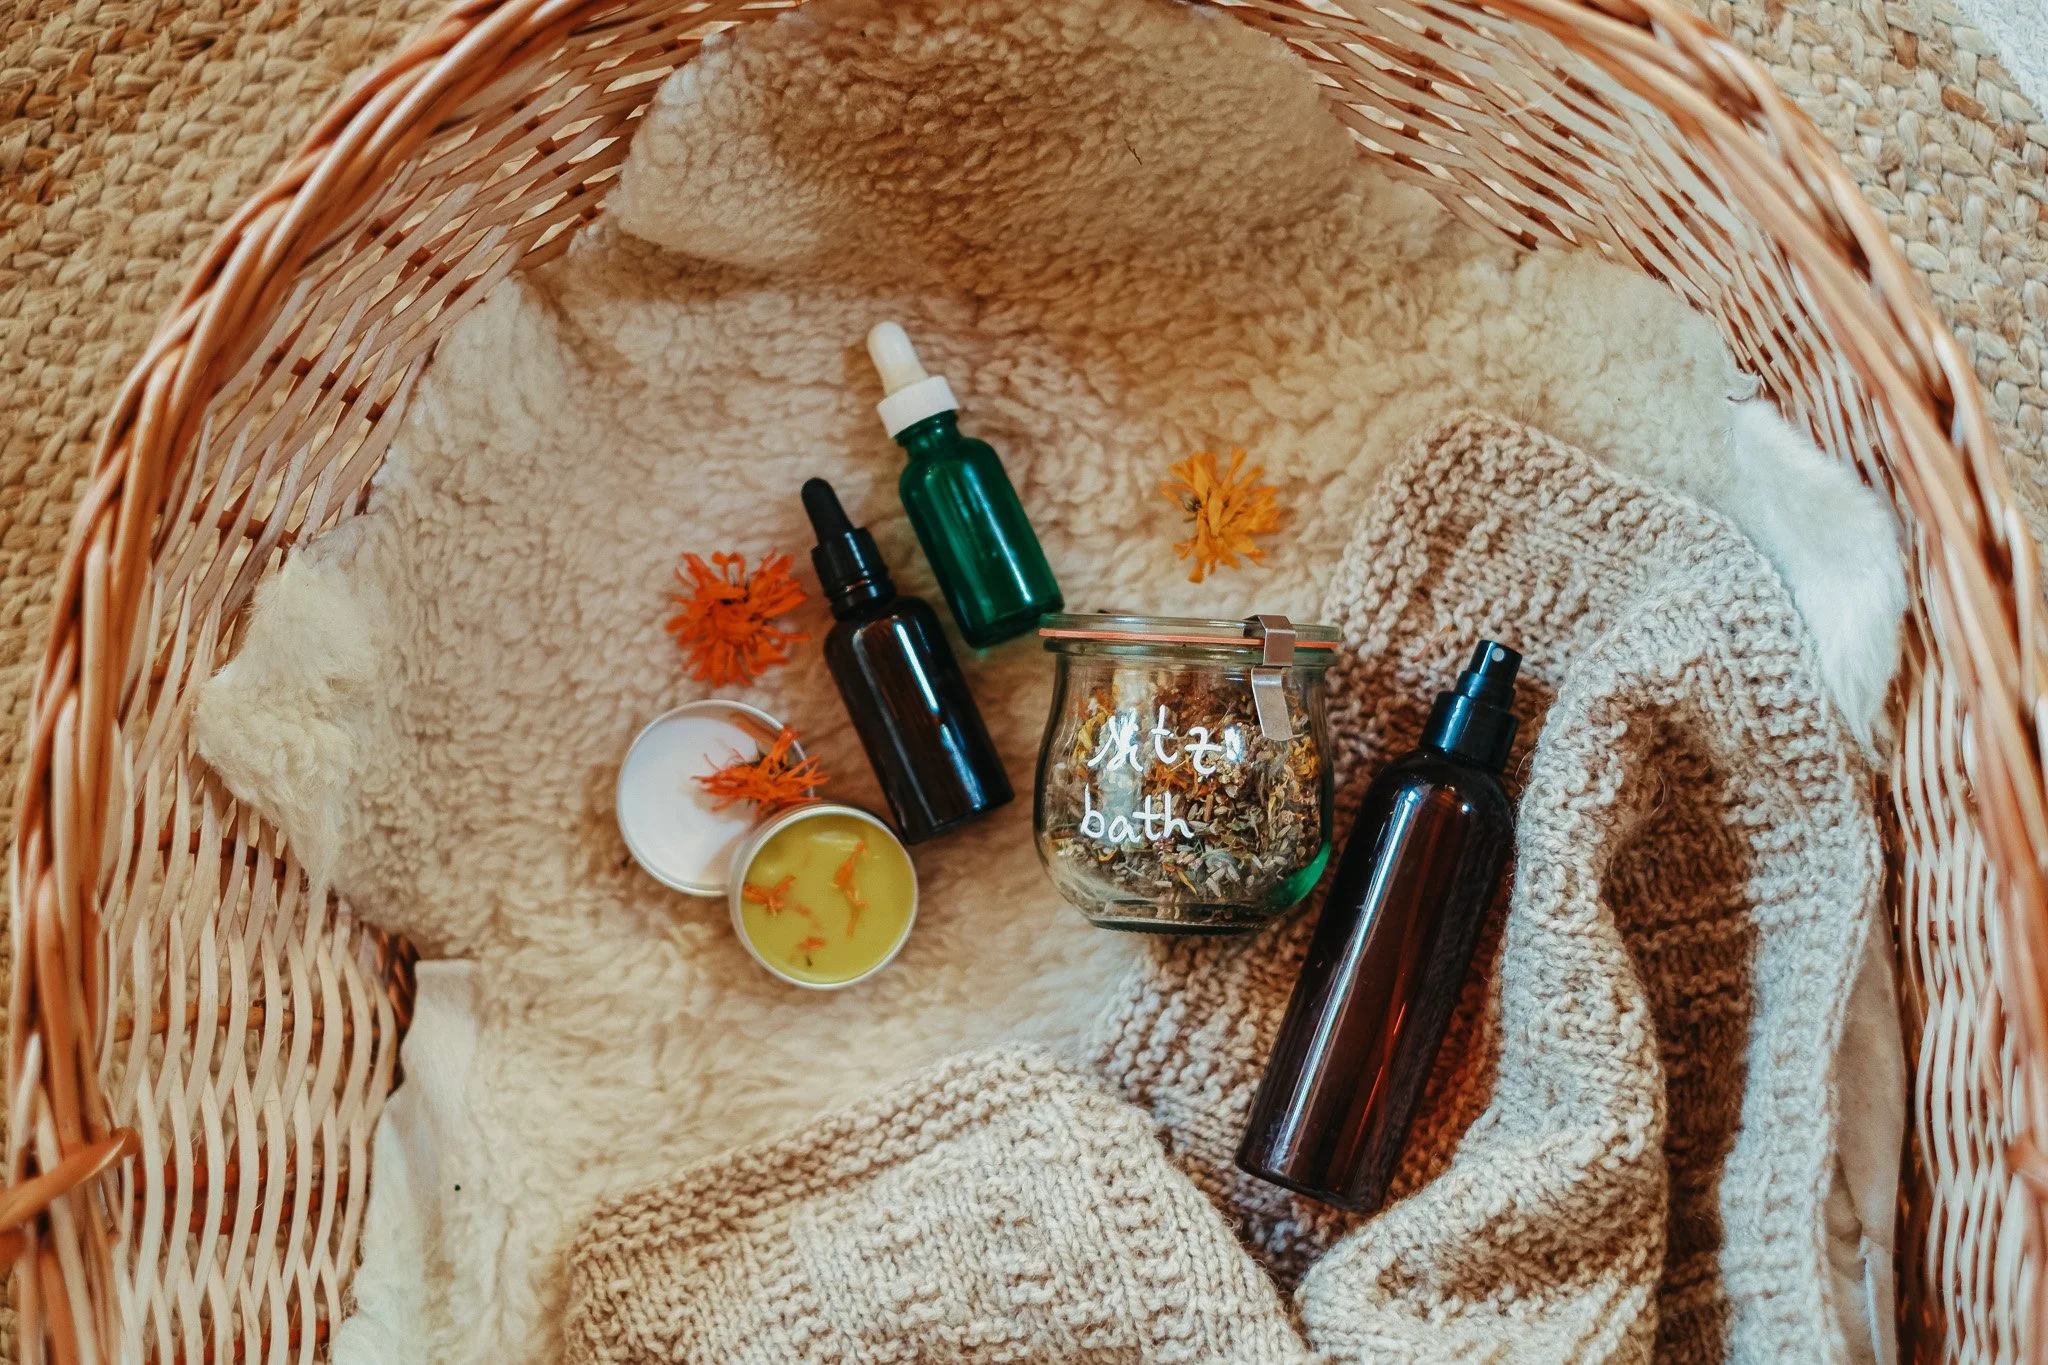
This nursing salve is, quite simply, a calendula salve. But you can also work with other anti-inflammatory, mucilaginous herbs, as seen here.
I’ve made a few tins of this, both for myself and to gift to friends, and plan on using it for diaper changes too (just like we did with J when she was a baby).
As a nursing salve, it can be applied after feedings to minimize nipple cracking, and you can just wipe the salve off gently before the next feeding.
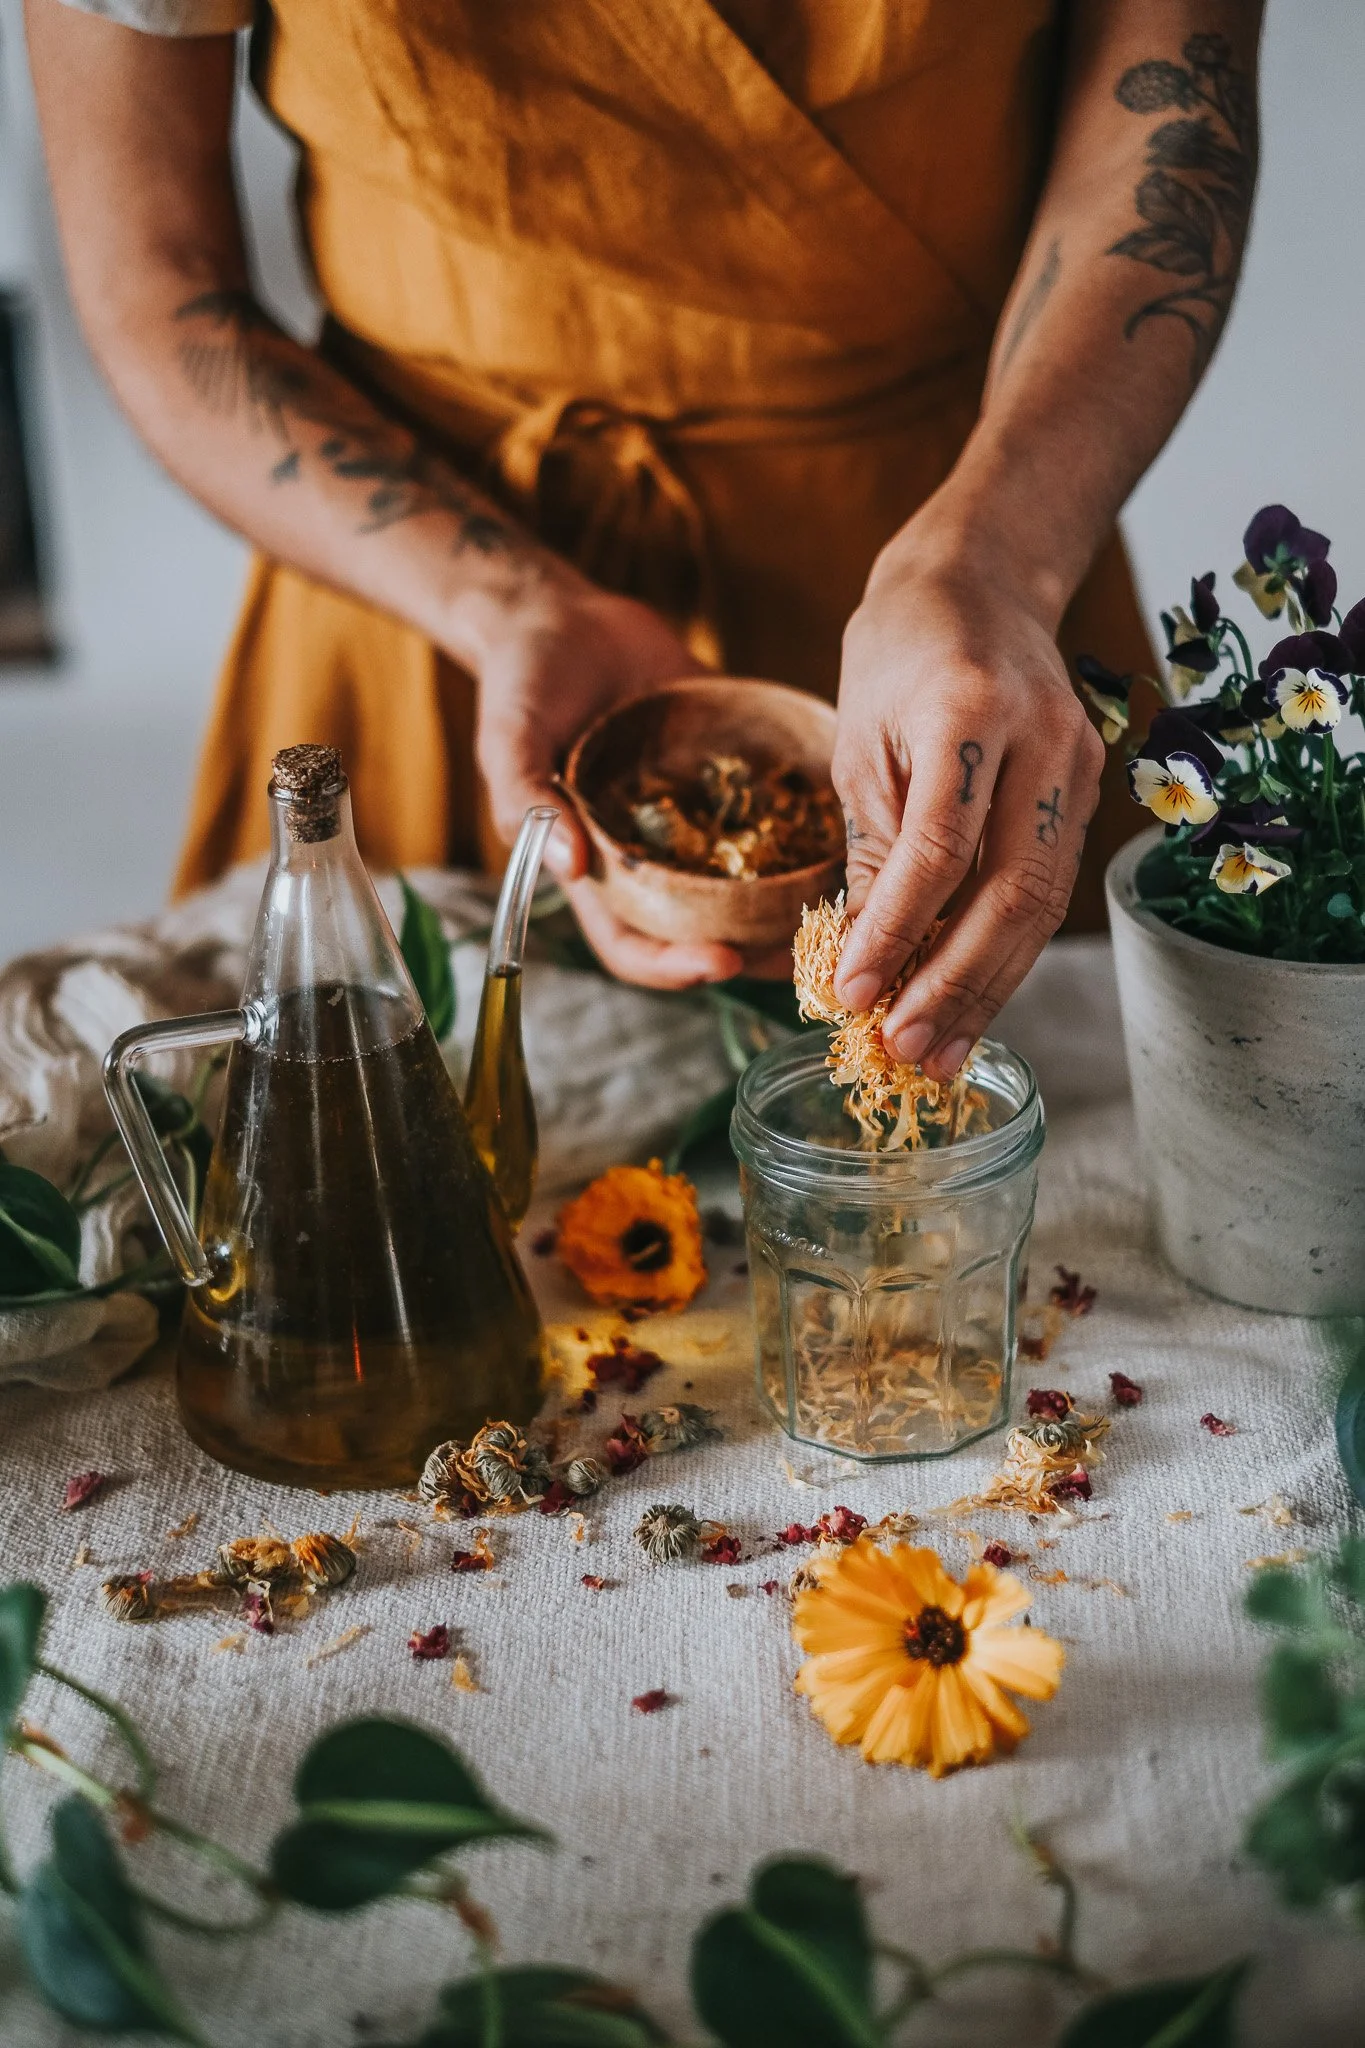
You can see me making this recipe here (yes, I’m still off social media after all these years, but love filming for my team!), and this tutorial comes straight from The Herbal Academy.
ingredients240 ml (8 fl oz) calendula (Calendula officinalis) flower-infused oil (see basic herbal-infused oil directions here)
⅛ cup beeswax (or vegan alternative)
directionsPlace infused oil and beeswax in a double boiler over low heat until beeswax has melted and ingredients are thoroughly combined.
Dip a clean spoon into the formula and place it in the refrigerator so the salve will cool quickly and you can determine if its consistency is what you desire. Too soft? Add a pinch more beeswax to the warm salve. Too hard? Add a little more of the infused oil.
While warm, pour individual portions into appropriate containers and allow to cool at room temperature. Then, put the lids on and label.
Store in a cool, dark place for up to 1 year.
Herbal blend for sitz bath, peri bottle, and frozen pad
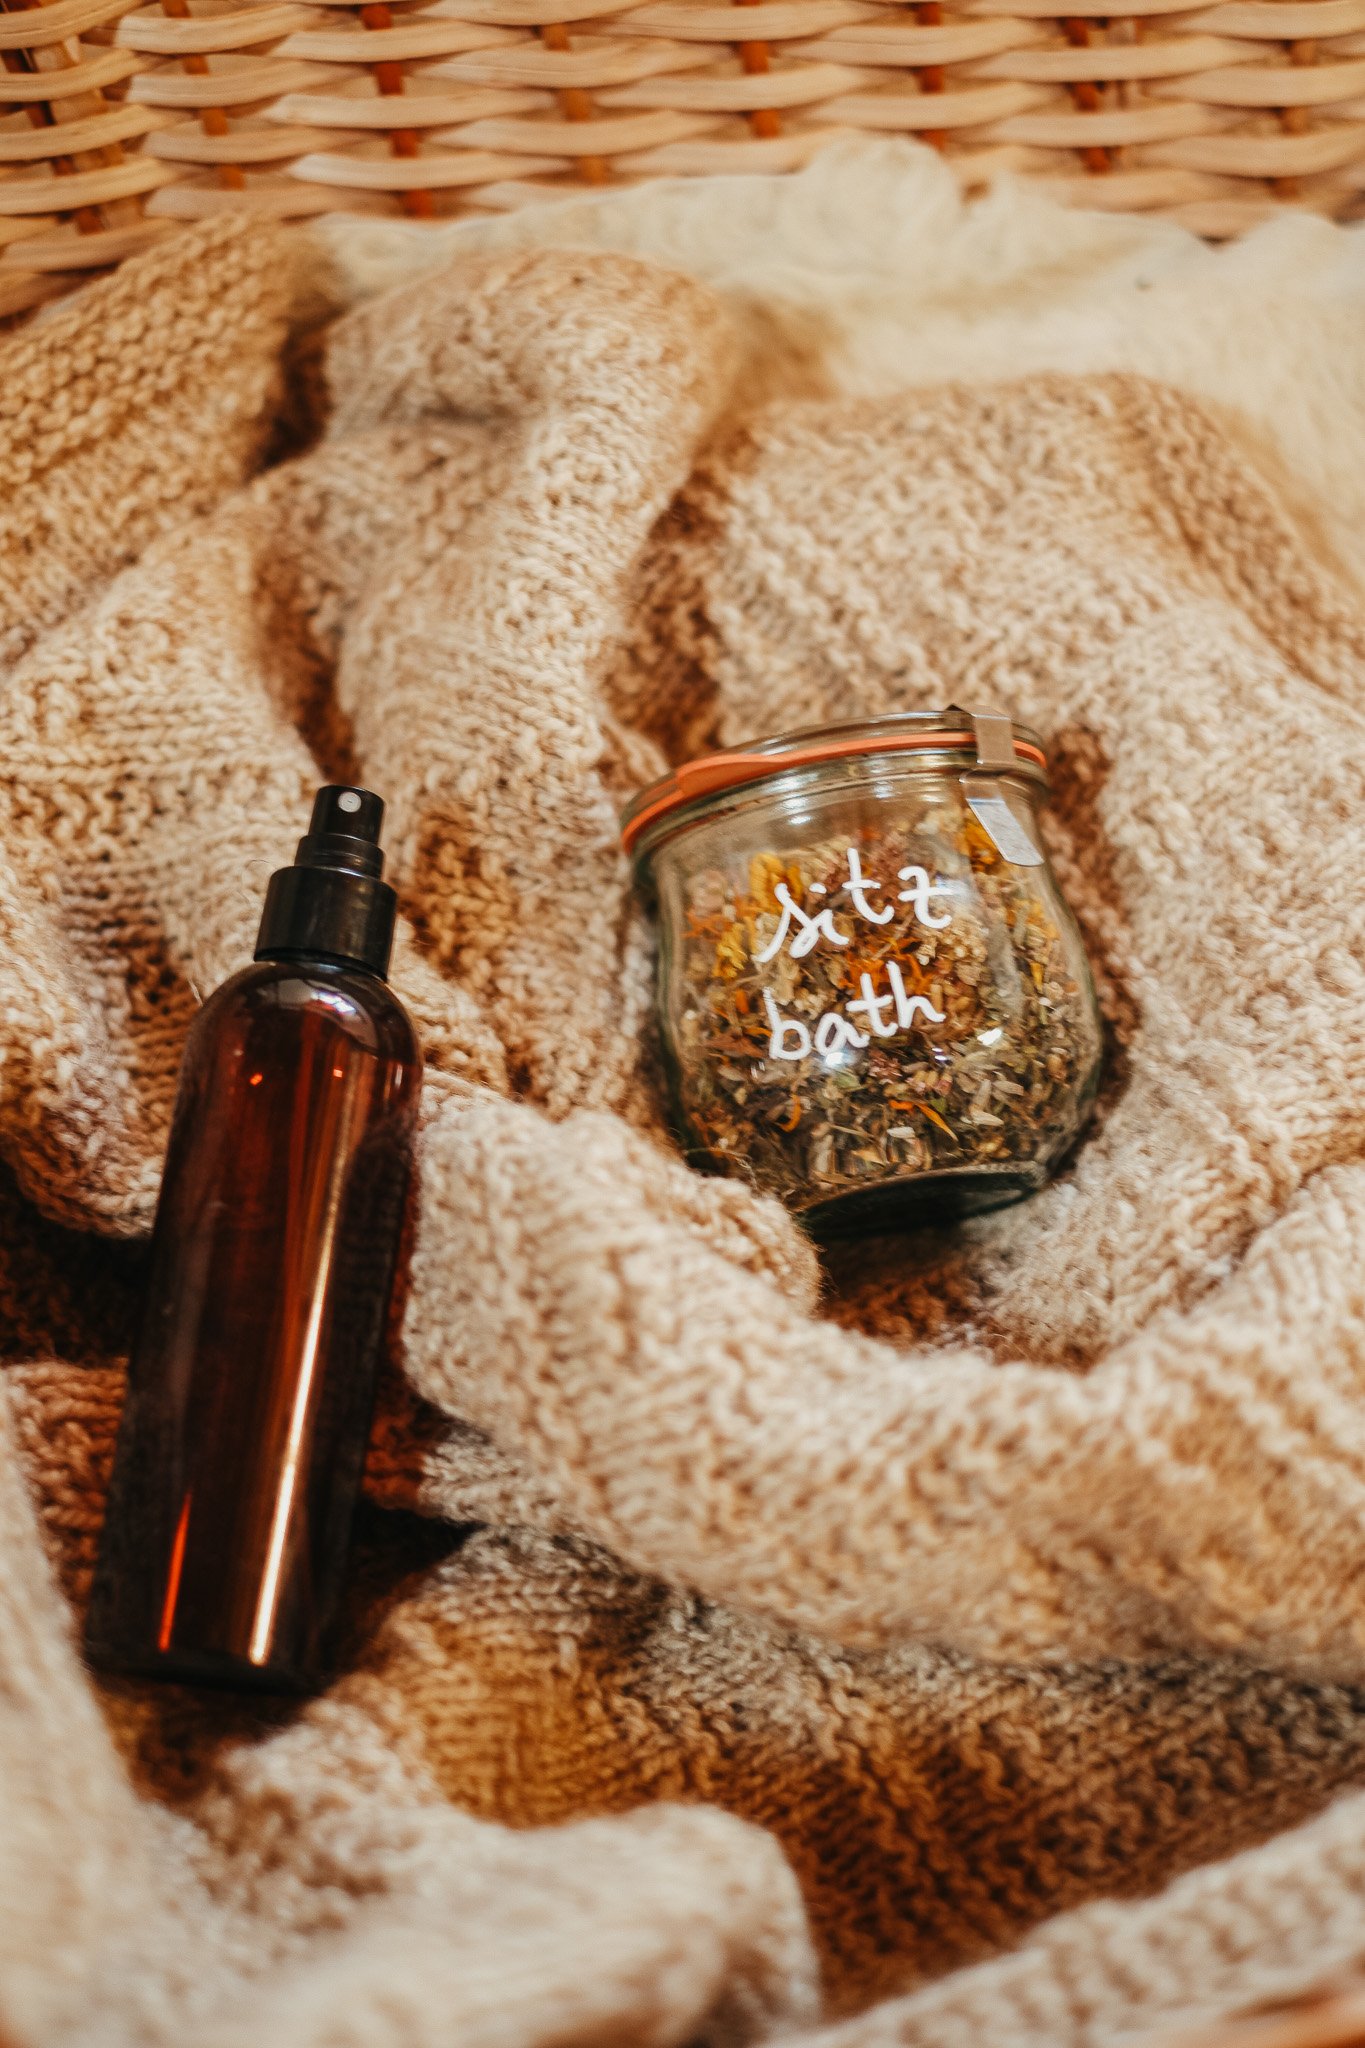
This recipe comes from the Holistic Approach to Postpartum Care Intensive, which is available inside The Herbarium.
Coming across this recipe (and the frozen pad trick!) was such an a-ah moment for me, especially because I never even thought of this during my first postpartum… But definitely felt the need for it. It starts with a base recipe you will use for the three different preparations! So practical, right?
Make it ahead of time, so you’ll have it ready after birth.
You can see me making this recipe here, too!
Note: this recipe calls for parts. A part can be anywhere from a teaspoon to a ¼ cup or a form of weight – your choice! Just remember to keep your part consistent throughout the recipe.
ingredients1½ part yarrow (Achillea millefolium) aerial parts, dry
1 part witch hazel (Hamamelis virginiana) leaf or bark, dry
1 part plantain (Plantago spp.) leaf, dry
1 part calendula (Calendula officinalis) flower, dry
1 part lavender (Lavandula spp.) flower, dry
for a sitz bath or peri bottleAdd salt at half the total weight amount of herbs.
Boil water, use 3 cups of herbs/salt mix to 2 quarts of boiling water. Stir until salt dissolves.
Steep for 2 hours and strain.
Use it in a sitz bath or fill a peri bottle.
This infusion can be stored in the refrigerator for up to 72 hours to refill the bottle as needed. You can make enough to last yourself two or three days!
for the frozen padsBoil water, use 3 cups of herbal blend to 2 quarts of boiling water.
Steep for 2 hours and strain.
To make frozen pads, purchase fairly thick sanitary pads, or thicker pads used for bladder leakage.
Open the package of each pad, leaving the sticky backing in place, and place on a clean surface such as a baking sheet.
Using a spray bottle, dropper top, spoon, or measuring cup, apply the liquid to the pad. Put enough liquid to coat the top of the pad, but not enough to completely saturate it.
Place the baking sheet in the freezer.
Once the pads are frozen, they can be stored in a ziplock bag in the freezer.
Use these as often as needed, especially between bathroom visits.
Again, these can be prepared and stored ahead of time. I’ve packed quite a few in our freezer already!
YARROW TINCTURE
Yarrow (Achillea millefolium) is one of my favorite allies, and is a perennial herb that grows happily in our garden and multiplies easily. As an antimicrobial, astringent, diaphoretic, and vulnerary herb, yarrow has many uses both internally and externally, so it’s a great addition to any apothecary garden!
Besides drying it every year to use as a single infusion or as a part of a blend, I also like to tincture it — it’s a very helpful herb to have at hand for first-aid and vulnerary support. Spiritually, yarrow embodies the archetype of the great healer, tending to what needs to be tended and fiercely protecting boundaries. Maybe it comes as no surprise that it was one of the herbs I felt called to the most as I recovered from my ectopic pregnancy.
And now I come back to it, this time for postpartum support. So much love for yarrow and its steady presence throughout the seasons of life… I plan on using the tincture as both an addition to sitz baths and to take internally to ease tissue repair and regulate blood flow.
Want a recipe?
I typically make my tinctures using the folk method, which, unlike the mathematical method, doesn’t follow specific proportions and is an easily accessible gateway into the world of tinctures. If you’ve never made a tincture before, it’s a good idea to seek some further reading into this preparation. Tinctures are generally made using alcohol as a solvent (although you can make alcohol-free tinctures using vinegar or glycerin). The alcohol extracts a wide range of plant constituents and acts as a preservative, allowing you to create a preparation that can have a shelf-life of up to 3 to 5 years, depending on the percentage of alcohol used.
Tinctures are strong! In terms of volume, they are much stronger than infusions or decoctions, and so the dosage is much smaller, too. I like taking my tinctures simply by placing a few drops under my tongue or adding the drops to water or infusions.
ingredientsYarrow (Achillea millefolium) aerial parts, dried and finely chopped
Alcohol of your choice, at least 40% (80-proof), such as vodka or rum
directionsPlace the yarrow in a clean jar, pour the alcohol over it, covering it by 2,5 cm (1 inch), and cap tightly. Label your jar with the date and contents.
Store it in a warm place for 4-6 weeks, giving it a shake now and then.
Once macerated, strain through a fine-mesh sieve, pressing the herbs with the back of a spoon to extract as much liquid as possible. Funnel into dark tincture bottles and store in a dark place, where it will last for up to 2 years.
Bits and bobs
Bone broth
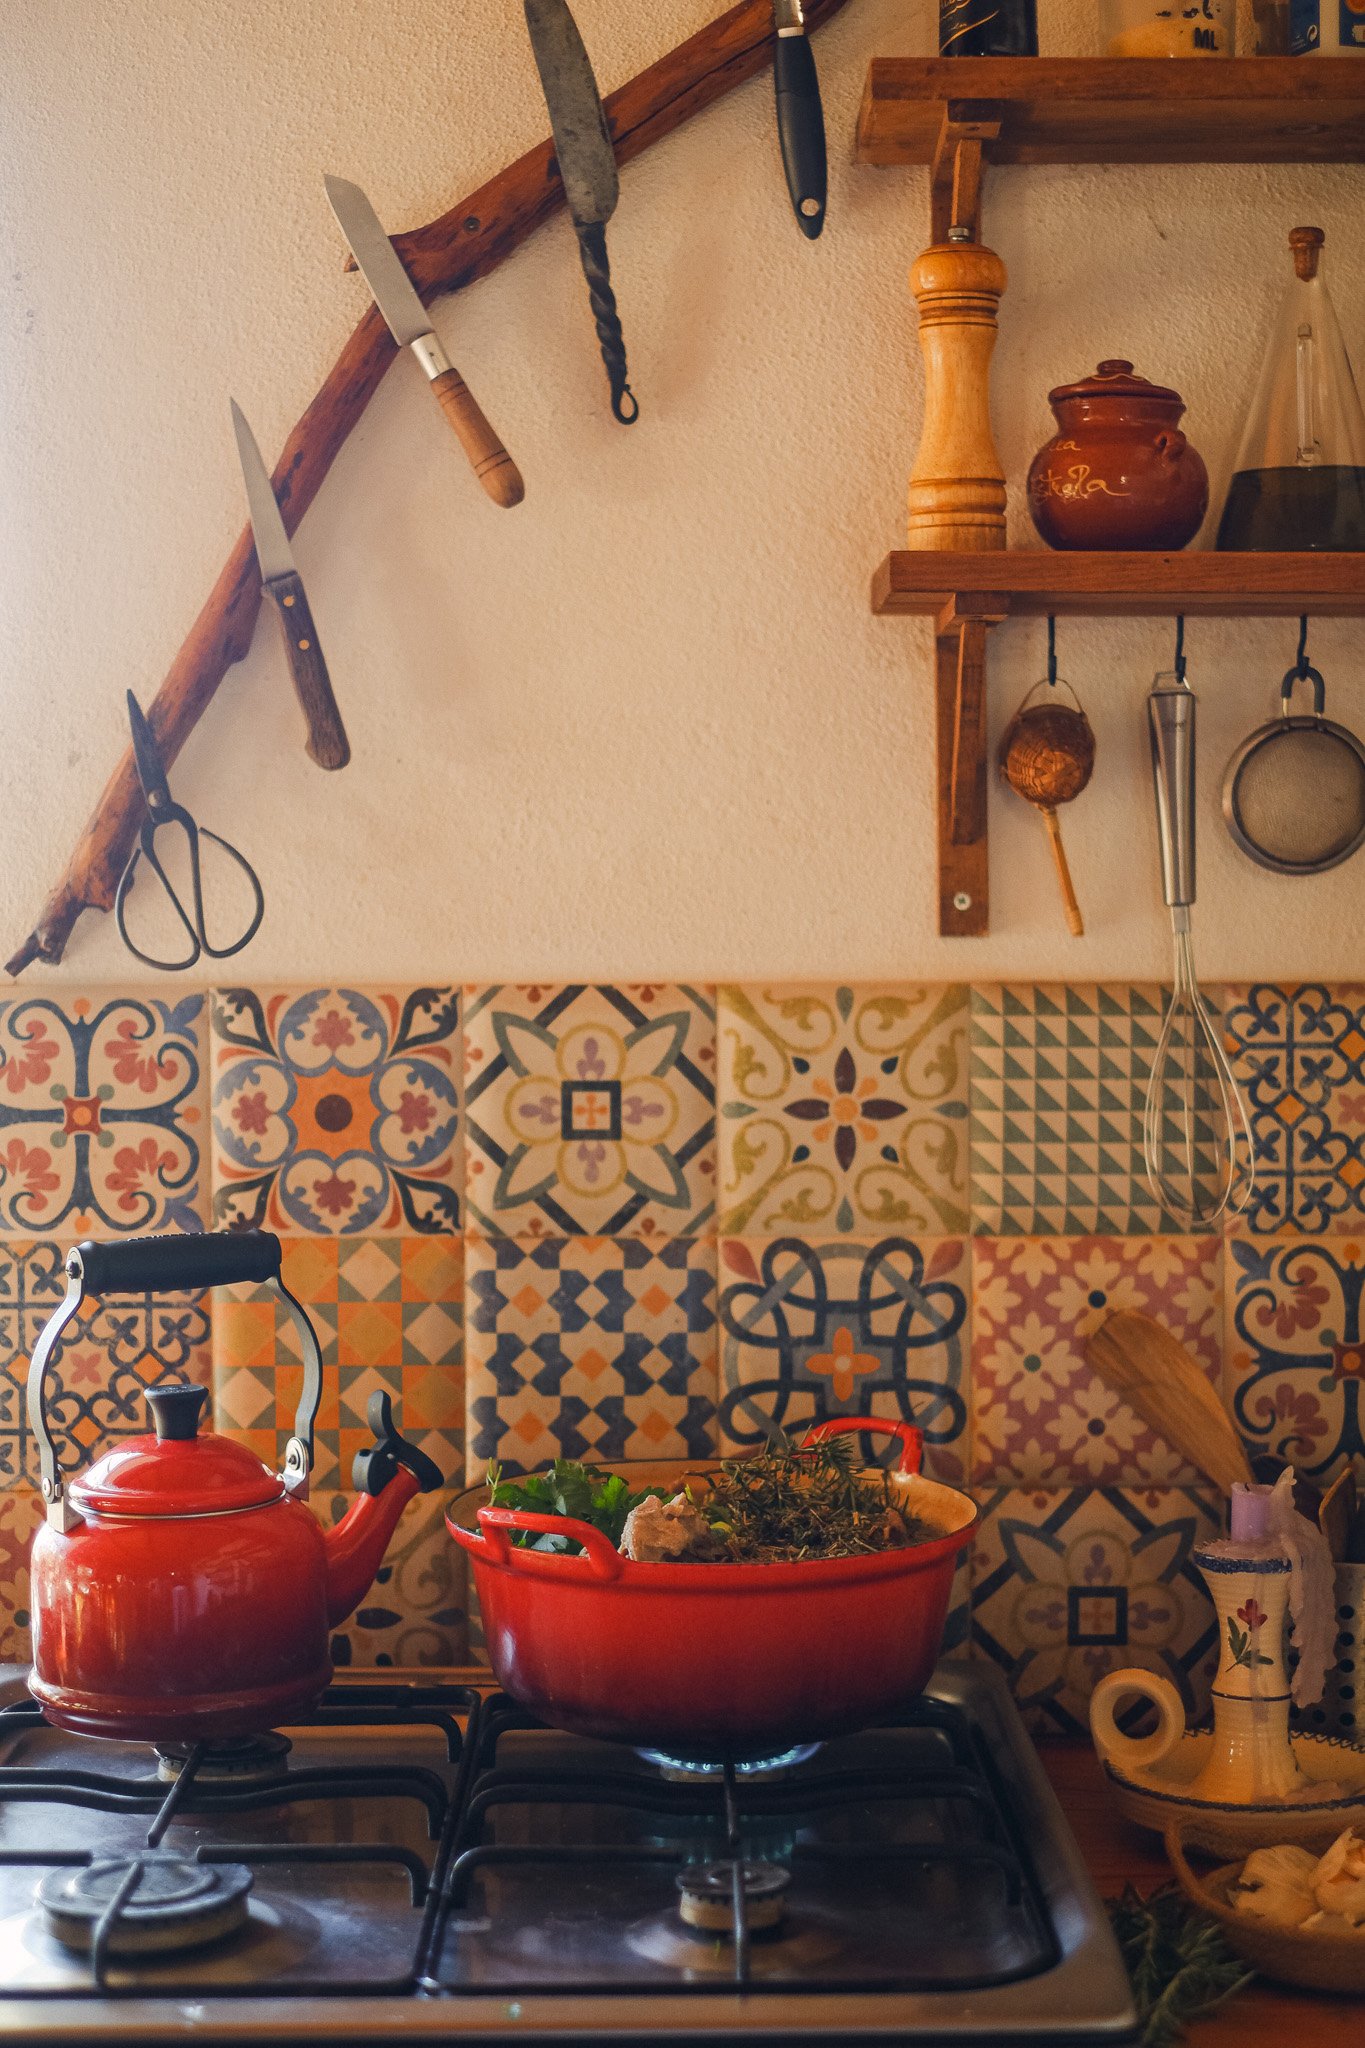
I’ve been stocking the freezer with bones from ethically-raised meat produced by some lovely neighbours (who we get most of our meat from), and last week made a big batch of herbal bone broth with cordyceps and handfuls of nettle, which is now in jars in the freezer. I plan on using it as a mineral-rich hot sipping drink after birth for hydration, digestive and immune support, and overall vitality. And yes, you can of course make these plant-based only!
Wholegrain porridges
Making sure our pantry has a good store of whole grains, such as oats, brown rice, quinoa, and millet, to cook creamy porridges with warming spices.
A STACK OF EASY, COsY BOOKS
No shame in admitting that I’ll put non-fiction and denser novels aside during this time, but will still need the company of an author and their storytelling. I recently started Sarah Beth Durst’s The Spellshop, which fills exactly this premise, and will go on to read The Enchanted Greenhouse next. So grateful for the fantasy book chain that we have going around our neighbourhood! Got any recommendations for mega easy, delightfully transporting, and utterly comforting books to keep by the bedside for nursing sessions and interrupted reading moments?
COMMUNITY
‘Nuff said 🥲
SUNSHINE & OUTDOORS TIME
Because when in doubt, go out. Part of why I’ve been putting in extra effort in the garden this year, both in terms of growing food and growing flowers, is the prospect of days spent outside on a blanket, under the shade of a tree.

And lastly, my most cherished resource for all things pregnancy and postpartum has been The Herbarium. I reference it very often, as this vibrant space includes an incredible, ever-growing collection of herb monographs, but there is a lot more than that inside. It also houses many in-depth intensives created by herbalists, including some on reproductive health!
I leaned quite heavily on the Pregnancy Support for Pregnancy Intensive earlier in the pregnancy, and have since transitioned into the Holistic Approach to Postpartum Care one as I prepare for this new chapter. Like many of my herb buddies, I wholeheartedly recommend this resource.
Dear friends, if you’ve been through postpartum, supported someone who did, heard hand-me-down stories, or just have things yourself to share, what is something you would say belongs in any postpartum toolkit?