How to make wooden buttons
Living on a hill surrounded by forest, trees are a constant in my family’s daily life. We open the bedroom window in the morning and are greeted by cork oaks, strawberry trees, and wattle. We walk to the chicken coop to feed our winged friends, and salute pine and olive trees on the way. Our vegetable and herb gardens are populated by tall hawthorns, and apple and orange trees. Our way across the valley and along the creek to visit neighbors for potlucks and playdates is a scramble among willows, firs, and various oaks.

Like the critters in the garden, the owls calling at night, and the intricate webs of fungi, trees are part of our community, be they mighty or humble, hard or soft. The fruits of many of them make their way into our bellies and jars of preserves, young cuttings are woven into garden beds, and their wood makes its way into our woodpile to feed our stove during the colder months. And, of course, I always find a way of sneaking some wood into my craft projects.
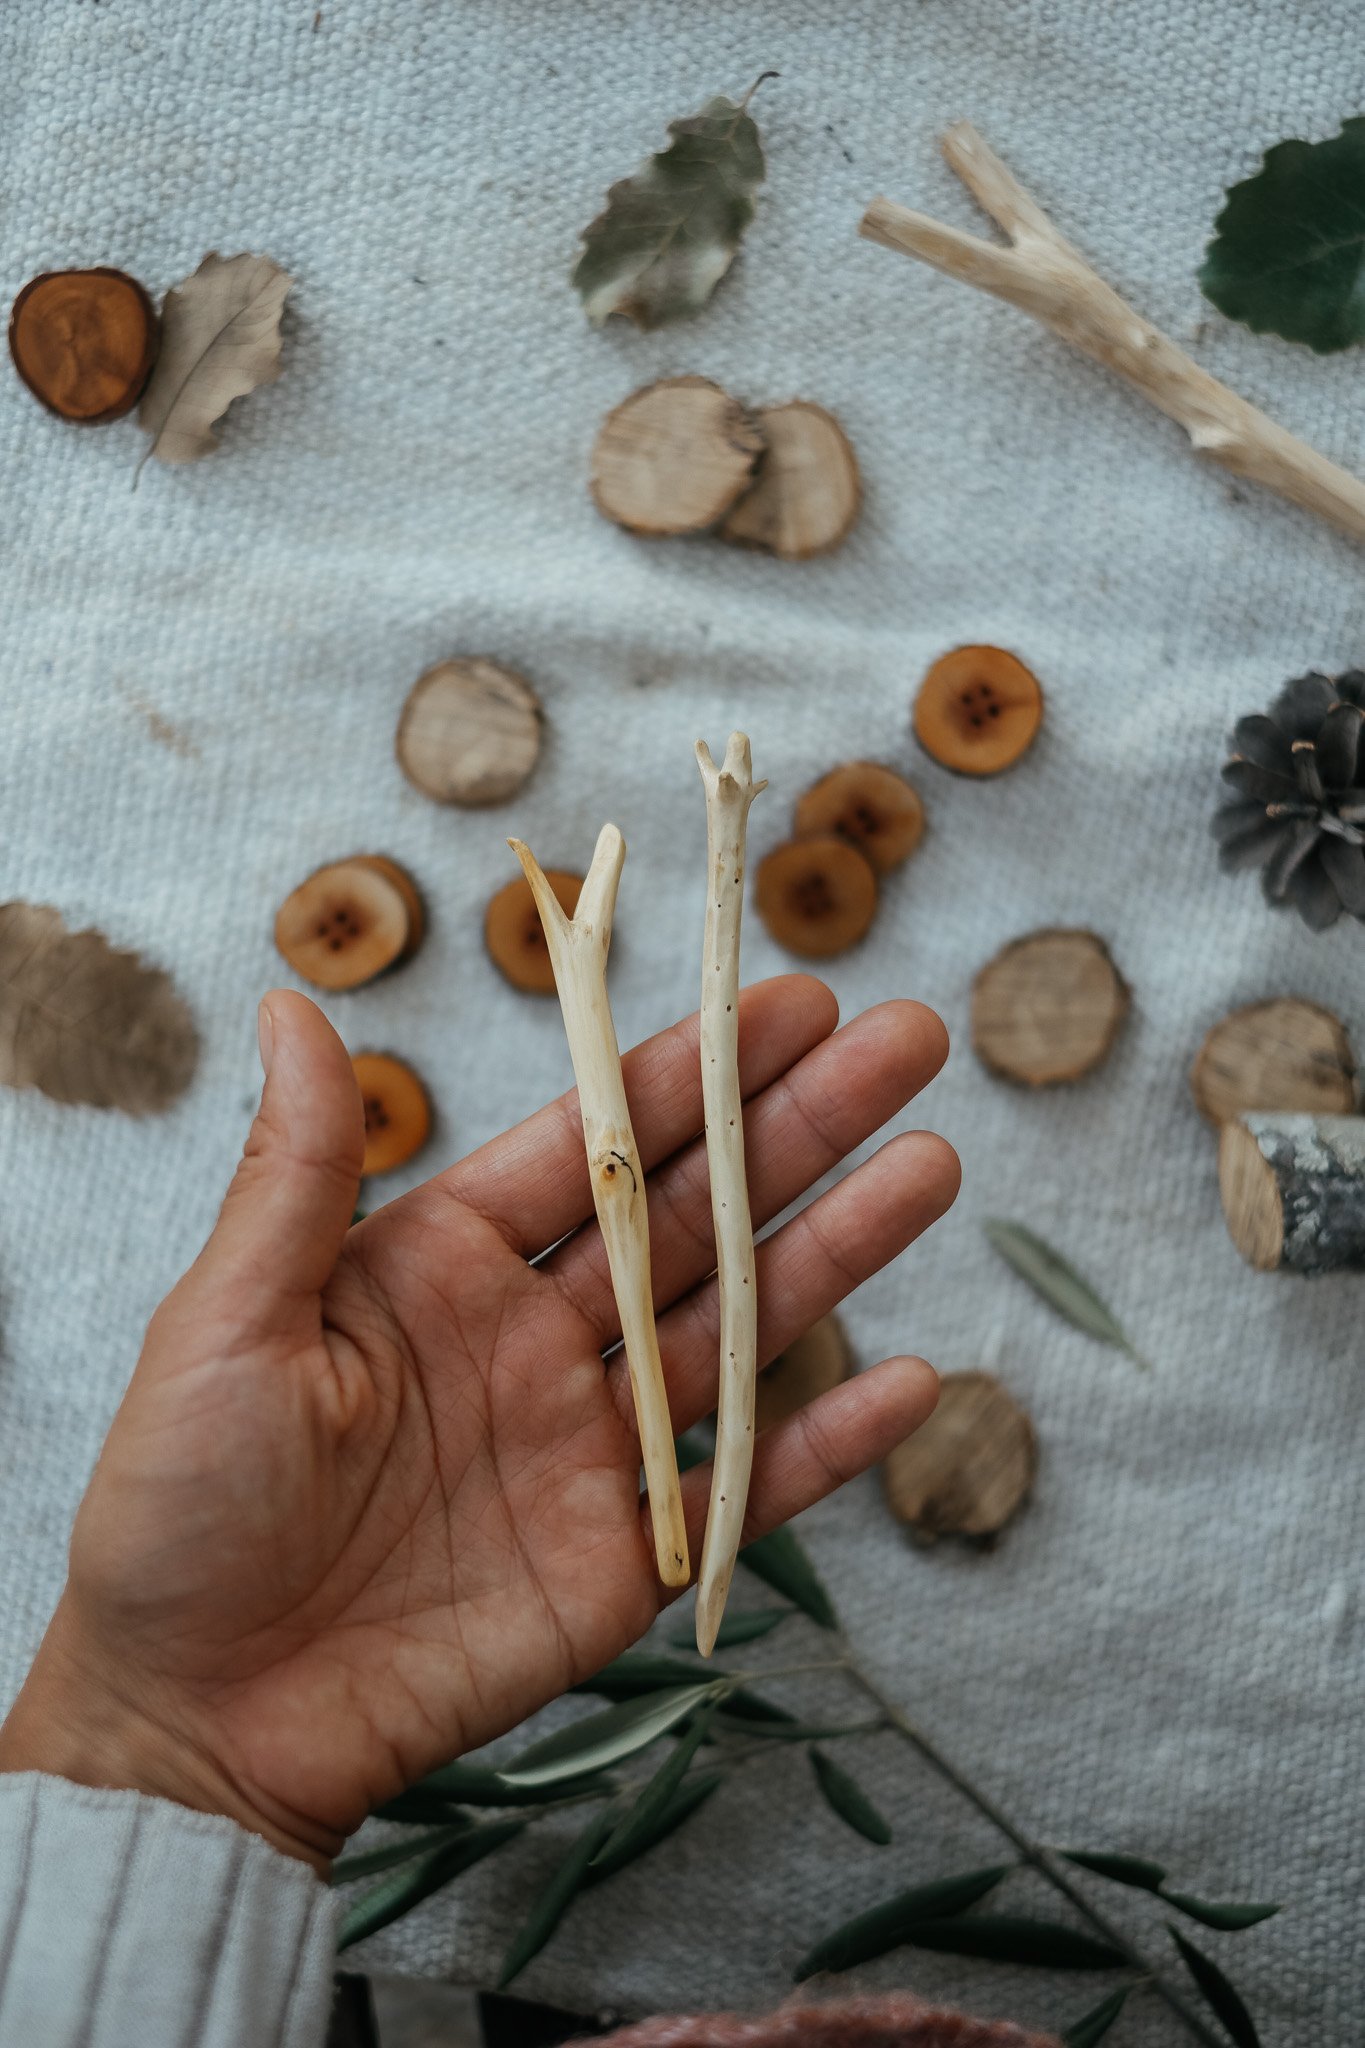
Being a knitter who has always got something on their needles, there is something I can never have enough of: buttons and shawl sticks. So it didn’t take long for me to start incorporating this element of our landscape into my fiber projects, furthering our daily dance with the tree people and bringing it into a different context.
The projects below are creative ways of using some of the wood material left from pruning or land management work. If you don’t have access to trees nearby, ask a neighbor for some cuttings during pruning season, or get permission from a close-by landowner to harvest just enough from a tree. You can offer some new buttons or shawl sticks in return!
Woodland buttons
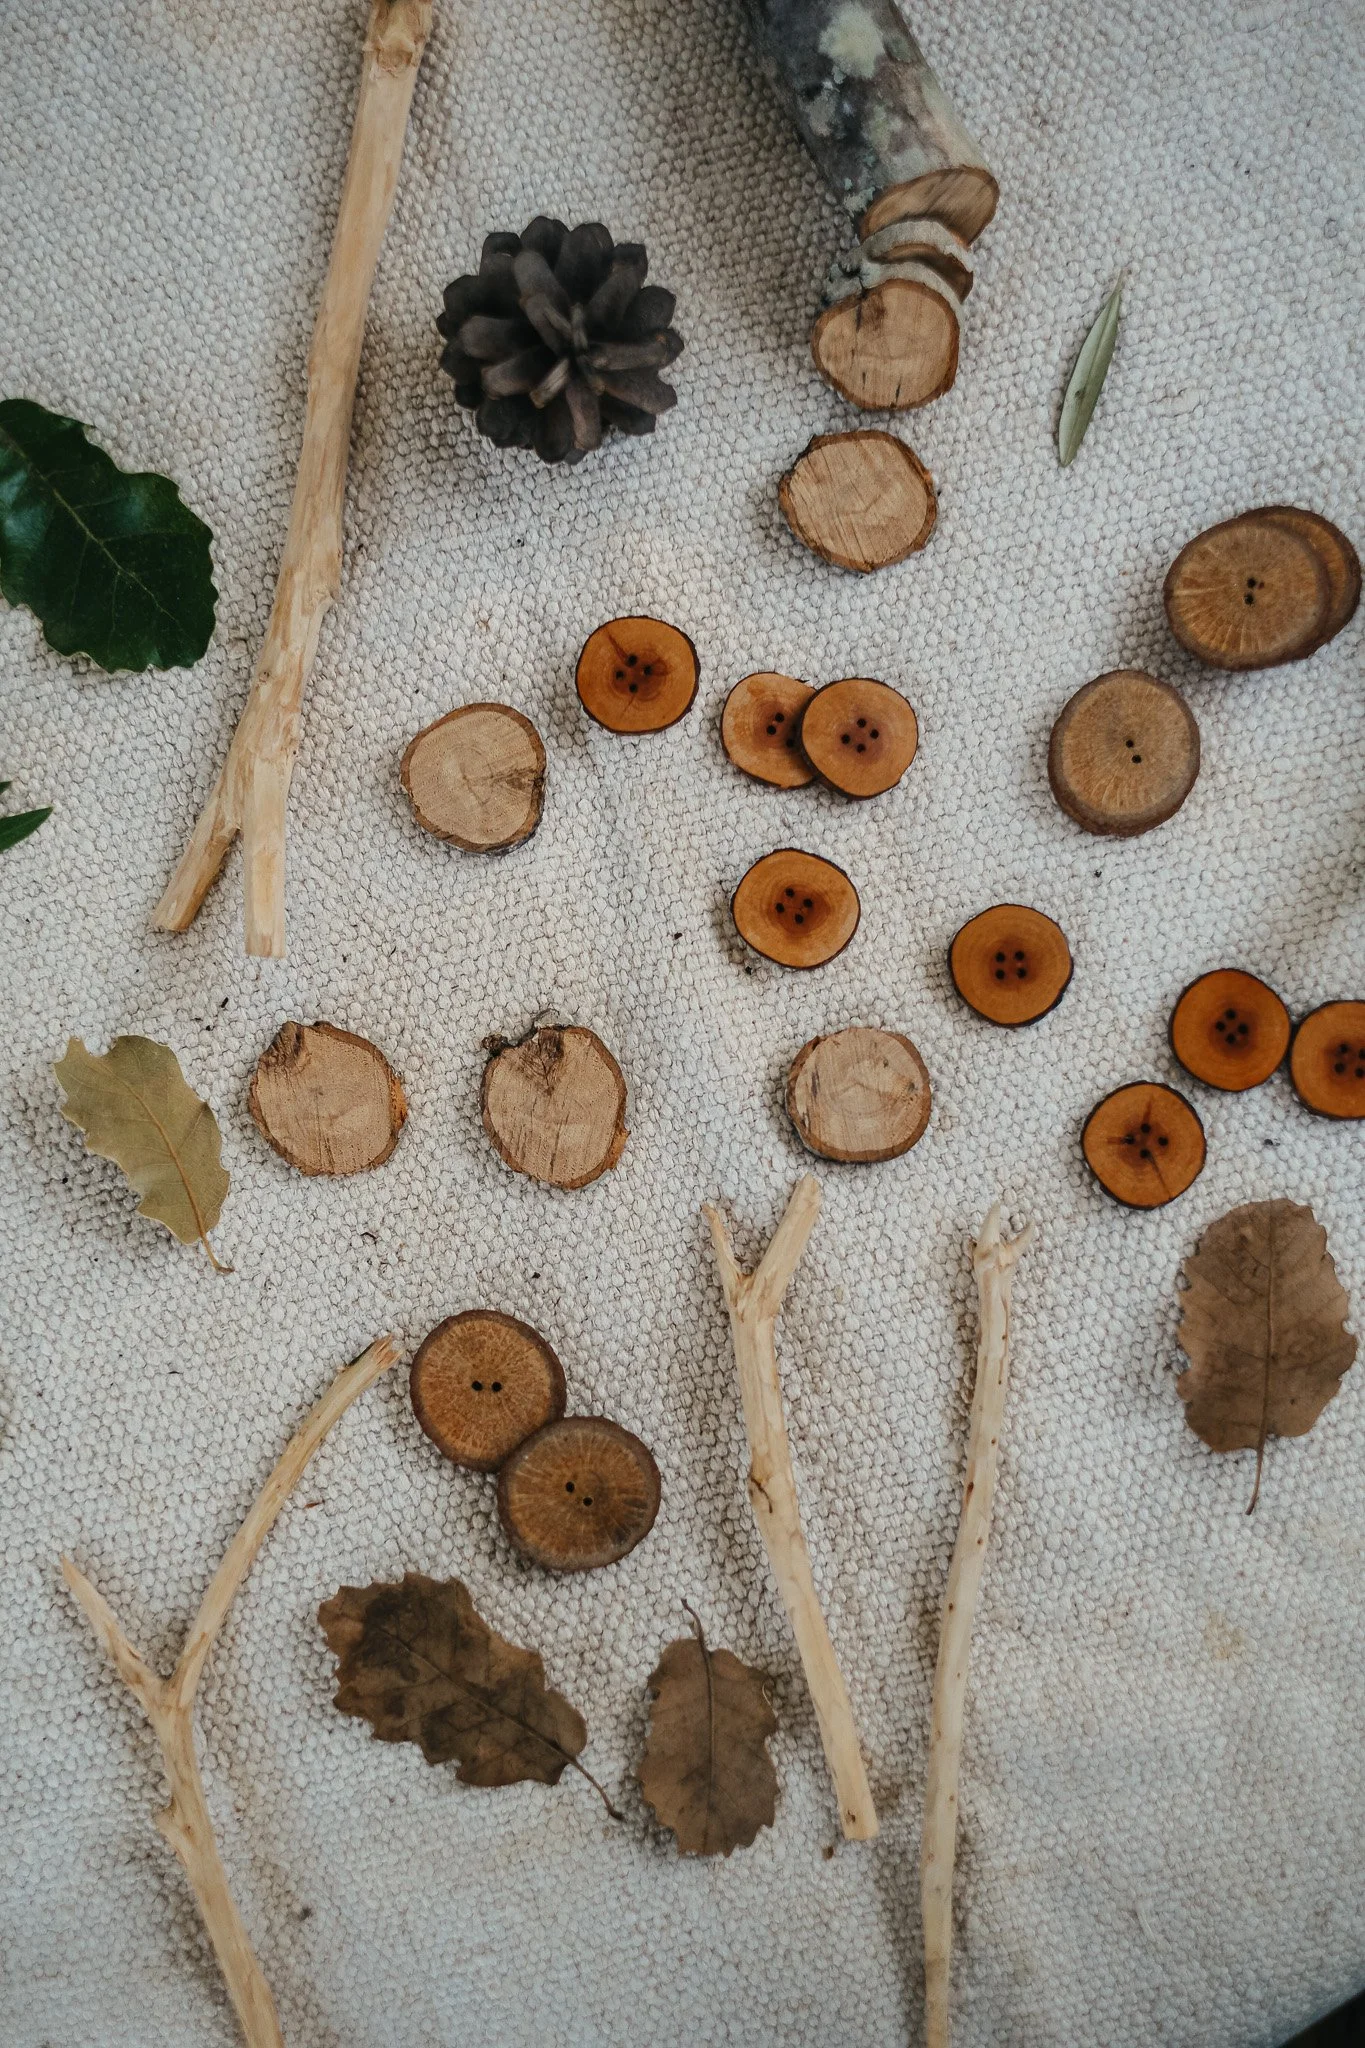
These buttons are the whimsical finishing touch you didn’t know you needed for your hand-knitted cardigans! Adding your own handmade buttons is a lovely way of breathing new life into a hand-me-down piece, too. Any type of hardwood will work well for this project, as long as you can find a relatively straight branch. We’ve made beautiful buttons from different species, from heather to apple and from olive to oak. Different woods will yield different results, and they’re all worth exploring!
you'll needThin, straight branch of fresh or dry hardwood about 2 to 3 cm wide (see note)
Sandpaper in three different grits: coarse (80), medium (150), and fine (120)
1 tablespoon linseed oil
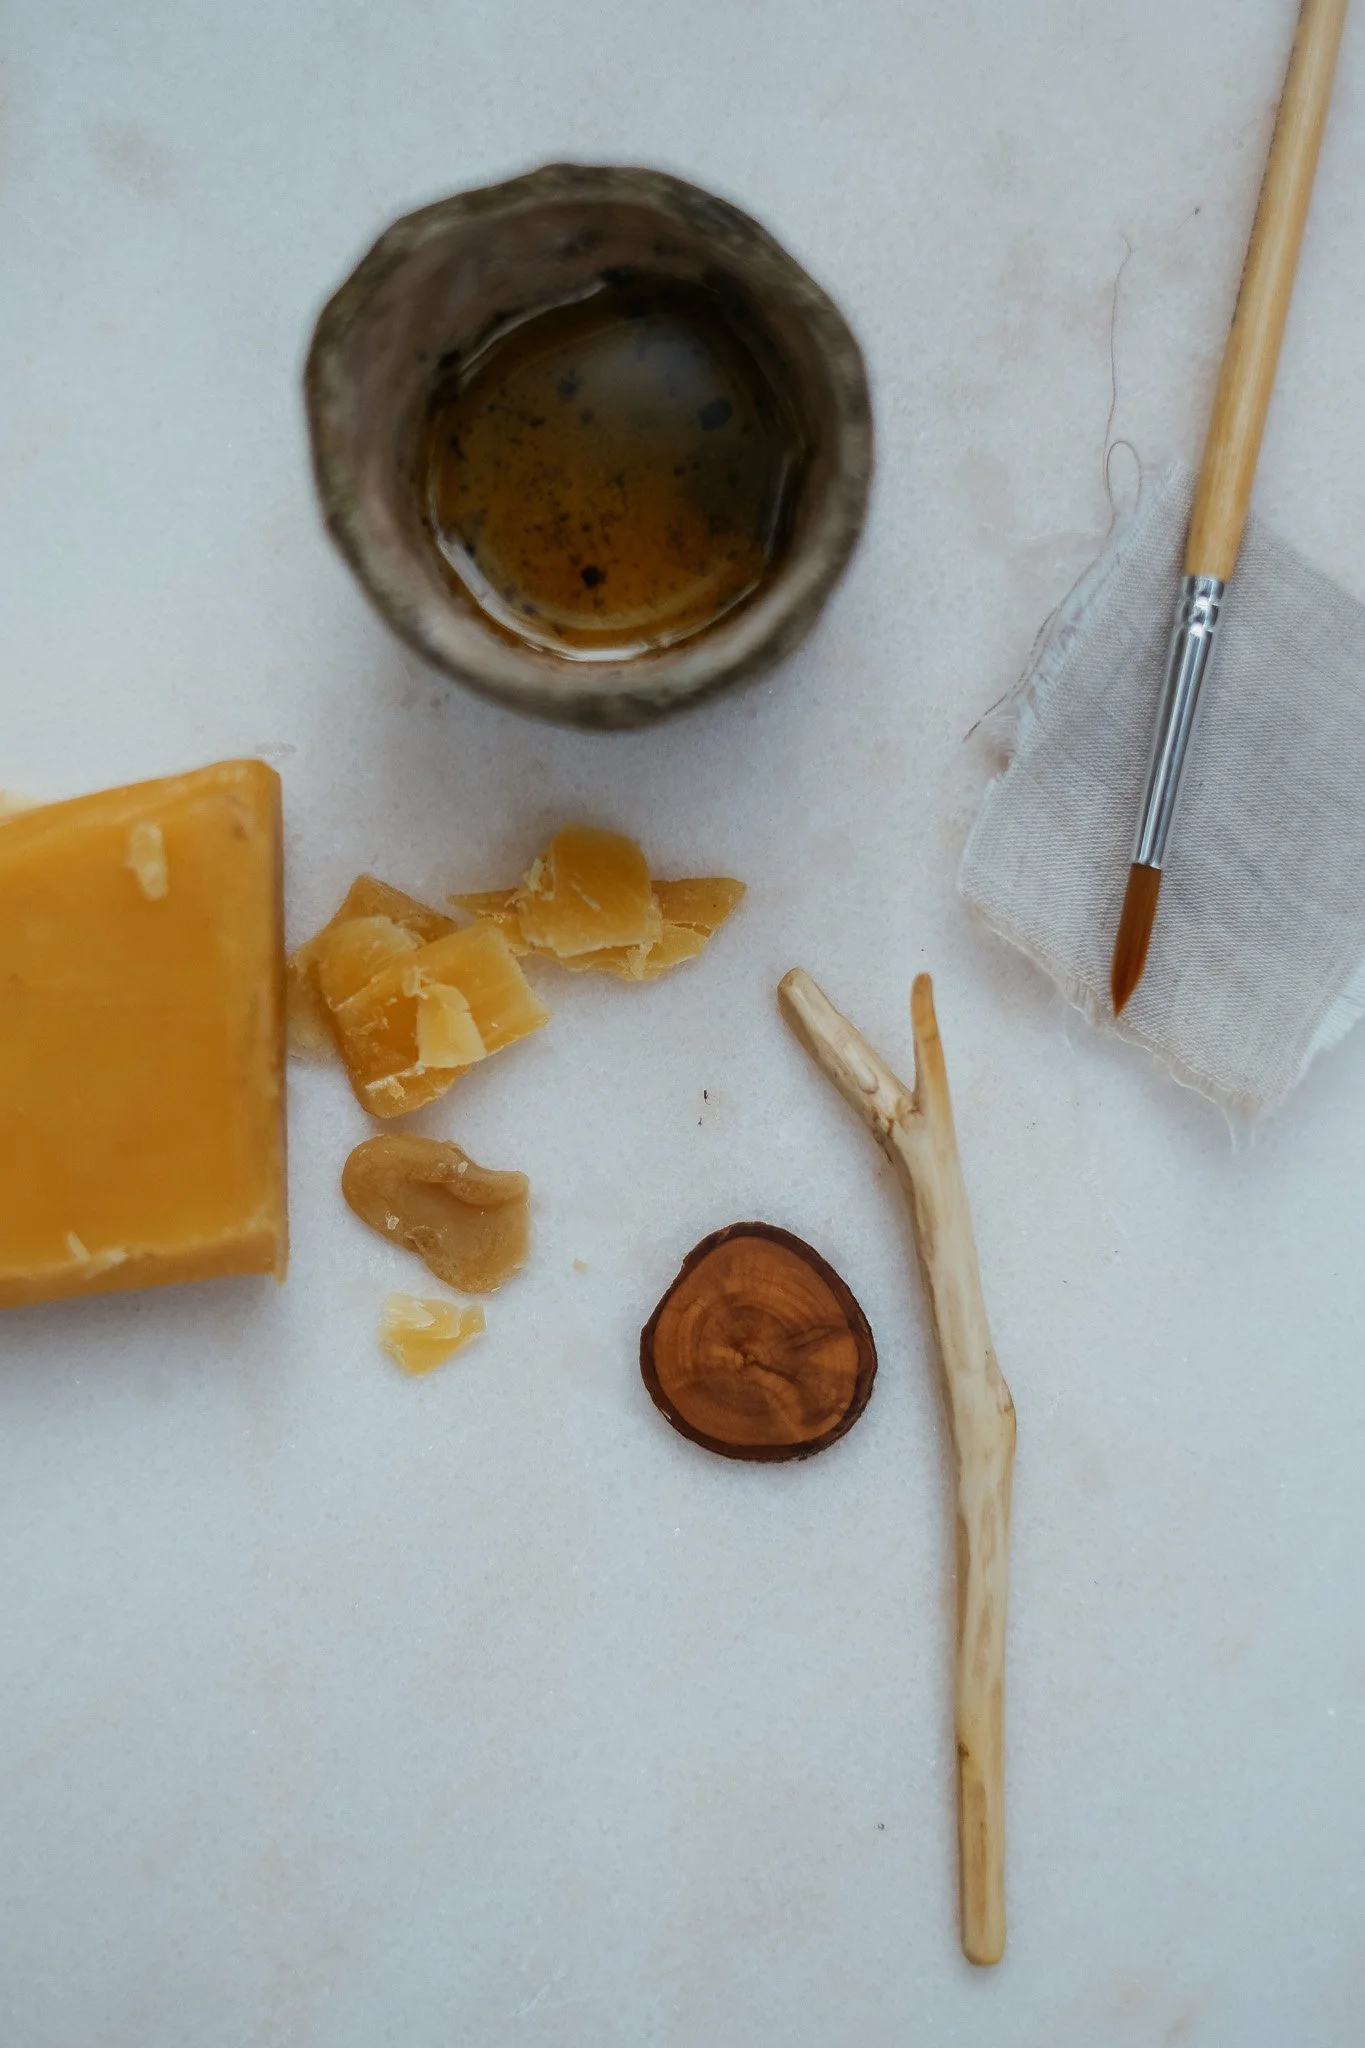
1 tablespoon beeswax
A hand saw
An artist’s paintbrush
Small piece of cotton cloth
A vice tool
Drill
1.5 mm drill bit
note: Feel free to completely ignore these dimensions and make your buttons as wide or narrow as you like.
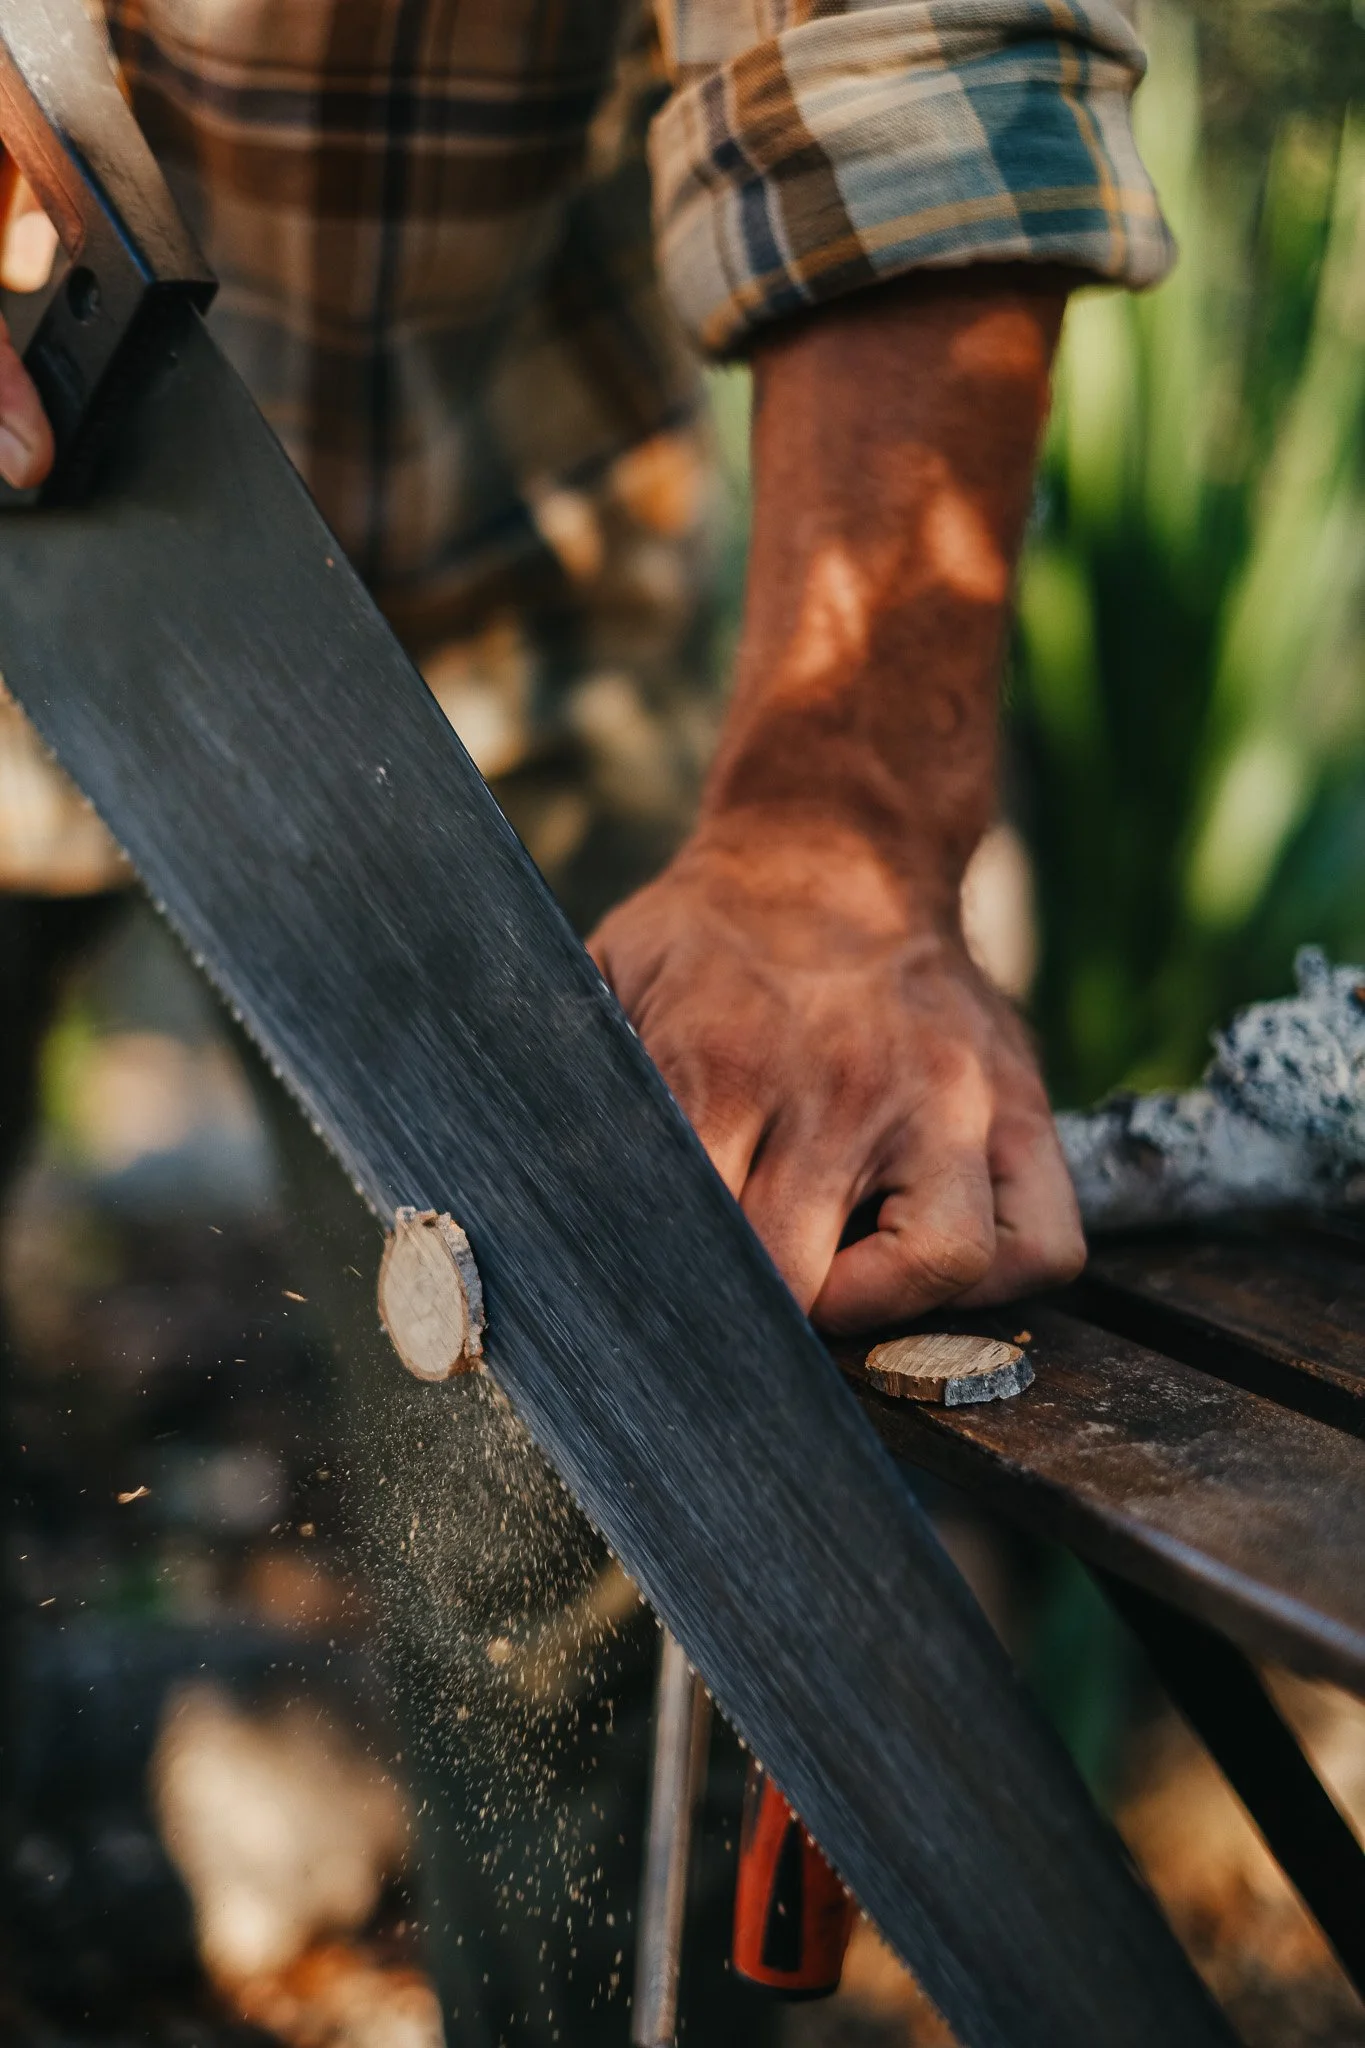
directionsSaw the branch in thin slices, about 2 to 3 cm thick. Take your time to ensure clean cuts and uniform thickness.
If you’re using fresh wood, leave your slices of wood in a dry place to cure before you proceed. This should take about two weeks, depending on your climate. If you’re working with dry wood, you can move on to the next step now.
Next, you will sand the slices. Always work in a circular motion, moving from the coarsest sanding paper to the finest one as follows: First, sand the entire slice with the coarse-grit paper, which is helpful to make level adjustments. Depending on your choice of wood and your desired aesthetics, you can leave the surrounding bark on or sand it off as well. Now it’s time to use the medium-grit paper. Finish with the fine one to close up the wood pores. An easy way of sanding a button is to lay the sanding paper flat on a table and hold the button in your fingers, rubbing it against the sanding paper in circular movements. Repeat until all your slices are sanded. This process might take a while if you want to have a smooth button, so be patient!
To prepare the finish coating, fill the bottom of a double boiler with water and heat to a boil. Combine the linseed oil and beeswax in the top of the double boiler and heat over the hot water until melted. Stir well. Using a paintbrush, apply the mixture generously over the entire slice of wood. Allow it to fully soak in for about a minute on your work surface and then wipe off any excess using a dry cloth. Apply another coat, wipe, and let it dry. Repeat until all your slices have two coats of finish.
After a minute or two, the finish will feel dry to the touch and it’s time to drill the button holes. You can make 2 or 4 holes, depending on the type of button you want. Make sure your button is held tightly in a stable position, such as held in a vice, before drilling, to avoid accidents.
Now you are ready to embellish your knitted pieces the woodland way!

Woodland Shawl Stick
Simple to use, earthy, and unique, these easy-to-make shawl sticks are a rewarding, quick project. They double as hair sticks and make thoughtful gifts, so make a couple extra pieces to share with friends!
you'll needThin, forked branch of fresh wood about 10 to 15 cm long (see note)
A medium to fine piece of sanding paper (you could use a grit between 150 and 220)
1 tablespoon linseed oil
1 tablespoon beeswax beads or finely chopped beeswax
Carving knife or sharp pocketknife
Medium-size pot
Small piece of cotton cloth
note: Choose a branch with a long straight section and a relatively short fork.
directionsImmediately after cutting the branch, peel off the bark using your carving knife. (The sooner you do this after cutting the branch, the easier it will be.) Use your knife to lightly shape the branch as you desire and to whittle it down if it’s too thick.
To speed up the wood’s curing time, fill a medium pot with water and bring to a boil over high heat. Carefully place the skinned branch into the pot and reduce the heat level to a simmer for 20 minutes, covered. Remove the branch from the pot and set it in a dry place. Allow to dry for 3 to 4 days.
You are now ready to sand your piece! Take your time: you will want to achieve a smooth finish so the stick doesn’t get caught on your shawl’s stitches as it passes through. Be sure to round the ends well.
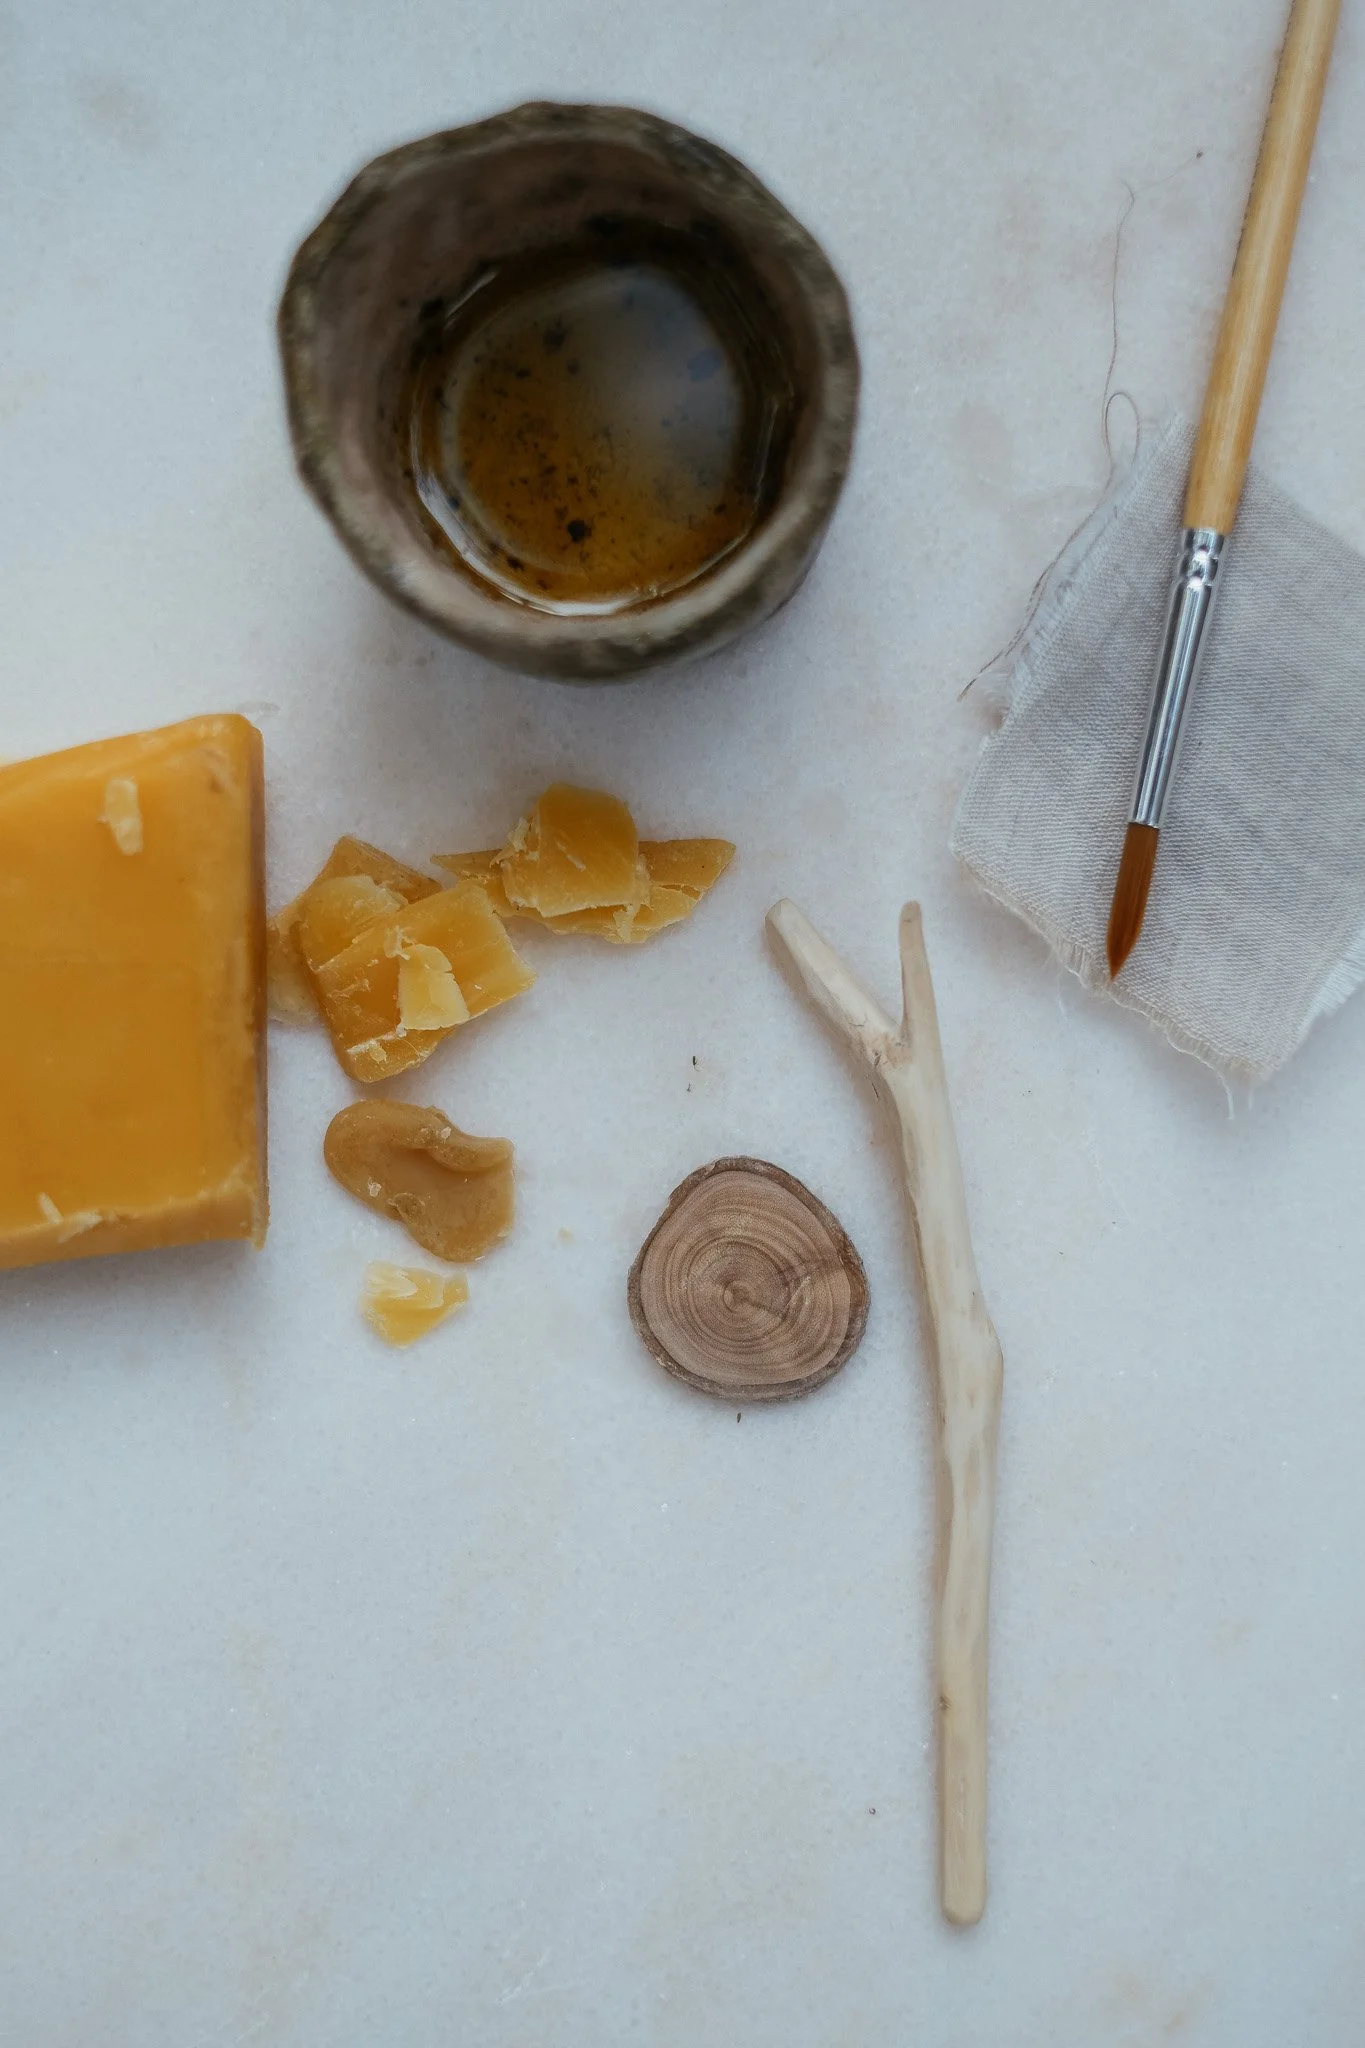
It’s time to apply the finish coating. Melt the linseed oil and beeswax together in a double boiler as for the buttons. Dip a corner of the folded cloth into the mixture, and rub it over the stick. Allow it to fully soak in before applying a second layer. Set aside to dry for a couple of minutes.
You can use your new shawl stick as soon as it’s dry.
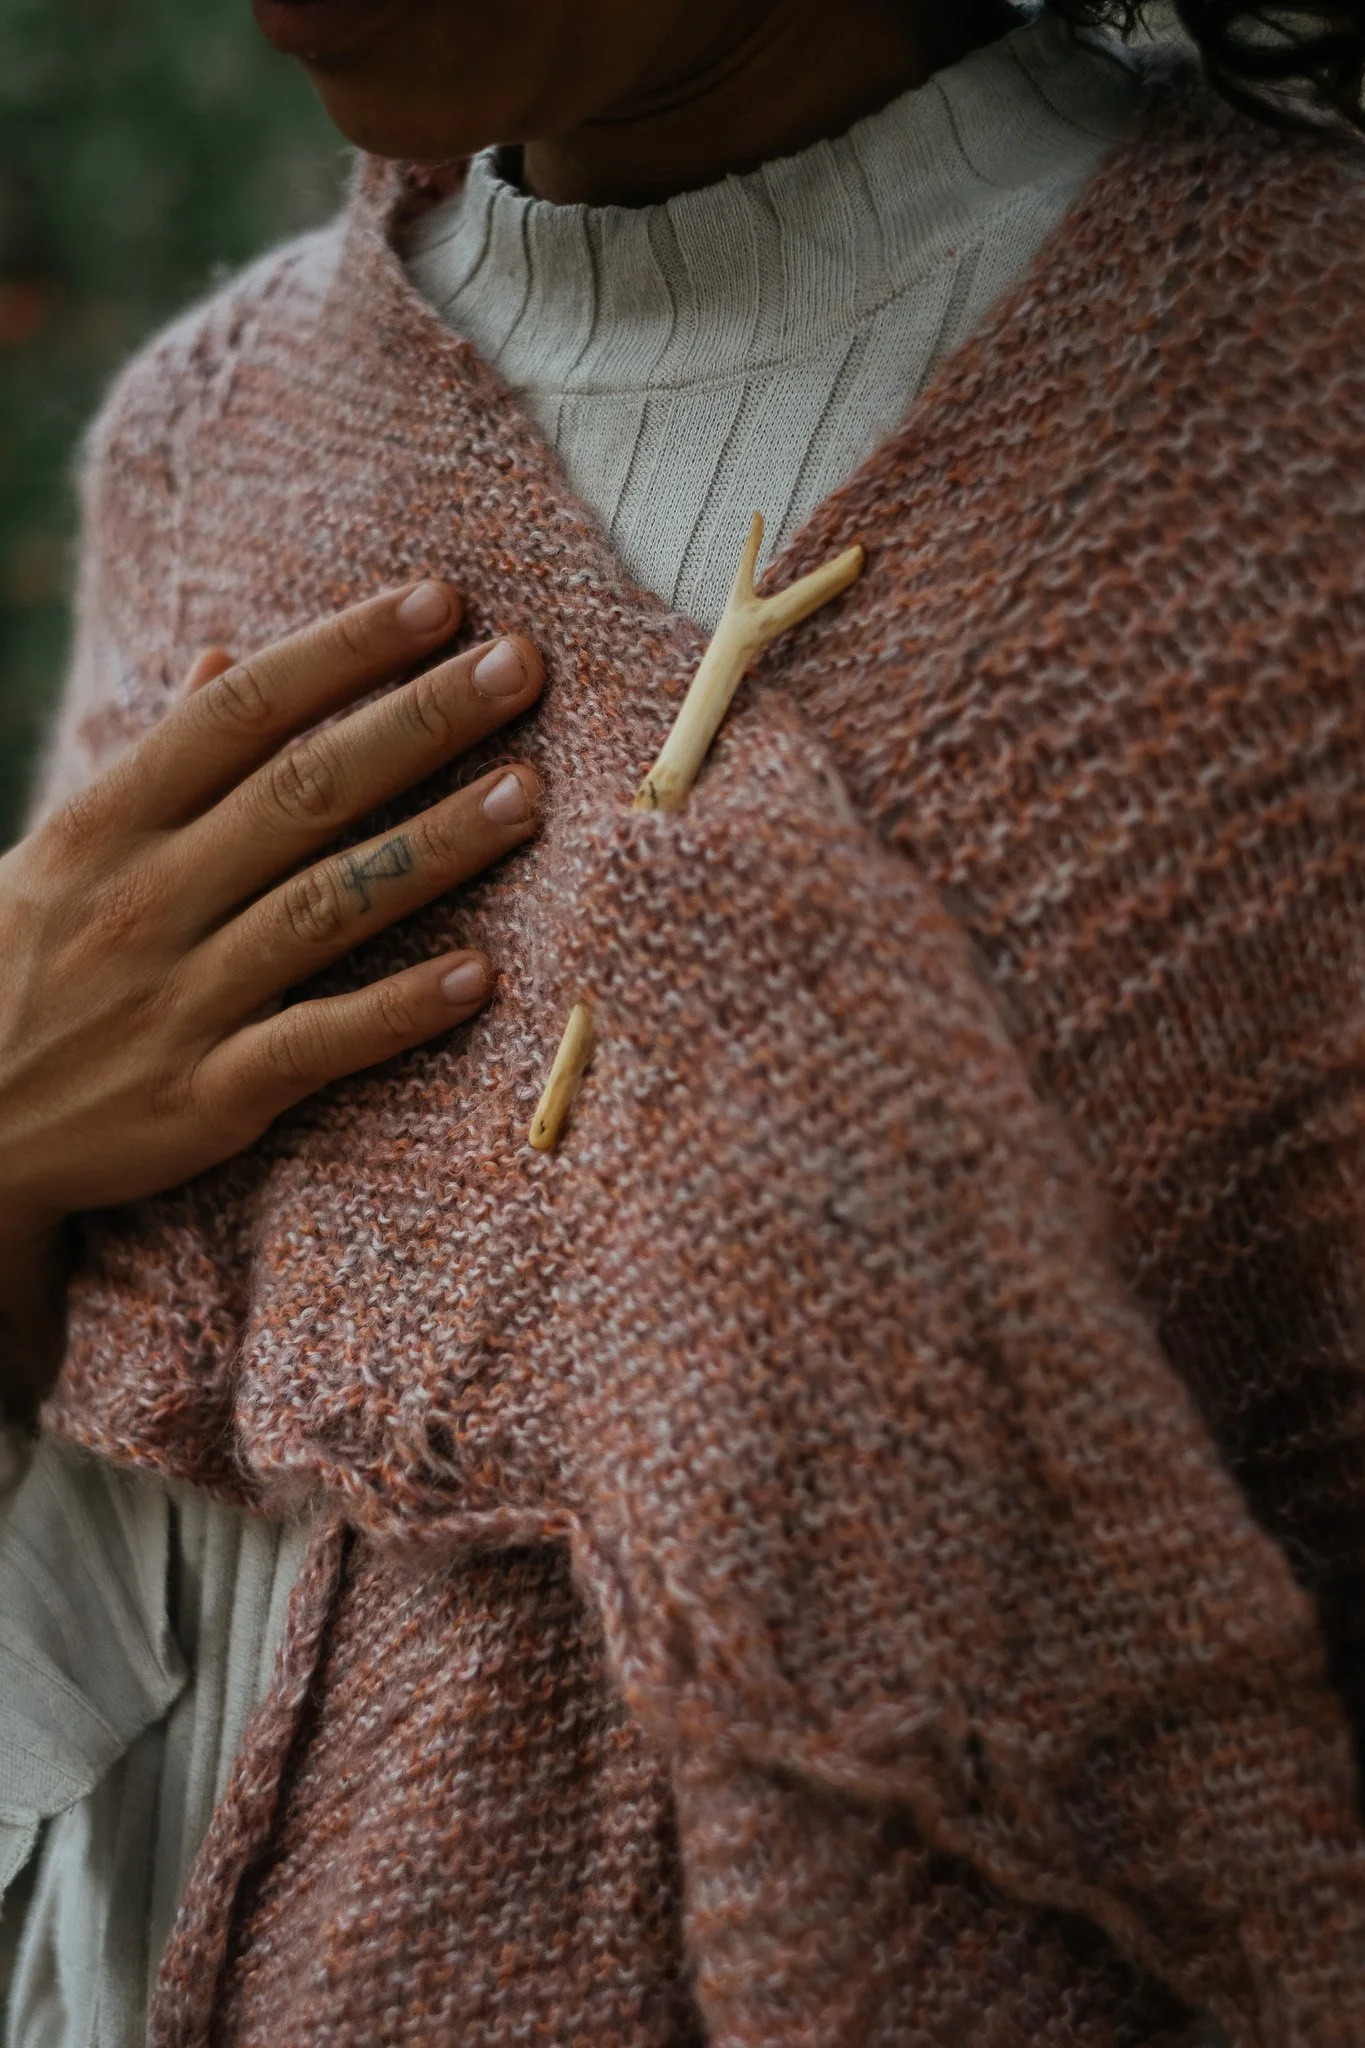
There is something magical about these small projects. More than buttons and sticks, they are pieces of home you carry around wherever you go. Whether you are dropping by a friend’s place, hiking a new trail, or exploring a different city, these small but meaningful wooden pieces are a whisper of comfort and a reminder of our interconnectedness with the elements around us.
I’d love to hear if you try one of these projects this season!